12 13
SAFETYINSTALLATIONOPERATION SUBFINE TUNING
MISC
WARRANTY
OPERATION
SAFETYINSTALLATIONOPERATION SUBFINE TUNING
MISC
WARRANTY
OPERATION
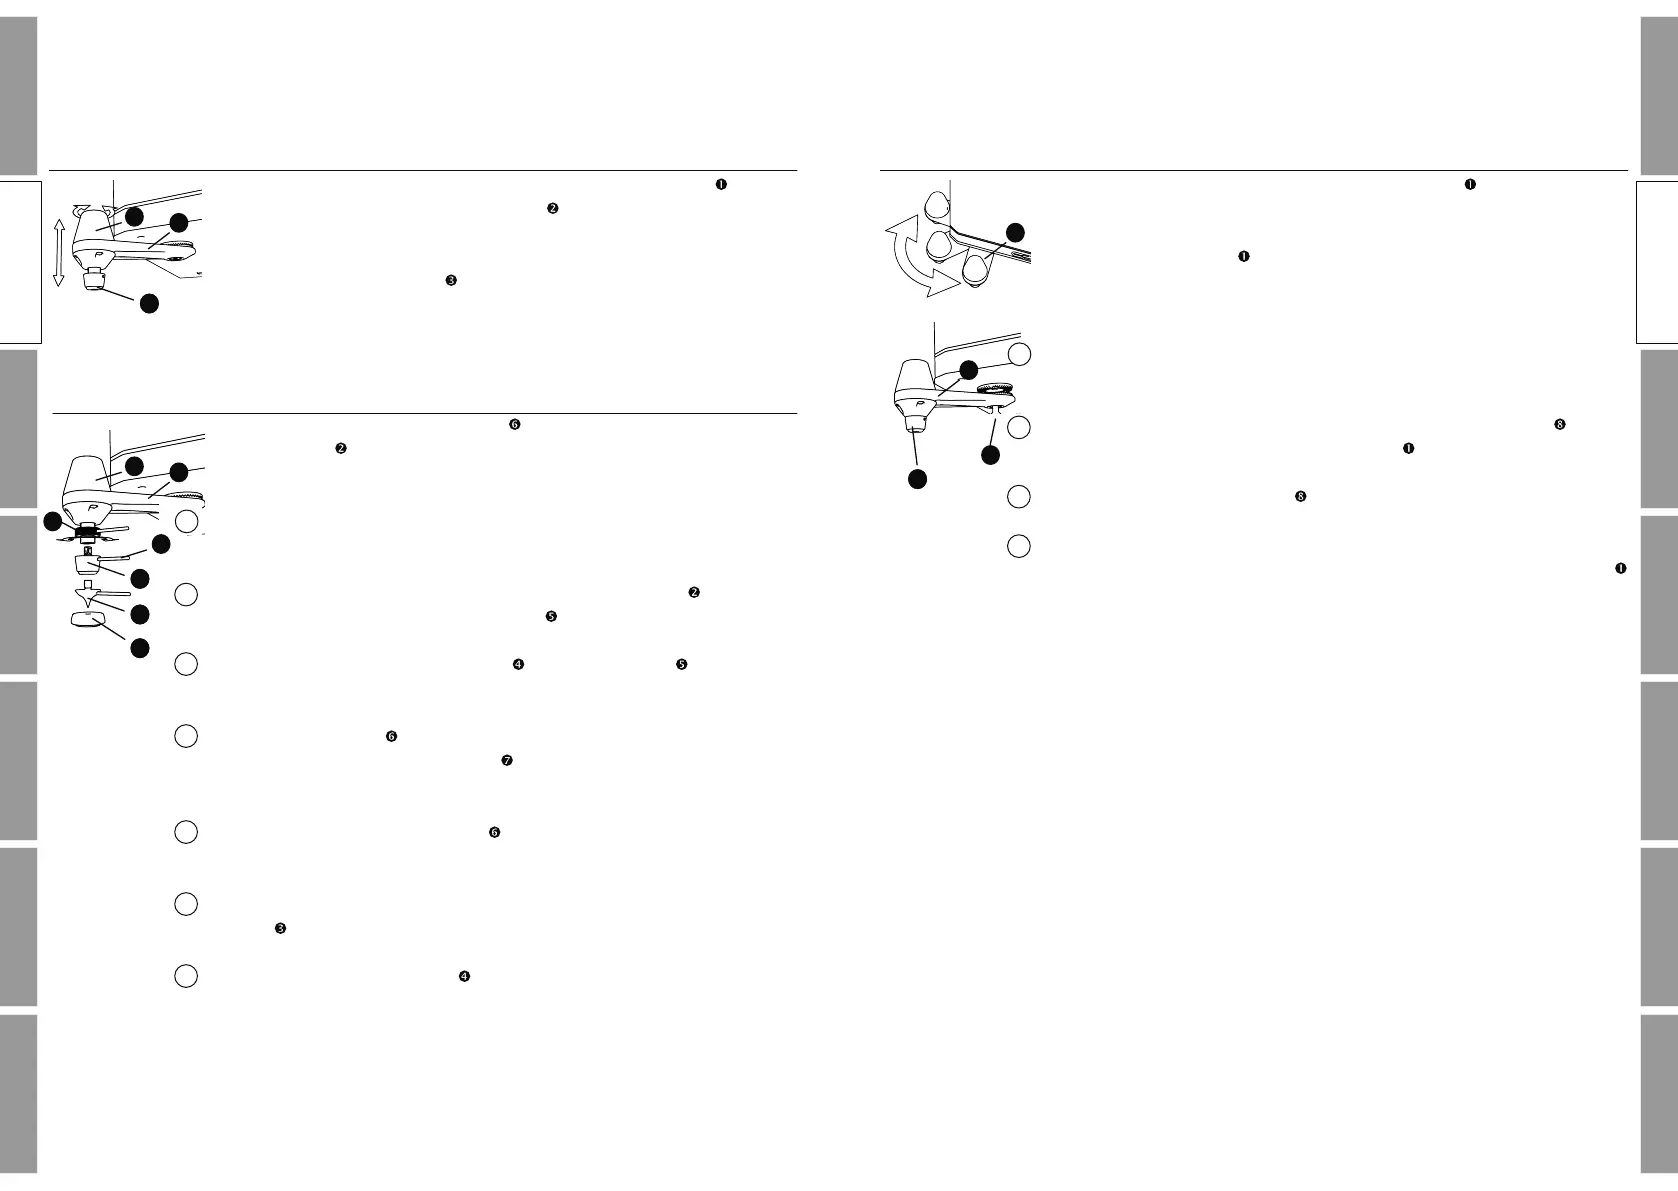
HEIGHT ADJUSTMENT OF FEET
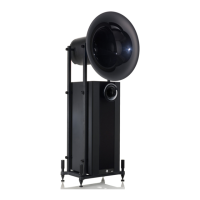
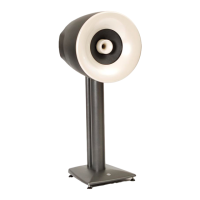
UNO SD, DUO SD & DUO GT
The loudspeaker stands on 4 x rotatable base f rame arms . On de‐
livery, standard feet with Teflon glides are installed.
After the f inal installation of the speaker, adjust the height of the
feet by turning the handle clockwise to level the speaker.
OPTIONAL SPIKE
UNO SD, DUO SD & DUO GT
Alternatively, the optional spikes can be installed instead of the
standard feet . For this work, we strongly recommend the assis‐
tance of a second person!
One person carefully tilts the speaker backwards. The front two feet
will float in the air.
The second person can now unscrew the standard feet by turning
them counterclockwise using the tool .
If desired, screw in the lock nuts using the tool to fix the
height adjustment of the spikes.
Screw in the spikes clockwise with the help of the tool. If neces‐
sary, use the protective washers to protect sensitive floors f rom
damage.
After mounting the f ront spikes , now carefully tilt the speaker for‐
ward and replace the rear feet accordingly.
After the speaker is f inally set up, adjust the height by turning the
handle clockwise to level the speaker.
Firmly tighten the lock nuts to f ix the height adjustment.
1
2
3
4
1
2
3
4
5
6
7
1
3
1
1
1
8
2
12
1
3
1
5
4
2
16
INSTALLATION
INSTALLATION
17
ANGLE ADJUSTMENT OF FEET
UNO SD, DUO SD & DUO GT
On delivery, the 4 x rotatable base frame arms are mounted on
the loudspeaker at a 45 degree angle.
The angle of the arms can be adjusted in 7.5 degree steps by the
precision Hirth toothing. For this work, we strongly recommend the
assistance of a second person!
One person carefully tilts the speaker backwards. The front two feet
will then float in the air.
The second person can now loosen the mounting screw of the
Hirth gear and turn the base f rame arms to the desired position.
Tighten the mounting screw again.
After adjusting the angle of the f ront foot stand booms, now care‐
fully tilt the speaker forward and adjust the rear base f rame arms
accordingly.