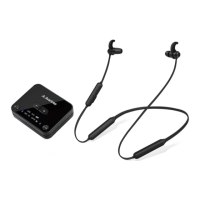
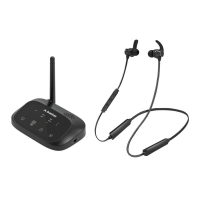
HT4186
User Manual
EN
Setting Up
Connecting to Your TV
NOTE: MostTVs support audio output through only one digital output port at a
time, so if your TV’s HDMI ARC port is in use, the optical port may be disabled. You
can either unplug the HDMI ARC, or try connecting the transmitter via RCA / AUX.
The transmitter must be connected to a power source via the provided
power cable in order to function. For wall-mounted TVs, you can use the
adhesive pad to attach the transmitter to the wall beside your TV.
You can plug the transmitter into either:
1. A TV’s USB power port, OR
2. A nearby wall outlet - 5V/500mA-2A power source
Once the transmitter is connected to its power source. You can then
connect it to your TV's audio ports. You can choose one of 3 dierent ways
to do this:
OPTION 1 Optical port (recommended)
Plug the provided optical audio cable into the TV’s optical OUT or “OPT
OUT” port, then plug the other end into the transmitter’s optical port.
RGB IN
COMPONENT IN
AUDIO
(RGB/DVI)
RGB(PC)
ANTENNA/
CABLE IN
1
2
RS-232C I
(CONT
ROL & SE
VIDEO
AUDIO
VIDEO
OPTICA
LCOAXIAL
S-VIDEO
DIGI
TAL AUDIO OUT
HDMI/DVI IN
3
2
1
REMOTE
CONTROL IN
L/MONO
R
AU
DIO
USB IN
HDMI IN 4
E
OPT OUT
ON/OFF
DC IN
AUX
OPTICAL
 Loading...