LED State Description
Amber (Solid) SFP detected and link
established.
Amber (Flashing) SFP link established and
receiving.
Amber (Blinking) Rx and Tx blink slow
indicating port is disabled.
Installing SFP transceivers
Perform the following procedure to install SFP or SFP+ transceivers and cabling on a
switch.
Before you begin
Perform the following tasks before installing SFP or SFP+ transceivers and cabling on a
switch.
•
Install the fan trays and power supplies.
• Install the switch in an equipment rack or on a shelf.
• Connect power and verify the switch is operating normally.
• Plan the cabling installation for efficient routing and future maintenance accessibility.
• Verify that the SFP or SFP+ transceivers and network cabling support your network
configuration.
For more information about SFP and SFP+ transceivers, see Avaya Virtual Services Platform
7000 Installation SFP and SFP+ (NN47202–302).
About this task
Important:
The
VSP 7024XLS supports SFP and SFP+ as the primary network interface. You must use
a supported Avaya SFP or SFP+ transceiver.
Warning:
Risk of eye injury by laser
Fiber optic equipment can emit laser or infrared light that can injure your eyes. Never look
into an optical fiber or connector port. Always assume that the fiber optic cables are
connected to a light source.
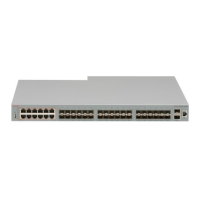
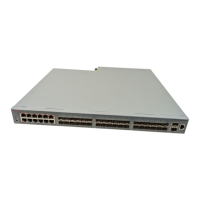
Small form factor pluggable transceivers
VSP 7000 installation July 2013 63

 Loading...