Chapter 4: Configuring Core Audio (Mac OS X Only) 17
Using the Avid Core Audio
Manager
Use the Avid Core Audio Manager to change the
Core Audio Buffer Size setting, access the
Hardware Setup dialog for your Avid hardware
and control volume and mute for the Avid Core
Audio Driver. The Avid Core Audio Manager
also identifies your Avid hardware, the
supported number of Input and Output
Channels and the number of attached clients
(applications).
Buffer Size
You can select from the following buffer sizes
(depending on your Avid hardware):
• 64 samples
• 128 samples
• 256 samples
• 512 samples
• 1024 samples
• 2048 samples
Changing the Buffer Size for the Avid Core
Audio Driver does not affect the
H/W Buffer Size
setting in the Pro Tools Playback Engine dialog.
To configure Avid Core Audio Hardware Buffer
Size:
1 Double-click the Avid Core Audio Manager file
(located in /Applications/Avid/).
2 From the Buffer Size pop-up menu, select the
desired Core Audio buffer size (in samples).
Generally, smaller buffer sizes are preferable.
However, if you experience any problems with
performance (such as clicks and pops during
recording or playback), try increasing the Core
Audio
Buffer Size setting.
3 You can also change the buffer size from
within the client application if it is the only
client attached to the Core Audio Driver. Once
two or more clients are active, you will not be
able to change the sample rate or the buffer size.
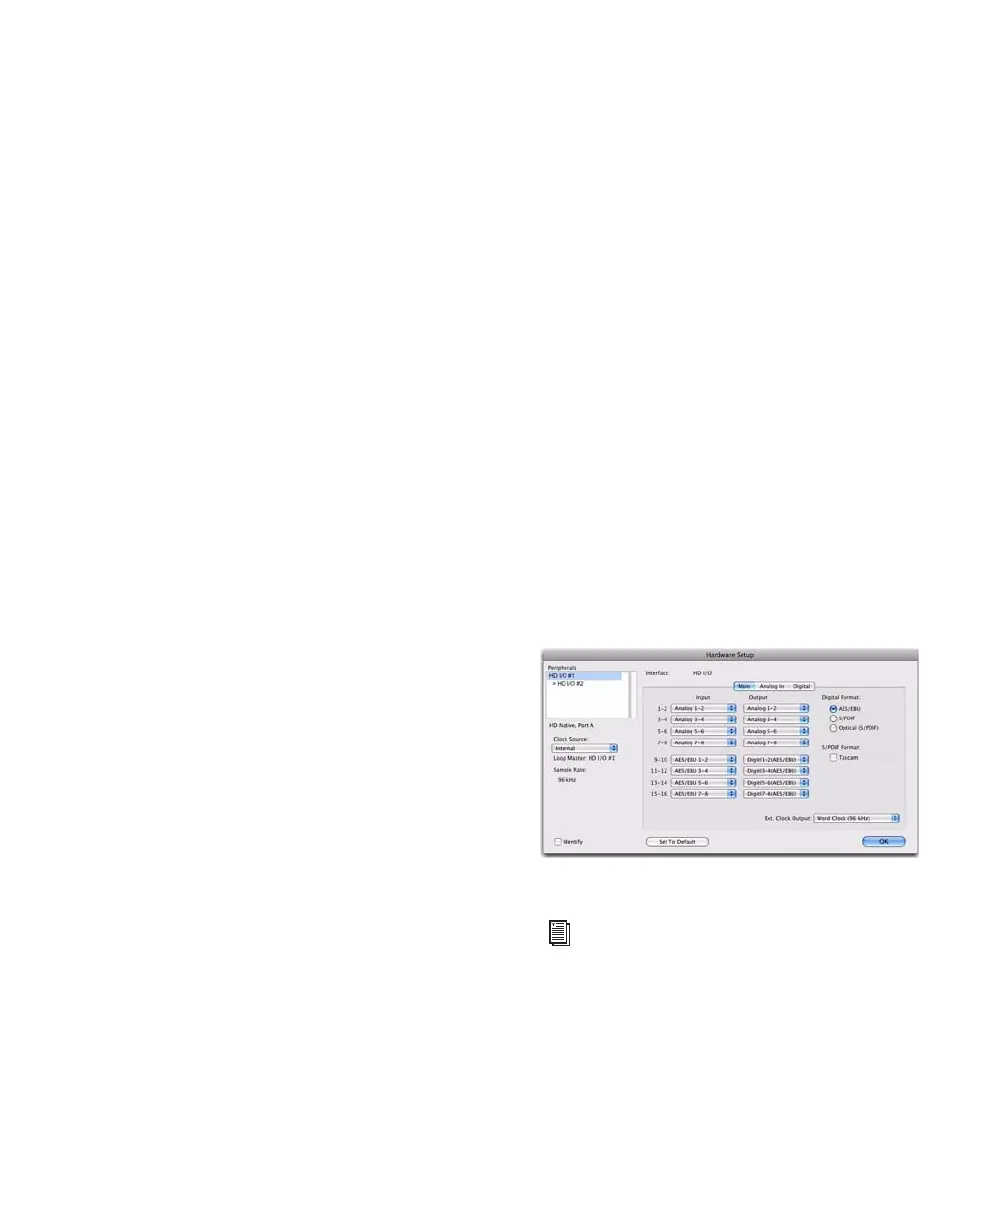
HW Setup Button
The HW Setup button opens the Hardware Setup
dialog for your Avid hardware. The
HW Setup
button is only available when no clients are
using the Core Audio Driver.
To configure the Avid Core Audio HW Setup:
1 Quit any Core Audio client applications.
2 Double-click the Avid Core Audio Manager file
(located in /Applications/Avid/).
3 Click the HW Setup button to open the
Hardware Setup dialog.
4 Configure the Hardware Setup dialog for your
Avid hardware.
5 When you are finished, click OK to close the
Hardware Setup dialog.
Hardware Setup dialog, HD I/O shown
For more information on the Hardware
Setup dialog, refer to the Pro Tools
Reference Guide.