Installation
Camera Package Contents
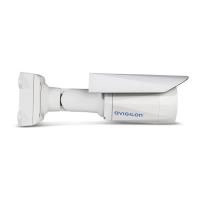
l Avigilon H5A Bullet Camera
l Mounting template sticker
l 4 screws and anchors for solid walls
l Protective cable boot
l T20 Pin-In star-shaped driver
Installation Steps
Complete the following sections to install the device.
Mounting and Aiming Video Analytics Cameras
When installing an Avigilon video analytics camera, follow the listed mounting and aiming recommendations
to maximize the camera's analytics capabilities:
l The camera should be installed above 2.74 m (9 feet).
l The camera should tilt downwards no more than 45 degrees.
l The camera image should be level with the horizon line.
l The camera should be mounted to a stable surface to minimize the physical movement of the
camera after installation.
For more details, see Designing a Site for Video Analytics. The document is available on the Avigilon
website.
Installing the Mounting Bracket
If the cables for the camera will not be provided from inside the mounting surface, install the junction box
first (H4-BO-JBOX). It is highly recommended that the junction box be used if you will be installing the camera
with auxiliary power or external digital inputs and outputs.
After you install the junction box, you can skip directly to step 3 of this procedure.
Installation 6

 Loading...


