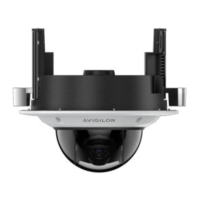
Reinstalling the Sun Shroud
1. Use a T20 Pin-In star-shaped driver to screw on the sun shroud mount.
2. Align one side of the sun shroud to the mount.
3. Press down on the center of the sun shroud and flex the edges up, then lower it into place.
Connecting Cables
Before connecting any cables, ensure that the cable connections are properly protected from moisture and
corrosion. Make sure the protective cable boot is installed over the Ethernet port to protect the connection
from dust and moisture.
1. If there are external input or output devices that need to be connected to the camera (for example:
door contacts, relays, etc.), connect the devices to the camera's digital I/O connector cables. For
more information see Connecting to Power and External Devices on page15.
2. If an external microphone and/or speakers need to be connected to the camera, connect the
devices to the camera's audio I/O cables. For more information, see Connecting to Power and
External Devices on page15.
3. Install the protective cable boot. You may choose to skip this step if you are using the optional
junction box.
a. Remove the protective cable boot that is preinstalled over the Ethernet port, then thread one
end of the Ethernet cable through it.
Ensure the orientation of the cable and boot matches the one shown in the image.
b. Crimp the Ethernet cable.
c. After you connect the cable to the camera, slide the boot over the Ethernet port.
4. Connect a network cable to the Ethernet port (RJ-45 connector).
The Link LED indicator will turn on once a network link has been established.
5. Connect power using one of the following methods:
Reinstalling the Sun Shroud 8

 Loading...