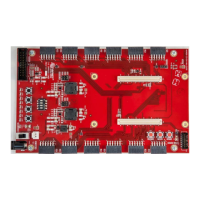
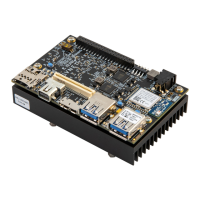
Figure 9 – MicroZed and IOCC Example Design
16. Enter ‘9’ which is full ON. Observe the brightness of the eight red LEDs on the IOCC.
17. Enter ‘0’ which is full OFF.
18. Enter numbers 1 through 8 to see the varying brightnesses.
19. Now the push buttons can be used to accomplish control of the LEDs. To start, press BTN1 to
turn OFF the LEDs.
20. Press BTN4 to turn ON the LEDs.
21. Press BTN2 to dim the LEDs one step and BTN3 to brighten the LED one step.
22. When complete, unplug the USB-UART cable first, then turn the IOCC power switch OFF, then
unplug the power cable.
The same application can be loaded into the QSPI using the output.mcs file and the Xilinx SDK
software. For instructions on installing the Xilinx software, please refer to Appendix B: Installing
and Licensing Xilinx Software.