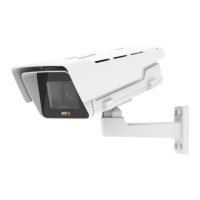
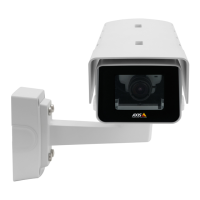
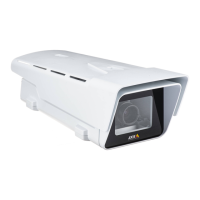
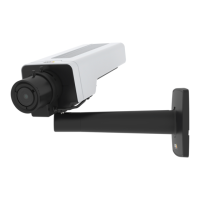
AXIS P1368-E Network Camera
How to install the product
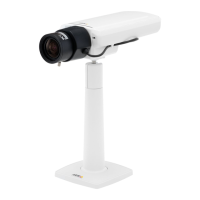
Install the hardware
NONO
NO
TICETICE
TICE
• Due to local regulations or the environmental and electrical conditions in which the
product is to be used, a shielded network cable (STP) may be appropriate or required.
All cables connecting the product to the network and that are routed outdoors or in
demanding electrical environments shall be intended for their specic use. Make sure that
the network devices are installed in accordance with the manufacturer’s instructions.
For information about regulatory requirements, see Regulatory information 4
• Be careful not to scratch, damage or leave ngerprints on the window because this could
decrease image quality.
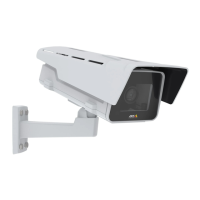
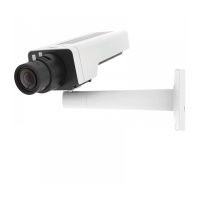
The Axis product can be installed with the cables routed through or along the wall.
Read all the instructions before installing the product.
Install the Wall Mount
CAUTION
Make sure that the screws and plugs are appropriate for the material (e.g. wood, metal,
drywall, stone) and that the material is strong enough to support the combined weight
of the camera, housing, and wall mount.
1. Prepare the wall for installation of the wall mount. Use the wall bracket as a template
and mark the holes before drilling the holes.
2. Route the network cable through the wall bracket. Leave approximately 30 cm (11.8 in) of
cable for connecting the camera.
3. If connecting an auxiliary device, for example an I/O, audio, or external power device, to
the camera, repeat the step above as applicable to the specic device.
4. Fasten the wall bracket to the wall by tightening the screws.
Note
• For detailed instructions, see the wall mount’s Installation Guide supplied in the package
and available on www.axis.com
Install the camera
1. Loosen the bottom cover screws and lift the top cover.
NONO
NO
TICETICE
TICE
• If more than one cable is used, each cable must be routed through a separate cable gasket.
• Only open a hole in cable gaskets that will be used and if a cable gasket is torn, replace it
with a new cable gasket. Leaving a cable gasket open or using a torn cable gasket could
cause water to seep in and damage the product.
14
Available from A1 Security Cameras
www.a1securitycameras.com email: sales@a1securitycameras.com