AXIS P1368-E Network Camera
NONO
NO
TICETICE
TICE
Not pulling the cable back could cause water to seep in and damage the product.
5. Make sure that the cable gasket is tted properly.
6. If connecting an auxiliary device, for example an I/O, audio, or external power device, to
the camera, repeat the steps above as applicable to the specic device.
NONO
NO
TICETICE
TICE
Mount the connectors after the cables are pushed through the cable gasket.
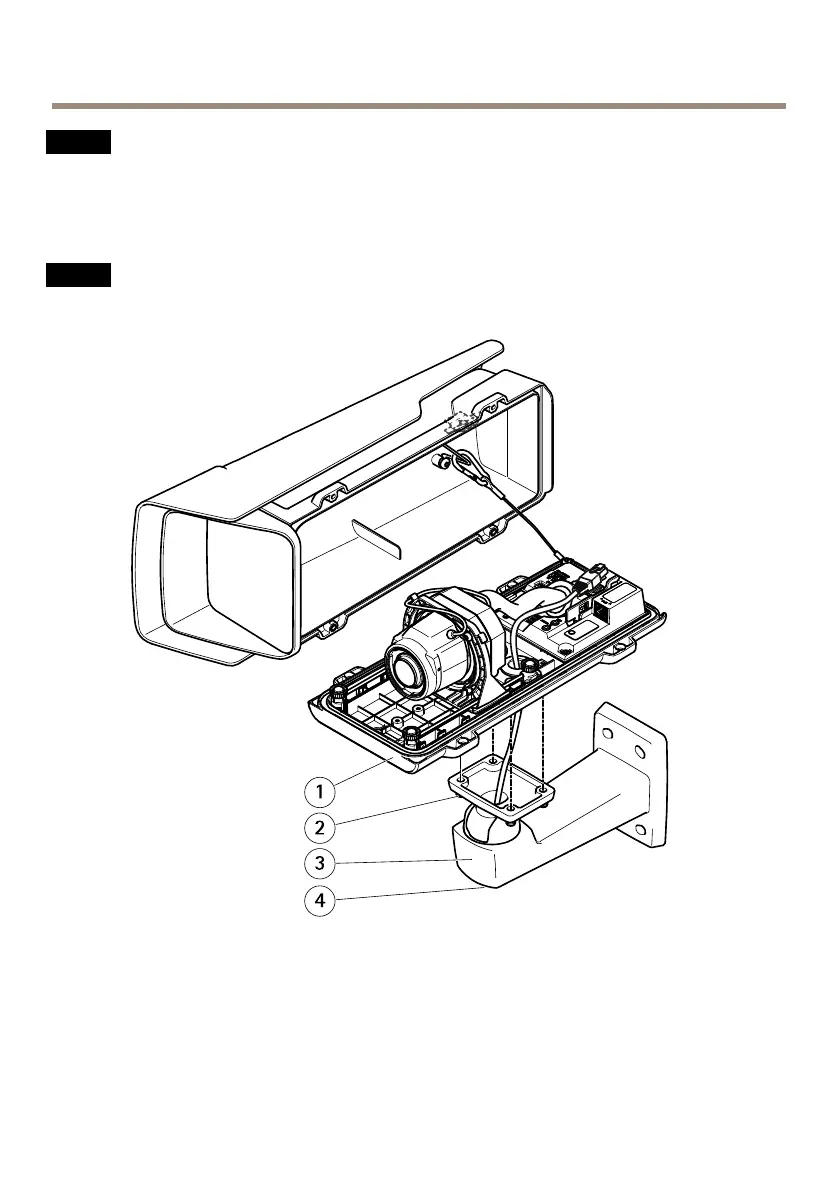
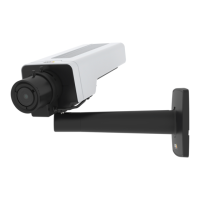
1
Bottom cover
2
Screw T20 (4x)
3
Wall bracket
4
Bracket adjustment screw T30
7. Put the bottom cover on the wall mount and tighten the screws (torque 2 Nm).
16
Available from A1 Security Cameras
www.a1securitycameras.com email: sales@a1securitycameras.com