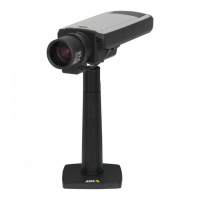
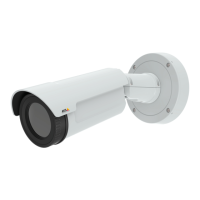
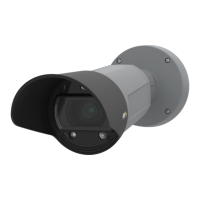
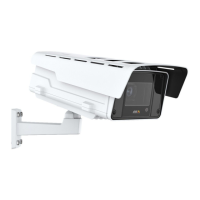
AXISQ16NetworkCameraSeries
Howtoinstalltheproduct
NO NO
NO
TICE TICE
TICE
Duetolocalregulationsortheenvironmentalandelectricalconditionsinwhichthe
productistobeused,ashieldednetworkcable(STP)maybeappropriateorrequired.Any
networkcablesthatareroutedoutdoorsorindemandingelectricalenvironmentsshallbe
shielded(STP)andintendedfortheirspecicuse.
Note
•Makesurethatthematerialisstrongenoughtosupporttheweightofthecamera.
•Formoretechnicalspecications,seethecamera’sdatasheet,availableonwww.axis.com
1.Preparethewallorceilingforinstallationofthestand.Usethestandasatemplateand
marktheholesbeforedrilling.
2.Routethenetworkcablethroughthewallorceiling.Leaveapproximately30cm(11.8
in)ofcableforconnectingthecamera.
3.Ifconnectinganauxiliarydevice,forexampleanI/O,audio,orexternalpowerdevice,
leaveapproximately30cm(11.8in)ofcableforconnectingthecamera.
4.Installthestandonthewallorceilingandmakesurethatthescrewsandplugsare
appropriateforthematerial(e.g.wood,metal,sheetrock,stone).
5.Installthecameraonthestandandtightenthetripodscrew.
6.Optionallyconnectanactivespeakerand/orexternalmicrophone.
7.Connectthecameratothenetworkusingashieldednetworkcable.
8.Connectpower,usingoneofthemethodslistedbelow:
-PoE(PoweroverEthernet).PoEisautomaticallydetectedwhenthenetwork
cableisconnected.
-Connectanexternalpoweradaptertothepowerconnectorblock.See
Connectors.
9.CheckthattheindicatorLEDsindicatethecorrectconditions.Seethetableonformore
details.NotethattheStatusLEDcanbeconguredtobeunlitduringnormaloperation.
10.OptionallyinsertamicroSDcard(notincluded)intotheSDcardslot.
11.AimthecameraintherightdirectionandusethesuppliedAllenkeyResitorx20to
tightentheballjoint.
NO NO
NO
TICE TICE
TICE
Topreventcorruptionofrecordings,theSDcardshouldbeunmountedbeforeitisejected.
Tounmount,gotoSettings>System>Storageinthecamerawebinterface.
Howtoaccesstheproduct
AXISIPUtilityandAXISCameraManagementarerecommendedmethodsforndingAxisproducts
onthenetworkandassigningthemIPaddressesinWindows®.Bothapplicationsarefreeandcan
bedownloadedfromaxis.com/support
9
EN
 Loading...