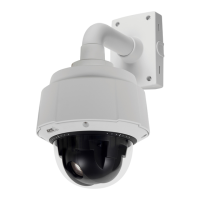
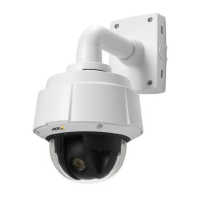
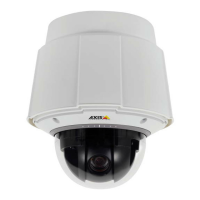
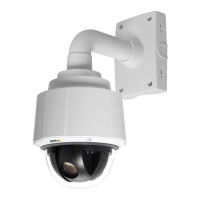
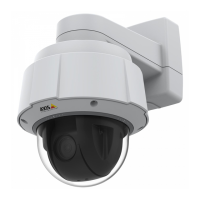
AXISQ60Series
TheAxisproductcanbeinstalledwiththecablesroutedthroughoralongthewallorceiling.
Readalltheinstructionsbeforeinstallingtheproduct.Someinstallationstepswouldbenetfrom
beingcompletedtogetherbecausetheyrequireremovalofthedomecover.
•Theproductissuppliedwithacleartransparentdomecover(premounted)andasmoked
transparentdomecover.Toreplacethedomecover,seepage18.
•AstandardorhighcapacitySDcard(notincluded)canbeusedtostorerecordingslocally
intheproduct.ToinstallanSDcard,seepage18.
•Toinstalltheproductusingthehardceilingmount,seepage19.
•Toinstalltheproductusingthedropceilingmount,seepage20.
•ToinstalltheproductusingacompatiblebracketfromAXIST91AMountingAccessories
(soldseparately),seepage23.
•Toinstallthesuppliedmidspan,seepage25.
ReplacetheDomeCover
Replacingthedomecoverisonlynecessaryifyouwanttousethesmokedtransparentdomecover
orifthedomecoverisscratchedordamaged.
1.Loosenthedomeringscrewsandremovethedomecover.
2.Removethedomebracketscrewsandremovethedomebracketandthedomecover
fromthedomering.
3.Attachthedomebracketandthedomecovertothedomeringandtightenthescrews.
4.ToinstallanSDcard(notincluded),seeInstallanSDCard,onpage18.
5.Attachthedomecovertothetopcoverandtightenthescrews(torque1.5Nm).
InstallanSDCard
ItisoptionaltoinstallastandardorhighcapacitySDcard(notincluded),whichcanbeusedfor
localrecordingwithremovablestorage.
1.Loosenthedomeringscrewsandremovethedomecover.
2.InsertanSDcard(notincluded)intotheSDcardslot.
3.Attachthedomecovertothetopcoverandtightenthescrews(torque1.5Nm).
NOTICE NOTICE
NOTICE
Topreventcorruptionofrecordings,theSDcardshouldbeunmountedbeforeitisejected.
Tounmount,gotoSetup>SystemOptions>Storage>SDCardandclickUnmount.
18