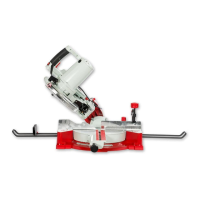
Main Assembly
9
Continues Over....
Step 5 Place a straight edge or 90˚ square across the table’s
slot, adjust the tapered alignment pin handle (13) beneath the
table, this will align both sides of the table.
Checking both sides of the table are level
Fence Assembly
Locate the front fence rail with scale (2), fence (3), fence clamp
assembly (4), M8 lift & shift handle (6), M8 threaded lever (5),
threaded ‘T’ slot insert (7), M6x20mm bolts (8), M8 large
washers (9), M6 small washers (10) and M8 nut (11).
Step 1 Place a spring/washer (9-10) over each M6x20mm bolt
(8), line up the elongated holes in the front fence rail (2) with
the pre-drilled holes to the front of the cast iron table (1),
introduce the two M6x20mm bolts (8) through the fence rail
and lightly tighten using the supplied spanner (14), see figs
15-16-17.
Step 2 Fit the fence clamp assembly (4) over the front fence rail
(2) and lower the assembly on the cast iron table, see fig 18.
Fig 15-16-17
2
2
8
Fig 18
4
2
Step 3 Locate the M8 nut (11), and screw it onto the thread
of the M8 threaded lever (5) then screw the threaded lever (5)
into the threaded hole in the clamp assembly (4) mechanism
and tighten the nut with a spanner, see figs 19-20.
Step 4 Locate the table alignment pin handle (13) and the
large washer and nut (21). Insert the washer over the thread
and screw on the nut, giving sufficient clearance between
washer and nut, see fig 13. Insert the threaded handle into the
slot in the cast iron table (1) and tighten so the nut clamps
down in the machined recess, see fig 14.
Fig 13-14
1321
Machined recess
8
14
10
9
Fig 19-20
5
11
4
 Loading...