Do you have a question about the Axxess AXDIS-CL2 and is the answer not in the manual?
Lists all compatible vehicle makes and models with their respective years.
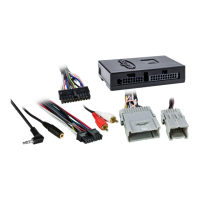
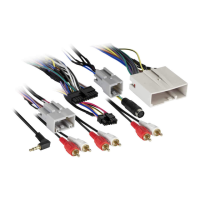
Details wiring connections for vehicles without factory amplifiers.
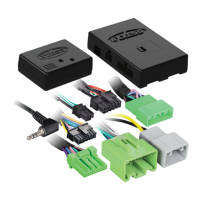
Details wiring connections for vehicles with analog factory amplifiers.
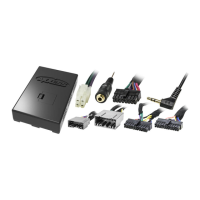
Details wiring connections for vehicles with digital factory amplifiers.
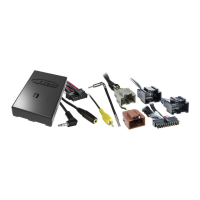
Provides steps for physically connecting the interface harness to the vehicle.
Outlines the basic process for programming the interface for radio detection.
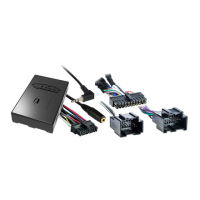
The AXDIS-CL2 is a GM Data Interface with Steering Wheel Control (SWC) retention, designed for various GM models from 2000-2013. It facilitates the integration of an aftermarket radio into a vehicle while retaining several factory features.
The primary function of the AXDIS-CL2 is to provide accessory power (12-volt 10-amp) to the aftermarket radio. It also retains Retained Accessory Power (R.A.P.), which keeps the radio on for a short period after the ignition is turned off. For multimedia/navigation radios, it provides essential NAV outputs including parking brake, reverse, and speed sense signals.
A key feature of this interface is its ability to retain factory chimes, ensuring that important vehicle alerts are still audible. It also maintains audio controls on the steering wheel, allowing the user to operate the aftermarket radio without taking their hands off the wheel. The interface supports the retention of OnStar and OE Bluetooth functionalities, with an adjustable OnStar level. It also retains the factory AUX-IN jack, Rear Seat Entertainment (RSE) (provided RSE is activated by the factory radio), and Satellite Radio (SAT).
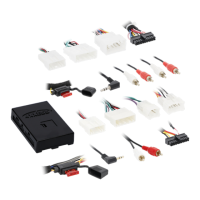
The AXDIS-CL2 is versatile, compatible with non-amplified, analog amplified, and digital amplified vehicle models. It retains balance and fade controls, though this excludes digital amplified models. For future updates and maintenance, the device is micro "B" USB updatable.
The installation process varies depending on whether the vehicle has a non-amplified, analog amplified, or digital amplified system.
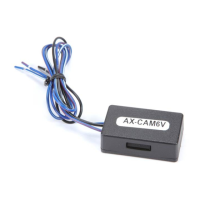
The 3.5mm jack is used to retain audio controls on the steering wheel.
| Brand | Axxess |
|---|---|
| Model | AXDIS-CL2 |
| Category | Automobile Accessories |
| Language | English |