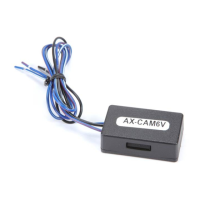
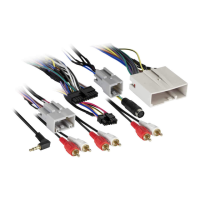
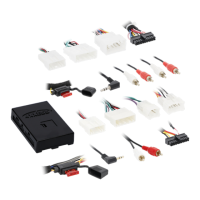
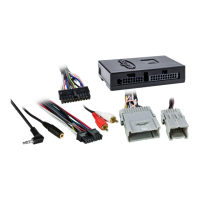
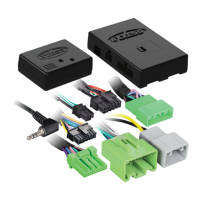
AX SWC
Radio Troubleshooting
REV. 2/20/20© COPYRIGHT 2020 METRA ELECTRONICS CORPORATION
Integrate • AxxessInterfaces.com
If the auto detect feature was used and at the end of the programming sequence the light in the AXSWC interface turned solid Red, yet fails to function, follow the steps below to trace down where
the problem may lie. If any of the following steps are performed, reset and reprogram the interface according to the vehicle specific document. Scroll down to the end of the document for a physical
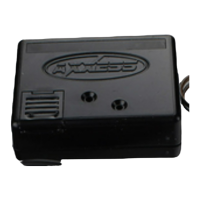
layout of the interface showing the reset button location.
• Make sure the 3.5mm jack from the interface is connected to the radio securely, and that it’s in the correct “steering wheel control” jack from the radio. Make sure it’s
not
plugged into the
“Bluetooth Mic” jack or “AUX-IN” jack. If unsure which jack to connect to the radio, contact the radio Manufacturer.
Note: Some radios don’t use a jack for steering wheel controls, instead they use a wire(s).
• If installing a radio with a wire(s) for connections instead of a 3.5mm jack, also program the steering wheel controls within the radio, after the interface has been programmed, and the light is
solid Red. Refer to the manual provided with the radio, or contact the radio Manufacturer for any questions regarding this process.
Note: This does not apply to JVC and Kenwood radios.
• Specific radio troubleshooting steps:
• For Kenwood radios: Make sure the LED feedback shows a Kenwood radio installed (2 Red light flashes). If the LED feedback shows a JVC radio instead (5 Red light flashes), reference the
Changing Radio Type document to change the radio type. If the LED feedback shows 7 Red light flashes, this could mean the wrong wire used from the radio, or a bad 3.5mm jack. Kenwood
radios use a Blue/Yellow wire for steering wheel control. Make sure the Blue/White wire is not accidentally used. If the radio is connected properly, then the 3.5mm jack may be at fault.
Remove the
3.5mm adapter
and wire the Kenwood directly to the “skinny” Red wire within the 3.5mm jack. Also, some Kenwood radios have a feature called Remote Sensor which disables
the steering wheel controls. If the radio has this feature, make sure it is turned on. If it is on, turn it off, then back on.
• For Alpine radios: Remove the 3.5mm jack from the radio, reset and reprogram the interface with the jack removed, then reconnect the 3.5mm jack back into the radio. Makek sure the
steering wheel control jack used is labeled “REM”. Also, some Alpine radios have a feature that turns the remote to either the back or the front. If the radio has this feature, make sure the
sensor is on the rear setting. If the setting is on the rear setting, turn it to the front, then back to the rear.
• For Pioneer and Sony radios: If the interface works, yet the buttons are out of order, or become out of order, this could be caused by the 3.5mm jack. It may not be seating properly, slipping
out, or have residue on the contacts. Clean the contacts, reinsert the jack firmly into the radio, then put a stress loop on the 3.5mm cable to prevent it from slipping out. Also, if anything is
prohibiting the jack from seating all the way in such as a heatsink, lightly trim some of the plastic from the 3.5mm jack as needed. Take note that the steering wheel control jack for Pioneer
radios is labeled “W/R”. For Sony radios it is a blue jack labeled “REMOTE”.
• Any radio using a wire for SWC connection: Ensure the correct steering wheel control wire is used from the
3.5mm adapter
. For radios only requiring 1 wire, make sure the solid Brown wire is
used. The Brown/White wire will not be used in these applications. Take note that the solid Brown wire is always the primary wire.
Keynotes
(a) If no SWC, change the radio type to the opposite radio type.
(b) If the interface shows JVC, change the radio type to Kenwood.
(c) If the interface shows Alpine, but an Alpine radio isn’t installed,
make sure the 3.5mm jack is plugged in.
(d) AXSWCH-PAR required (sold separately). The software in the
radio must be 2.1.4 or higher.
(e) Indicated with a SWC wire labeled "IR".
Radio # Radio
1 Eclipse (Type 1) (a)
2 Kenwood (b)
3 Clarion (type 1) (a)
4
Boss (type 1) / Dual / Sony
5 JVC
6 Pioneer / Jensen
7 Alpine (c)
8 Visteon / Boss (type 4)
9 Valor
10 Clarion (type 2) (a)
11
Boss (type 2) / Metra OE
12 Eclipse (Type 2) (a)
13 LG
14 Parrot (d)
15 XITE
16 Philips
17 Kicker
18 JBL
19 Insane Audio
20 Magnadyne
21 Boss (type 3)
22 Axxera (resistive SWC)
23 Axxera (data SWC) (e)
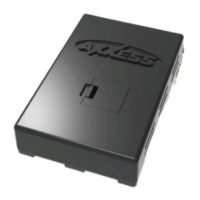
Radio LED Feedback (Red light)
Update Port Reset Button Programming LED
(Press and hold for
3 seconds, then release)
• If all steps have been performed and the interface still doesn’t function, or doesn’t function properly, update the interface to the latest software
via axxessinterfaces.com. After updating, program the interface to the vehicle following the vehicle specific document. If the interface still fails to
function, contact Tech Support at 386-257-1187. Be prepared to perform some tests in the vehicle when you contact Tech Support.

 Loading...