Connected Wires (Long Green
LED):
1
st
LED = White/Green wire on the AXSWC
2
nd
LED = Yellow/Green wire on the AXSWC
3
rd
LED = Green/Orange wire on the AXSWC
4
th
LED = Gray/Red wire on the AXSWC
5
th
LED = Black/Green wire on the AXSWC
6
th
LED = Gray/Blue wire on the AXSWC
7
th
LED = Pink or Blue/Pink wire on the AXSWC
Note: Quick green flash indicated wires NOT
connected.
Radio Type(Red LED):
Notes:
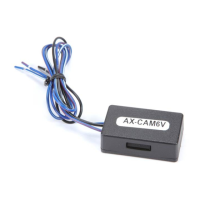
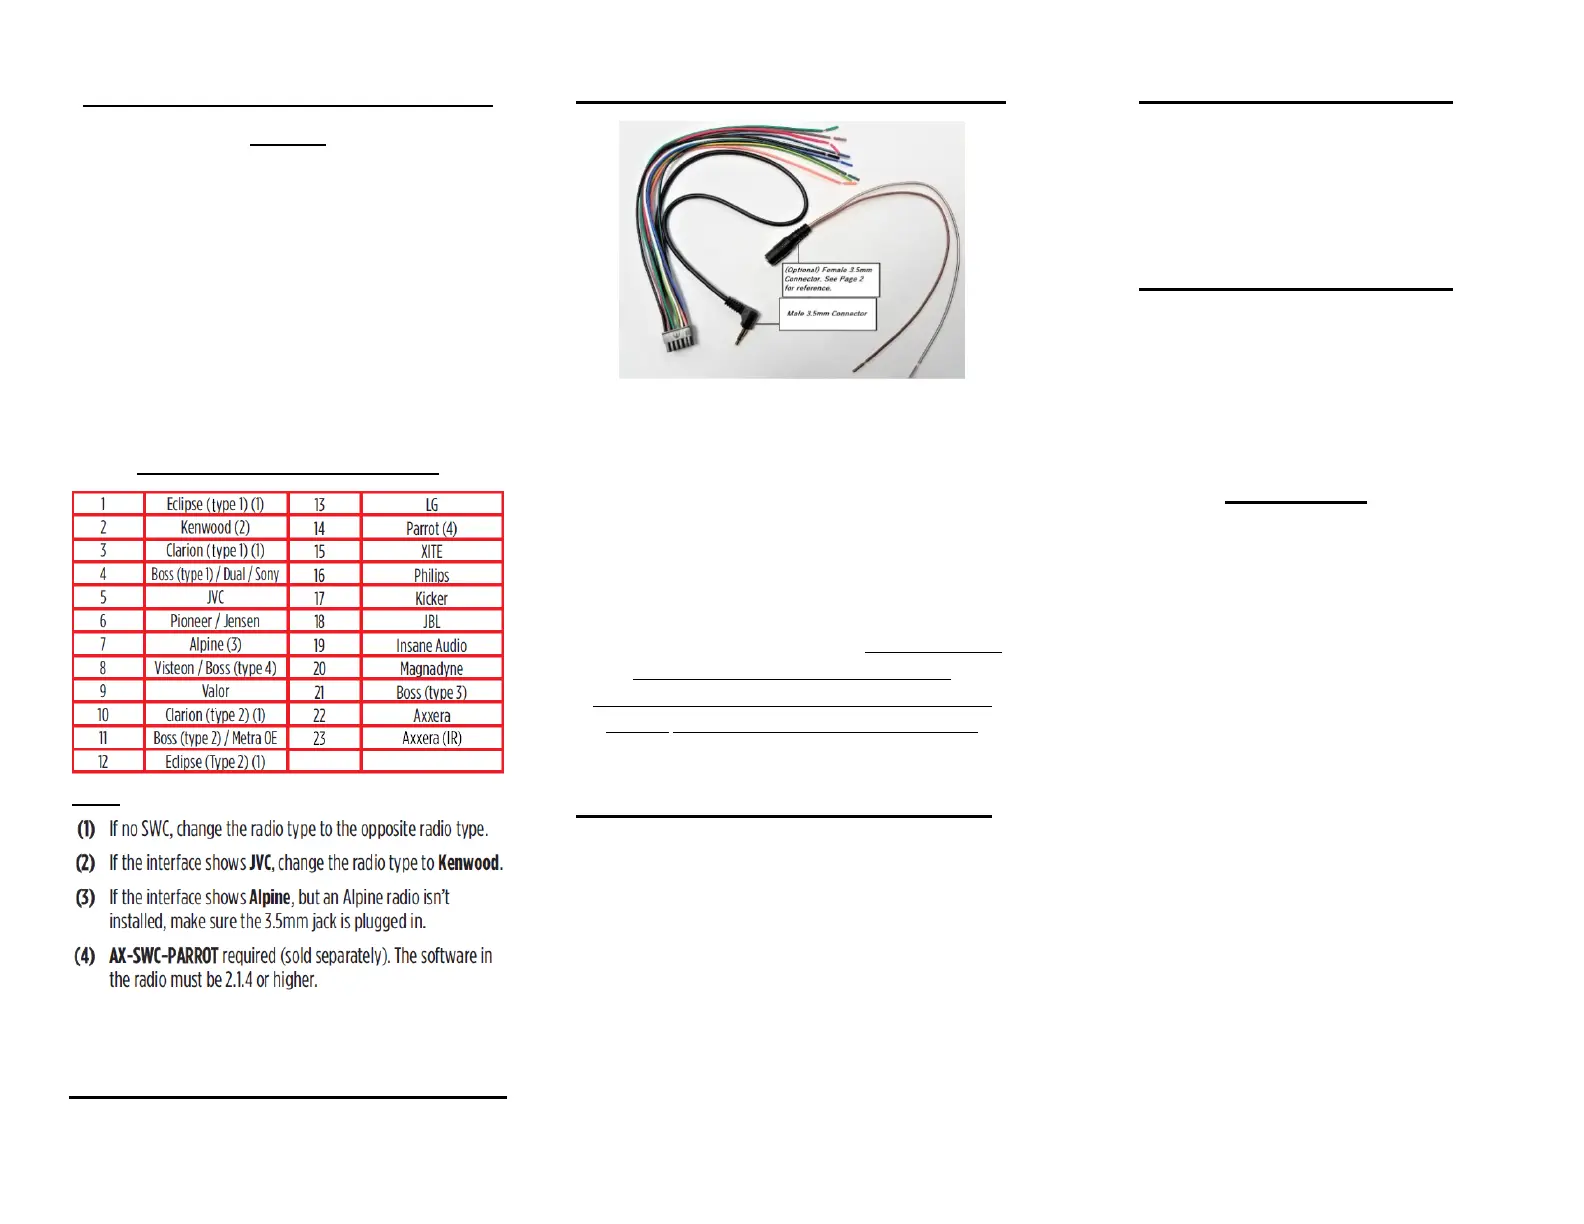
Universal 3.5 Jack Connections:
Some radios will have a 3.5mm port located on the
back of the radio. For radios with this option, plug the
male 3.5mm jack directly into the back of the radio.
For radios that don’t come with a 3.5mm port in the
radio, they will have their SWC wires pinned in the
harness.
Typically when going through troubleshooting and
programming on an AXSWC you can determine if you
are having a vehicle or a radio issue. If the LED on the
AXSWC is going solid Red at the end of
programming, the AXSWC is programmed to the
vehicle. You’re focus will now be on the radio.
Radios with a single SWC wire:
Connect only the Brown wire to the radios SWC (Steering
Wheel Control) wire. *Note: Kenwood & JVC radios
sometimes list their SWC wire as a “Marine Remote”.
Refer to your radio manual if you are unsure. “Typically”
single wire radios will auto detect as a Kenwood, or need
to be force programmed to a Kenwood radio type (Refer
to Radio Type Change on page 3). There are times this
isn’t the case. In those instances, please call Tech Support.
Universal 2 wire radios:
Connect the steering wheel control wire, referred to as
Key-A or SWC-1, to the Brown wire of the connector.
Then connect the remaining steering wheel control wire,
referred to as Key-B or SWC-2, to the Brown/White wire
of the connector.
Universal 3 wire radios:
Connect the steering wheel control wire, referred to as
Key-A or SWC-1, to the Brown wire of the connector.
Then connect the remaining steering wheel control wire,
referred to as Key-B or SWC-2, to the Brown/White wire
of the connector. At first, connect to the radio not using
the KEY / SWC Ground.
Operation:
If after you’ve gone through your connection type and
you’re still getting no functionality, go to the menu of your
new radio to see if you have an SWC menu. These SWC
Menus sometimes need to be set to the vehicle, much like
the AXSWC was set to the vehicle. If after going through
and using the SWC menu and having no success, there are
multiple things that can need to be done.
Switching the SWC 1 & 2 wires around (Universal 2 & 3
wire radios only), reset and reprogram, then retrying the
SWC menu is an option.
Starting at radio type 1 (refer to Radio Type Change on
page 3), change your radio type, then go to the SWC
menu, and try your buttons. If this doesn’t work, move
through each radio type until your find the proper
communication. If you never find the proper
communication, flip your wires, and start from type 1
again.
If flipping your wires doesn’t work, along with going
through radio types, you can go with a single wire
connection to just the Solid Brown wire on the AXSWC
3.5mm adapter.

 Loading...