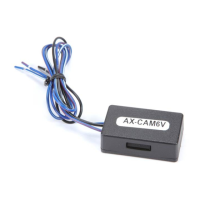
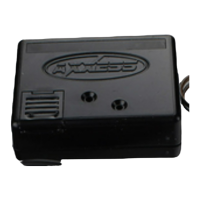
AXSWC Button Remapping
AXSWC button remapping will be used for people
that want to change button function from one thing
to another, once the AXSWC has been auto
detected in a vehicle. Note: This is not programming,
this only changes your buttons.
AXSWC Remapping Sequence:
Cycle the ignition to the on position
Within 20 seconds of turning the ignition
on, press and hold Volume Up until the
LED on the AXSWC goes solid, then release
the button (At this point volume up is
mapped)
You will need to follow the list below, in
exact order. You may program any button
you wish, in any location, other than
Volume Up and Volume Down, as long as
the button you are changing already has a
function working on it.
To skip a function in the list, hold Volume
Up until the LED comes on then release it.
This means you’ve skipped the function.
To complete the remapping process, press
and hold the Volume Up button until the
LED on the AXSWC goes out.
AXSWC Changing Radio Type
In some cases, you have to change the radio type.
Below you’ll see how to do this.
Radio Type Sequence:
Cycle the ignition to the on position
After 3 seconds, press and hold Volume Down
till the LED on the AXSWC goes solid, then
release.
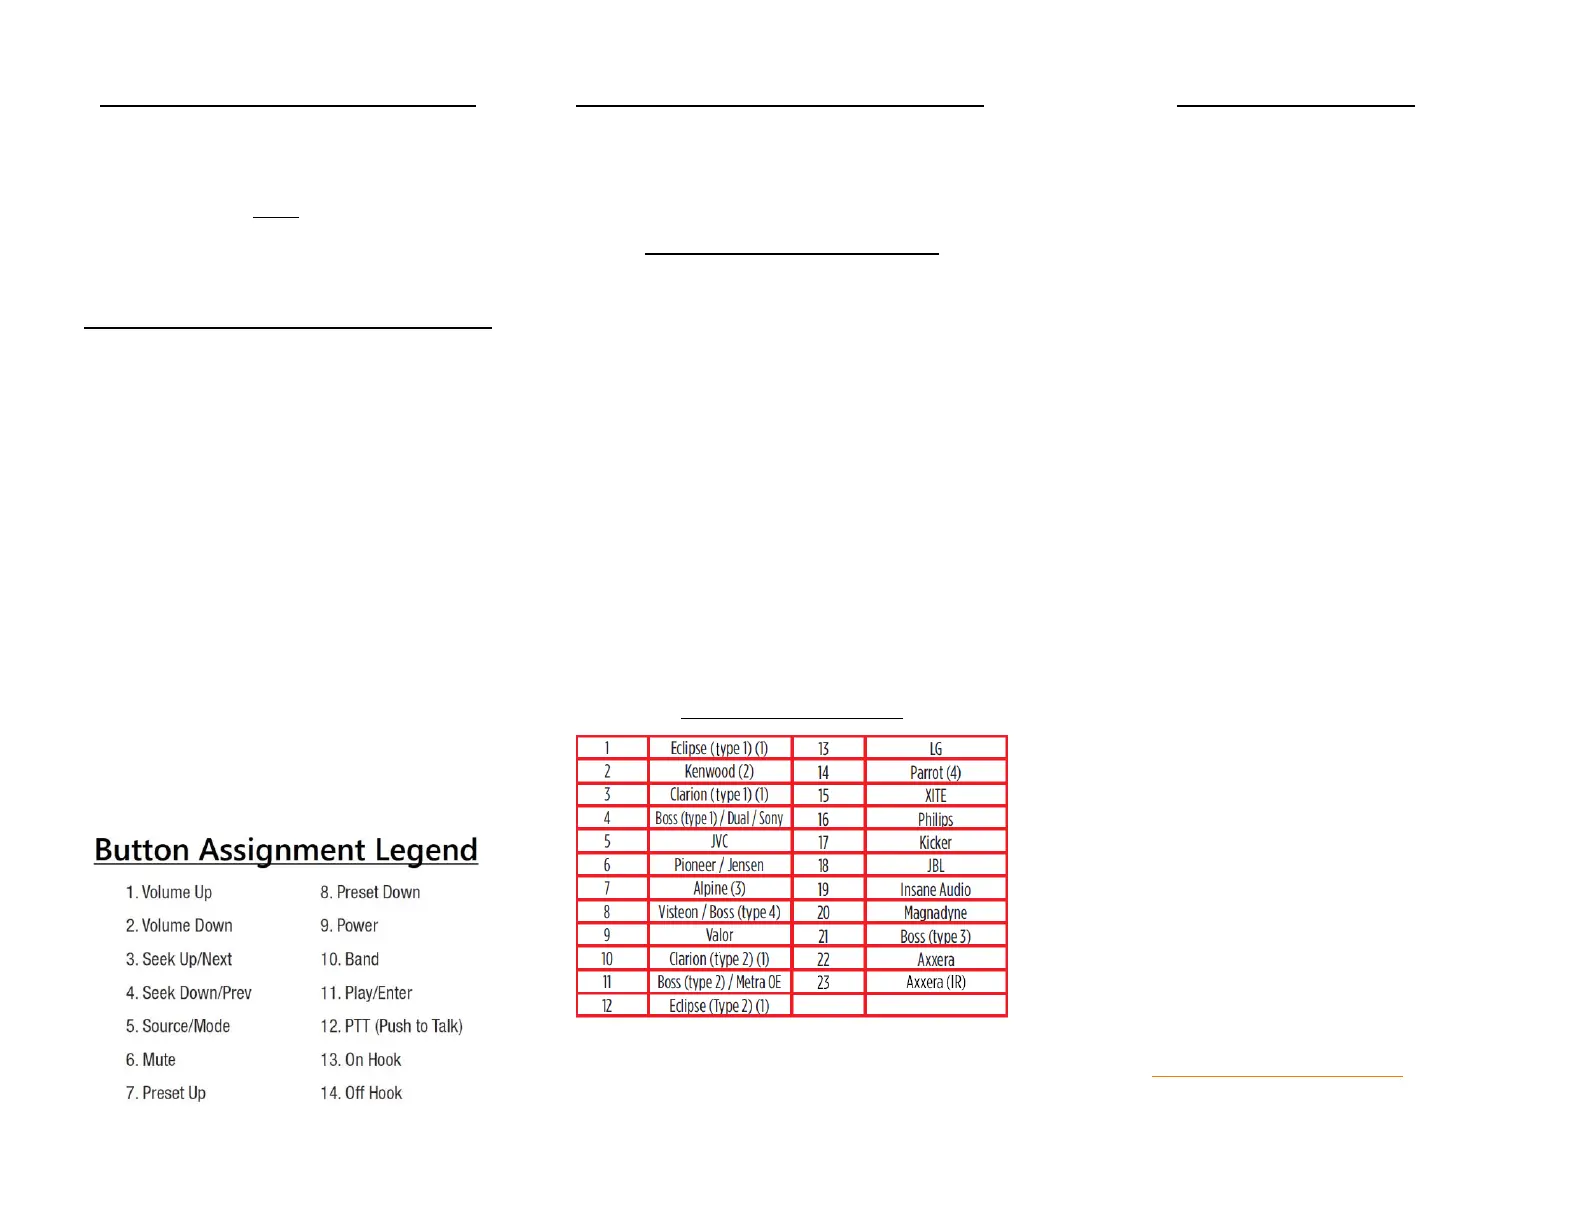
Tap Volume Up the designated times for your
radio code. *Note: Your radio code is below, and
will correspond with the number beside it.
Once you’ve tapped Volume up the proper
amount of times for your radio code, Press and
hold Volume Down until the LED goes solid.
Once the LED goes Solid, you have completed
changing the radio type.
Radio Type List:
Troubleshooting:
Verify 12 volt power & chassis ground have a
good connection. * Tip: If you have the ground
wire going to your radio harness, remove it and
take it to a bolt or solid piece of metal located in
the vehicle dash.
_________________________________________
Verify your connections are proper and that the
view of the connector was established properly
when finding your connections. (Pin view or Wire
view)
____________________________________
Verify the 3.5mm jack is secured in its proper
location, and not in a secondary location.
_________________________________________
Remove any aftermarket T-taps, or barrel
connections, as these will add resistance to a
resistance based system.
_________________________________________
If using a “2 or 3 wire” universal style radio, verify
that you’re using the proper connection to the
radio using the female 3.5 jack.
_________________________________________
*Pioneer radio users* if you’ve installed your
Pioneer, and the buttons are either mixed up, or
not all working, do the following: Pop the 3.5 male
jack in and out of the back of the radio 5 – 6 times.
On the last time, make sure it’s set in well. Once
this is done, reset and reprogram the AXSWC (as
seen in the beginning of the instructions).
_________________________________________
If you’ve made all your connections and the
AXSWC won’t connect, remove any and all
aftermarket connectors. T-Taps, Barrels
Connectors, and Quick Connectors will all add
resistance.
______________________________________
NOTE: Steering wheel controls must be the ones
that came with the vehicle when purchased. Axxess
does not support custom work to vehicles, i.e. adding
a new steering wheel with new / different buttons.
____________________________________
If you’ve exhausted every portion of troubleshooting,
as well as the installation guide, you can call Tech
Support at 800-253-8324, or email at
Techsupport@metra-autosound.com. Be aware, we
will go over everything covered in this installation
guide. Please have your vehicle apart, with your
vehicle, and ready to work.

 Loading...