7-3
Chapter 7 Operation
y
Checking the Settings
y
Checking the Configuration (Settings)
Refer to
Chapter 6 Configuration (Setting),
and correct any incorrect settings that are
found.
y
Checking the Burnout (B/O) Setting
Check using the communicator (CommStaff) that the burnout direction is correct. The
burnout direction and whether it is used can be changed using SW2 and SW3 on the elec-
tronics module of the probe.
Table 7-1. Upper and lower limit current levels and burnout (B/O) current level
(for
details on upper and lower limit current values and burnout current settings)
y
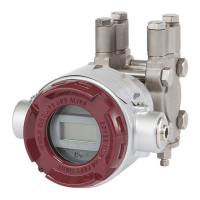
Burnout (B/O) ON/OFF: SW3 (
Fig. 7-2)
Burnout indication can be set ON or OFF.
ON (E side) : The burnout is enabled.
OFF (D side) : This device will continue to output the measured results without burnout
indication.
y
Burnout direction: SW2 (
Fig. 7-2)
The following shows output behavior in the case of a serious failure.
Hi (H side) : The output goes above the upper limit.
Low (L side) : The output goes below the lower limit.
Table 7-1. Upper and lower limit current levels and burnout (B/O) current level
Lower limit
current
Upper limit
current
B/O DOWN B/O UP
Output 3.6 mA 21.6 mA Less than 3.6 mA
More than 21.6 mA
SW2
Fig. 7-2. Location of SW1, SW2, and SW3
y
Checking the Self-Diagnosis
Check that the status of the self-diagnosis is OK.
If the status of the self-diagnosis is not OK, take appropriate measures, referring to
Chapter 10 Self-diagnosis
.
y
Checking the Constant Current Output
The output is fixed within a range of 4–20 mA in the constant current mode. The constant
current mode can be used for loop tests.
 Loading...