10 AB-6650
Installation procedure:
MIZCON Plus controller replacing MIZCON inside the former version of the rain-proof case (Part No.
DY3001A2002)
To install the controller inside the former version of the rain-proof case sold on March 31, 2005 or before, to replace
MIZCON with MIZCON Plus in other words, replacement plates (Part No. 83167610-001, 2 plates/set) are required
because the intervals between the mounting holes of the controller and of the case are different. Be sure to separately
order the replacement plates.
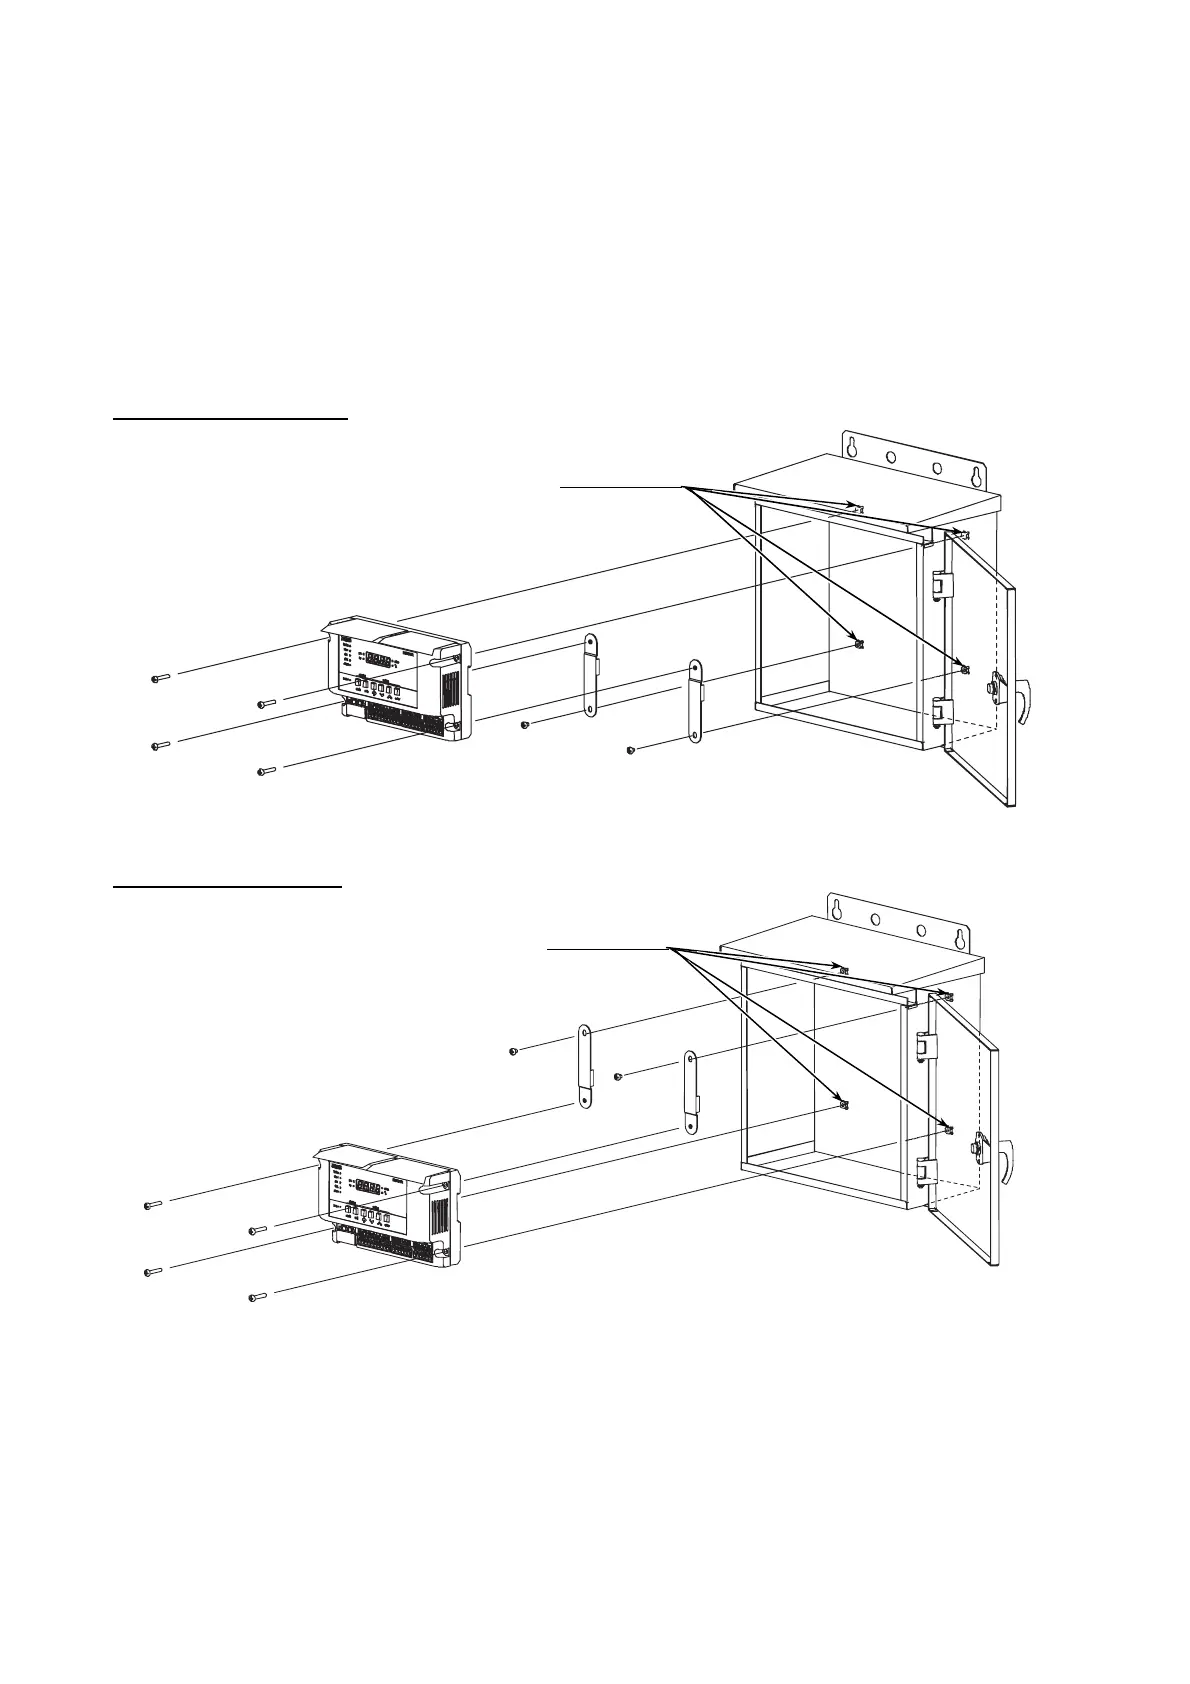
Install the controller on the inside wall of the rain-proof case with four M4 screws (supplied with the MIZCON Plus
controller) and the 2 replacement parts. For the replacement parts installation, reuse two M4 screws supplied with the
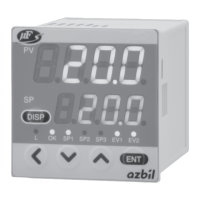
MIZCON controller. The controller can be mounted either on the higher part of the wall or on the lower part of the wall.
(See Figs. 8 and 9.)
Mounting onto the higher part
4 mounting holes
Controller
4 M4 screws
Rain-proof case
2 M4 screws (supplied with MIZCON)
and 2 replacement plates
Figure 8. Controller replacement inside the former version of the rain-proof case (higher part)
Mounting onto the lower part
4 mounting holes
2 M4 screws (supplied with MIZCON)
and 2 replacement plates
Controller
4 M4 screws
Rain-proof case
Figure 9. Controller replacement inside the former version of the rain-proof case (lower part)