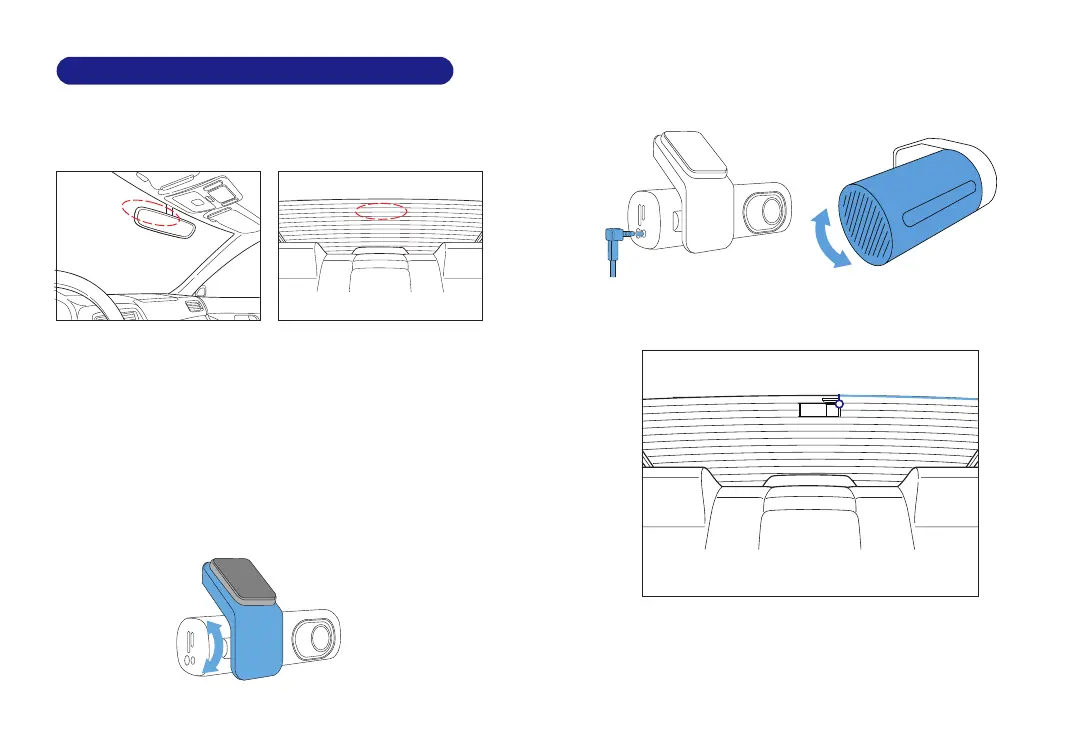
Install the front camera behind the rear view mirror. Install
the rear camera at the top of the back windshield. Remove
any foreign matter and clean and dry the windshield before
installation.
1. Turn off the engine, gently push the card into the slot until it
locks into place.(Please using class 10 or above high-speed U3
micro-SD card)
2. Find a suitable place on windshield where don’t obstruct the
driver’s field of vision and remove any foreign matter and
clean and dry the windshield before installation.Tear off the
protective layer of the electrostatic sticker and adhere the
electrostatic sticker to the windshield to prevent mark/glue
on your windshield after removing it.
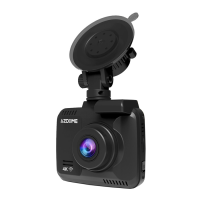
3. Peel off the protective film from the double-sided tape and
attach the front camera to the electrostatic sticker.Adjust the
angle of the lens by rotating the body of the front camera.
4. Peel off the protective film from the double-sided tape and
attach the rear camera to the rear windshield. Adjust the
angle of the lens by rotating the body of the rear camera,
connect the front camera and the rear camera.
5. Use the pry tool to lift the edges of the rubber window
sealing and molding and tuck in the rear camera connection
cable.
6. Plug the cigarette lighter power cable into the cigarette
lighter socket and the front camera.Use the pry tool to lift the
edges of the windshield trim/molding and tuck in the power
cord.
EN-11 EN-12
Rearcameracable
7. Installation