User Manual
Page 17 of 44
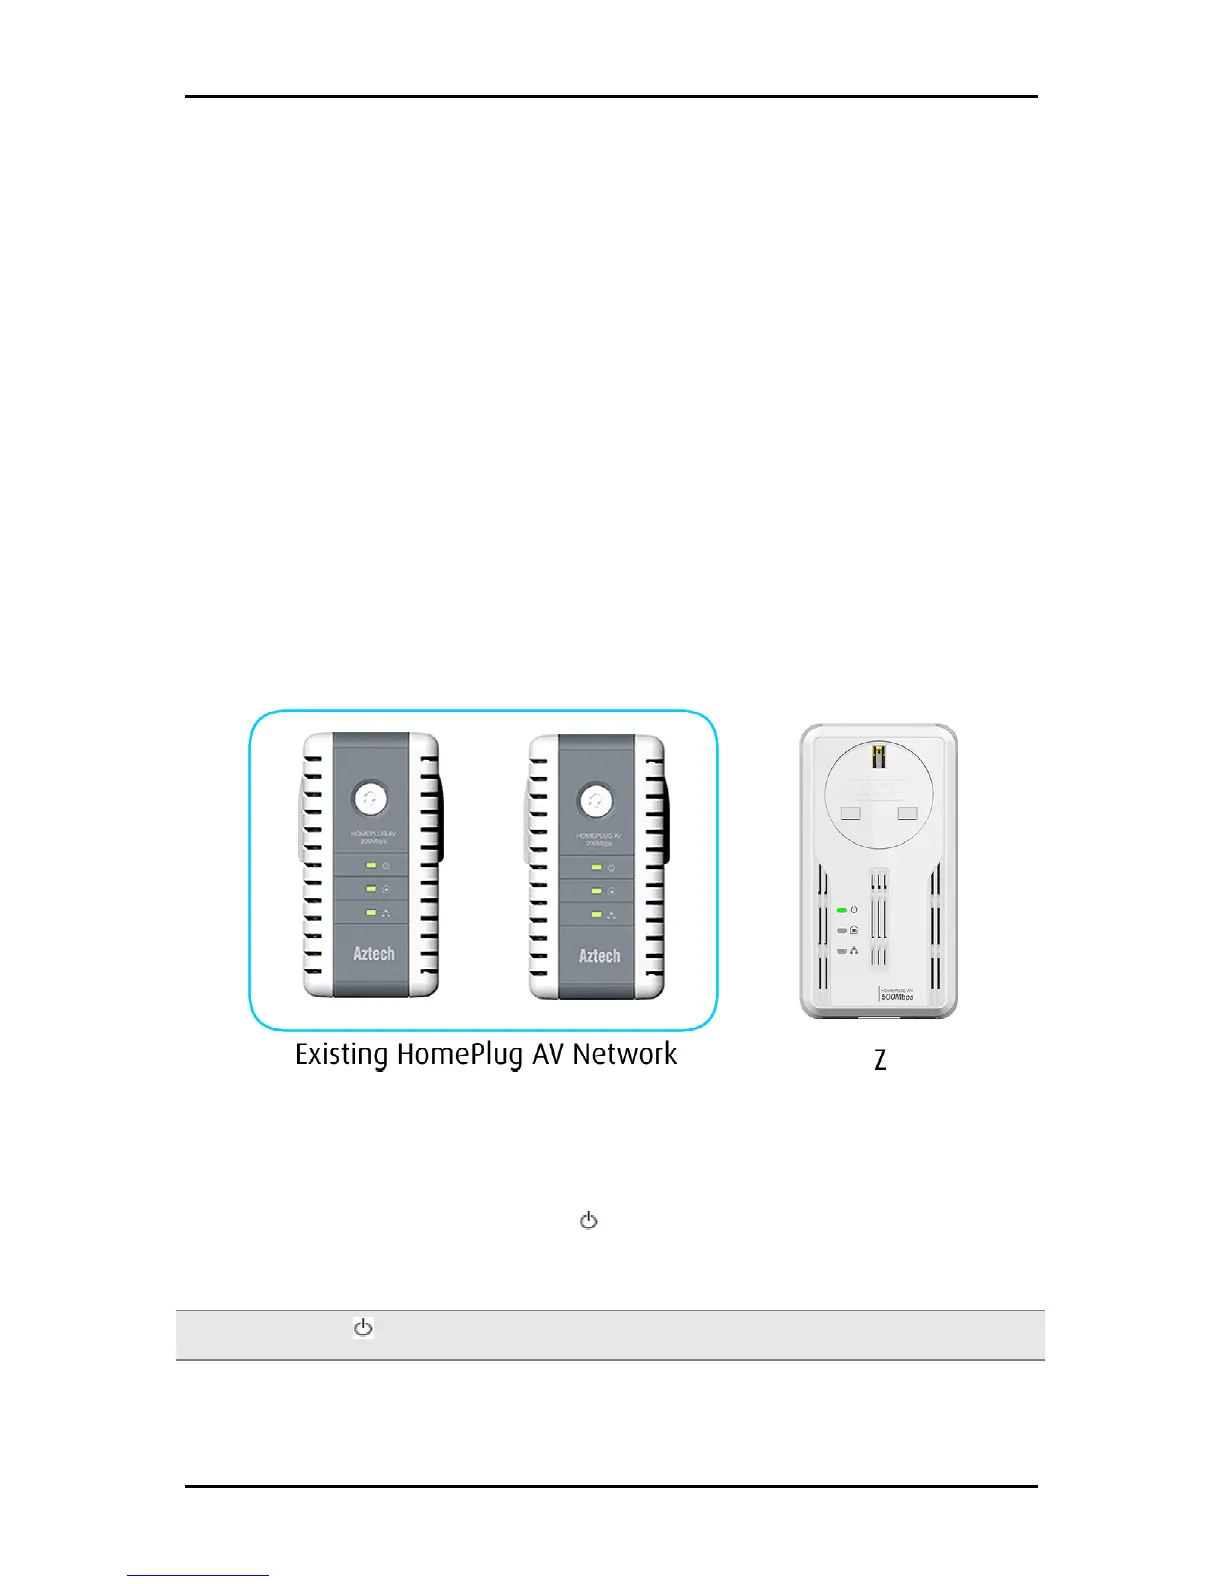
Joining an Existing Secured HomePlug AV Network
To enable a new device to join an existing network, Simple Connect will copy the Private
Network Name of the existing network to the new HomePlug AV. If you pressed Simple
Connect from multiple HomePlug AVs, only the signal from the first two devices will be
processed.
To join an existing Secured HomePlug AV network using Simple Connect:
Step 1
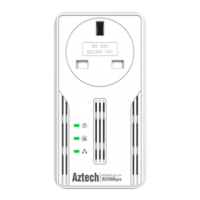
Plug HomePlug AV Z beside one of your existing HomePlug AV device. Make sure you can
easily observe the LED behavior.
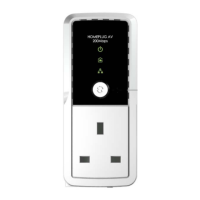
Upon connection, HomePlug Z’s LEDs will blink simultaneously and then the Power LED
lights ON steadily. Ethernet LED will be ON if there is an ethernet link.
Step 2
Press Simple Connect for ten seconds from a HomePlug AV Z. After you release the
button, All LED will blink. The Power LED will stay ON.
Note: If the all LED did not blink, press Simple Connect again for ten seconds.