User Manual
Page 9 of 44
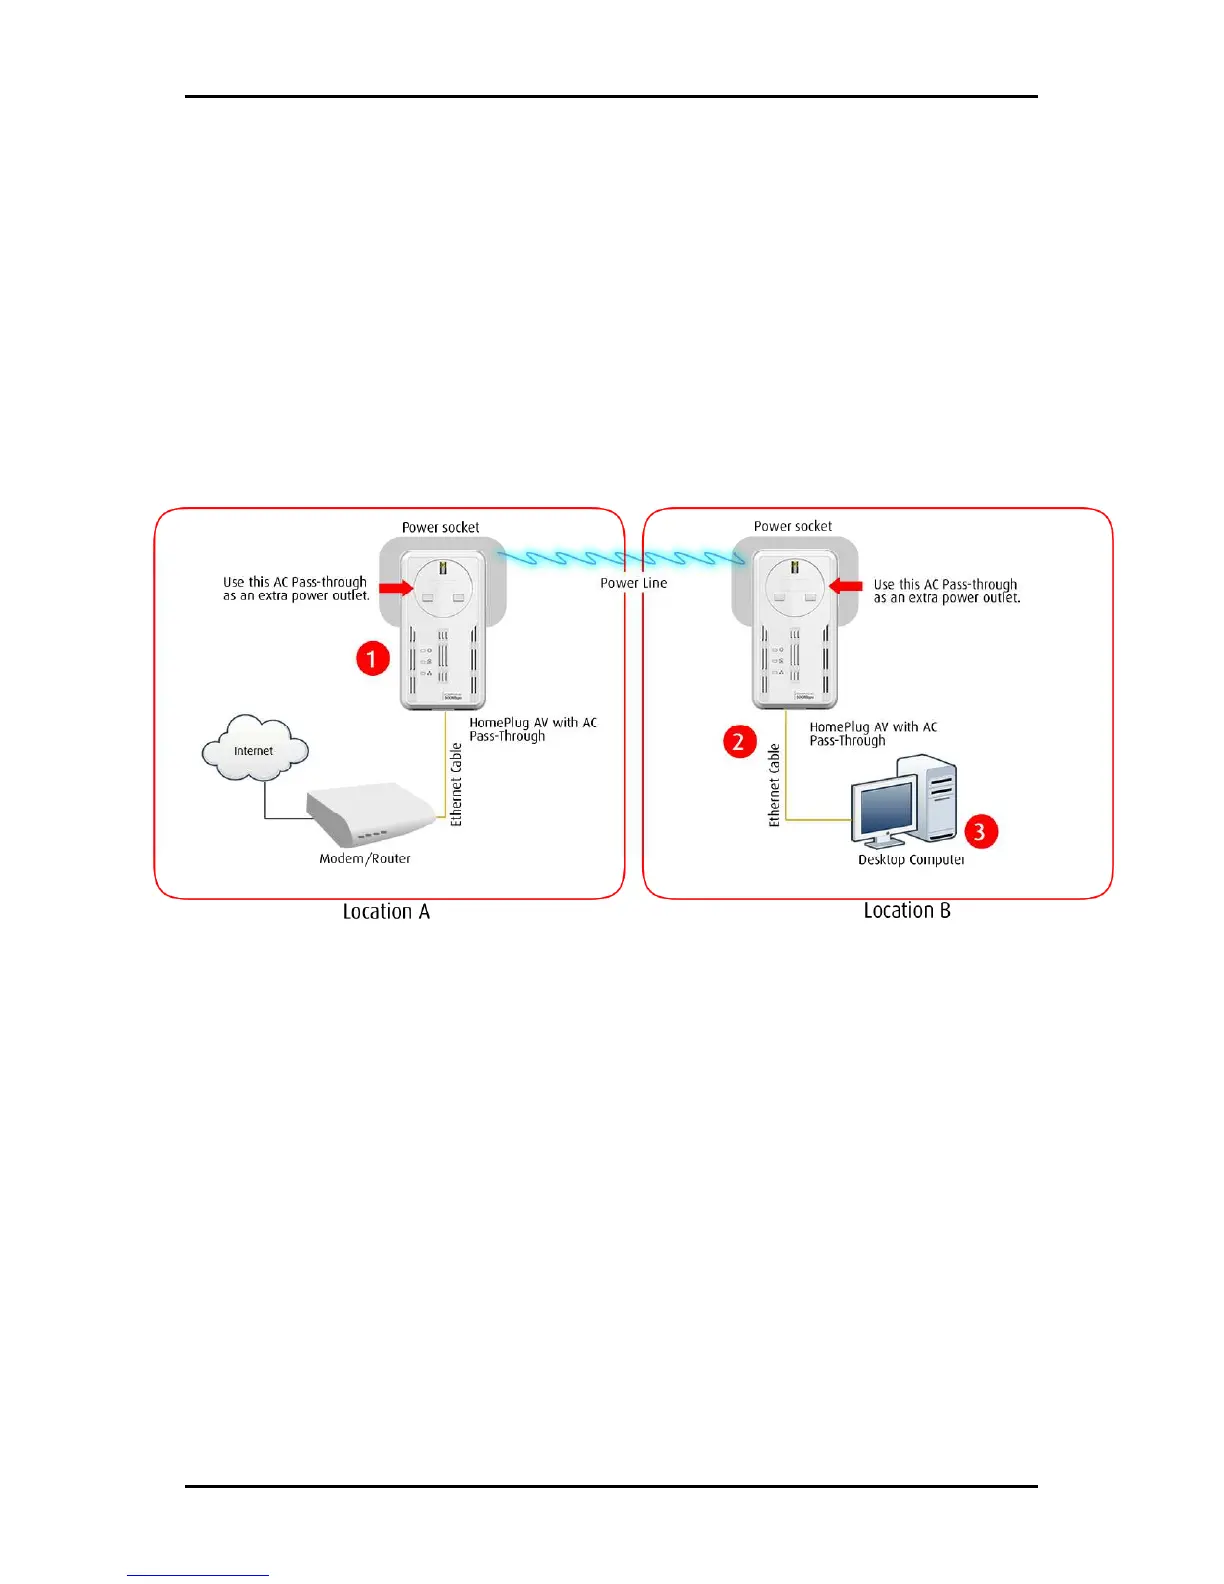
Pairing the Device
Your HomePlug AV devices by default are preconfigured to have a common Private
Network Name. Setting up your HomePlugAV network is as easy as 1,2 and 3.
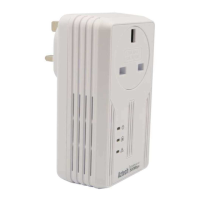
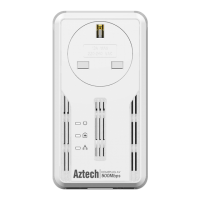
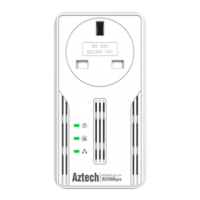
1. Plug in your HomePlugAV devices side by side to easily observe the LED behavior.
Wait until the Power and PL-ACT LED turns ON to confirm that the connection has
been established.
2. In Location A plug in your HomePlugAV into the wall socket then connect it to
your Modem/Router’s Ethernet LAN port using an Ethernet cable.
3. In Location B plug in your HomePlugAV into the wall socket then connect it to
your computer’s Ethernet Port using an Ethernet cable. Your HomePlugAV is now
ready to use.