Unpacking and Inspection
UNPACKING AND INSPECTION
Upon receipt of meter, perform the following:
OTE:N If damage to the shipping container is evident, request the carrier to be present when meter is unpacked.
1. Carefully open the shipping container. Remove all the cushioning material surrounding the meter and carefully lift the
meter from the container. Retain all of the packing material for possible use in reshipment or storage of the meter.
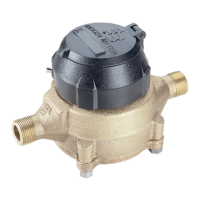
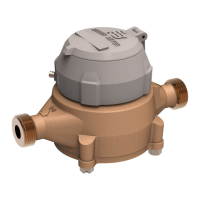
2. Visually inspect the meter and the accessory device for any physical damage such as scratches, loose or broken parts, or
any other damage that may have occurred during shipment of the product.
OTE:N If damage is found upon receipt of the equipment, request inspection by the carrier's agent within 48 hours of
the delivery. Then file a claim with the carrier. A claim for the equipment damaged in transit is the responsibility of
the customer.
INSTALLATION
MPORTANTI
The meter must be installed horizontally in the line with the registration upright.
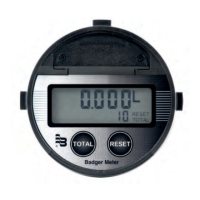
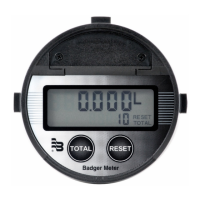
Any special instructions required for the installation and or electrical connection of any meter-mounted or freestanding
accessory devices, such as registers, pulse transmitters, and remote batch controllers, will be provided as a supplement to
this manual.
Please read the following instructions to become familiar with the requirements and the recommended procedures involved.
THE METER MUST BE OPERATED IN AN APPLICATION WITHIN THE SPECIFIED TEMPERATURE RANGE TO OBTAIN
OPTIMUM ACCURACY AND PREVENT DAMAGE TO ANY INTERNAL COMPONENTS.
1. Verify the uid operating temperature range is compatible with the materials of construction of the meter received.
THE LIFE OF THE METER WILL BE IMPAIRED IF IT IS OPERATED AT FLOW RATES IN EXCESS OF THOSE INDICATED IN THE
PRODUCT SPECIFICATIONS.
2. If any solid material is present in the liquid, install a strainer upstream of the meter.
3. Locate the meter installation with consideration for sucient space for cleaning and maintenance of the meter.
4. Review the overall dimensions (including laying length requirements) of the meter. If necessary, consider the height
dimensions including the meter-mounted accessory. Then proceed as follows:
a. Measure the overall length of the meter with the connection pieces attached to the inlet and outlet spuds of the meter.
b. Be sure to provide this proper gap length in the facility piping.
Page 4 September 2014RDM-UM-01089-EN-06