6
PanelMax installation instructions
6. Fit the Opener
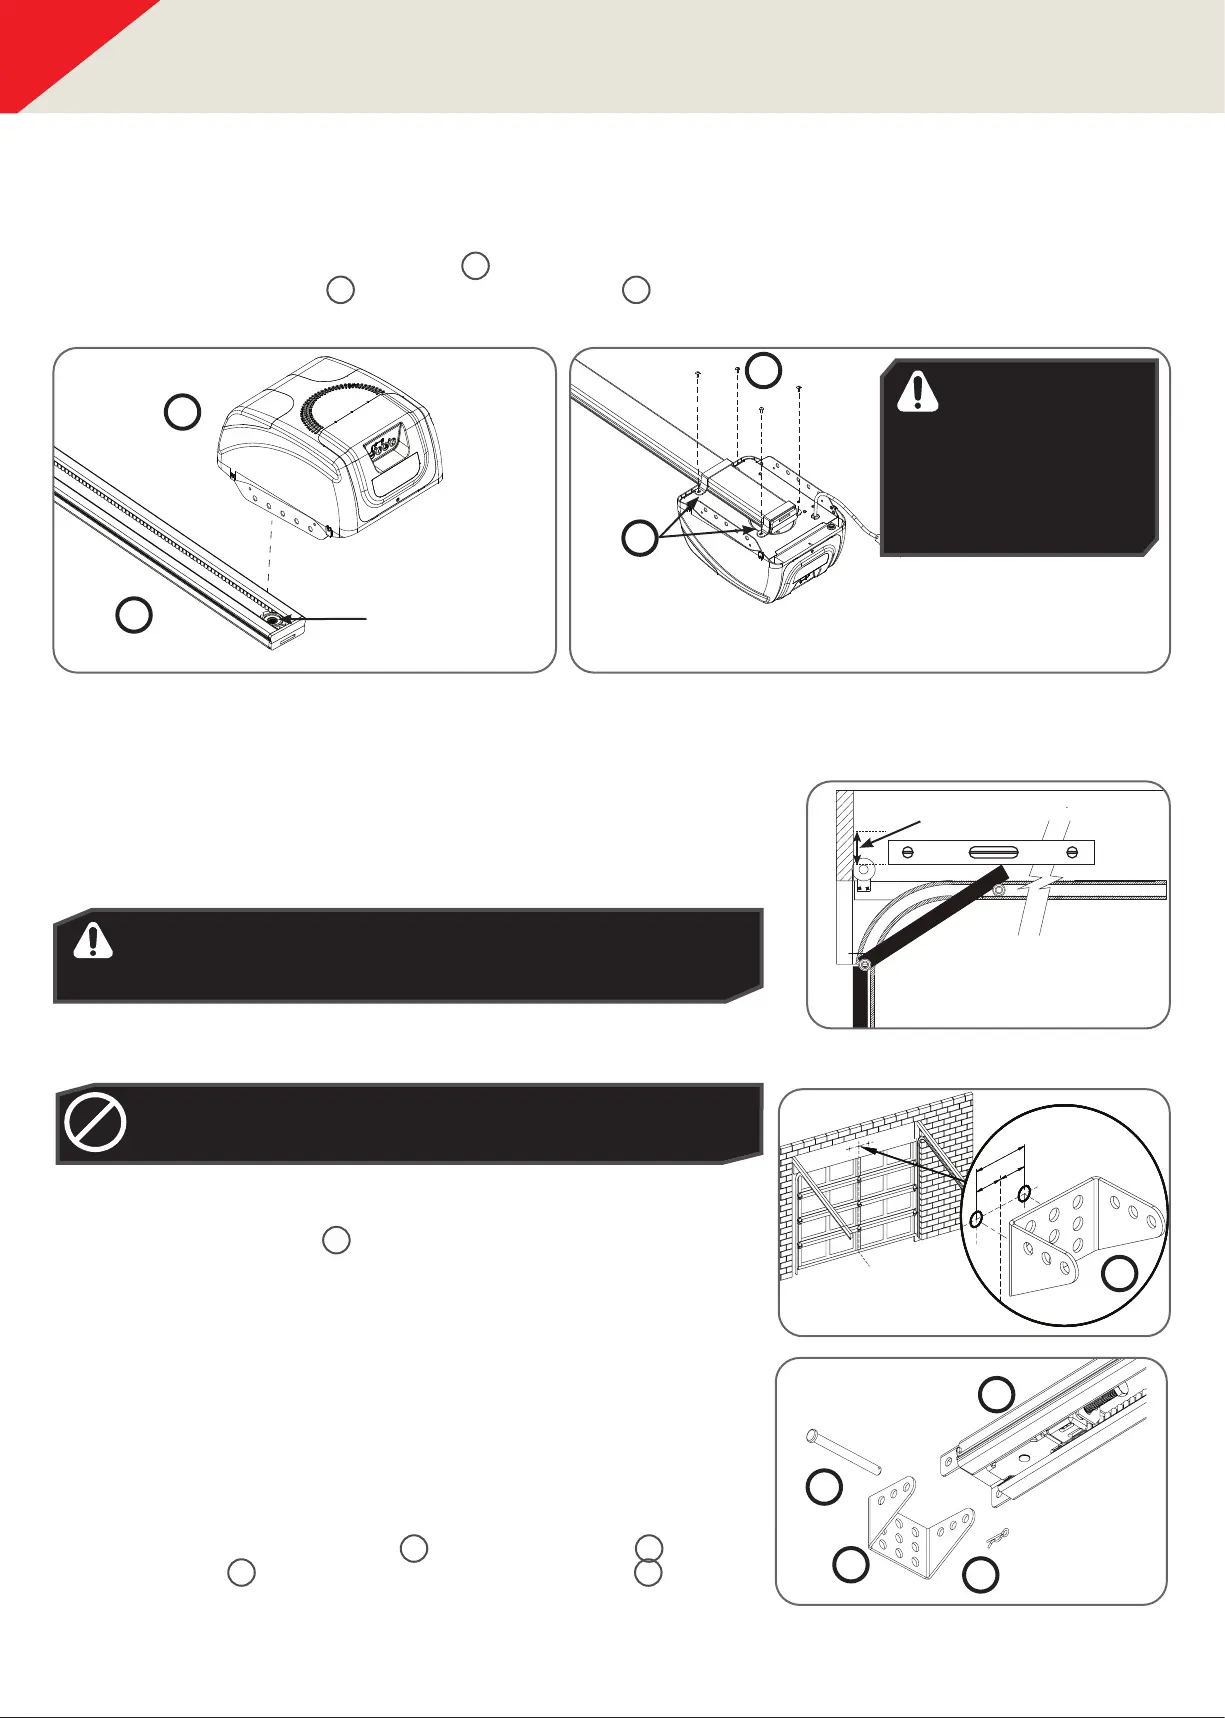
6.1Secure C-Rail to Opener:
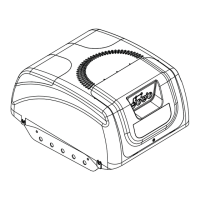
a. Remove the Opener from the box, taking care of antenna (if tted).
b. Locate and insert the shaft of drive unit
1
into the C-Rail’s sprocket.
c. Fix the two track brackets
15
with four (4) M4 x 8 screws
14
supplied in accessory pack.
d. Place drive unit back in packing box for protection.
Locate shaft into
the sprocket
16
1
14
WARNING!
DO NOT use tek screws
to afx rail. Only use
the screws provided,
and x these into the
threaded holes in the
chassis.
7. Bracket Position
7.1Wall Bracket Position:
a. Determine the centre of the door and mark this point with a line on the
wall above.
b. Raise the door and nd the highest point of travel of the rst (top) door
panel.
60mm
Level
WARNING! The Opener must be securely fastened to structural
supports, otherwise opener failure may ensue causing serious
personal injury and / or property damage.
DO NOT DO IT YOURSELF: If sufcient structural support can
not be found, contact a door profressional for installation.
DIY
c. Using step ladder and a level, transfer this height to the wall above the
door and mark a line 60mm above it, across the centre line.
7.2 Mounting the Wall Bracket:
a. Draw two lines extending 21.5mm from each side of the centre point.
b. Centre the wall bracket
6
over the intersection of these two lines.
Mark centres for at least two holes and ensure it is into a solid mounting
point.
c. Drill holes in the wall with an appropriate bit.
d. Secure to the wall using:
i. IF CONCRETE OR BRICK:
8mm (5/6”) loxins/dynabolts.
ii. IF TIMBER:
wood screw #20 or similar (min. 50mm).
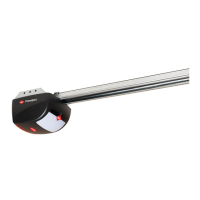
7.3 Attach the Track to the Wall Bracket
a. Leave the drive unit in its packing box on the oor for protection and
lift the other end of the C-Rail.
b. Attach the pre-assembled track
16
to the wall bracket
6
with the
90mm long pin
11
and secure with the supplied pin snap
9
.
6
15
16
11
9
6