Bandit
31
Copyright 4/21
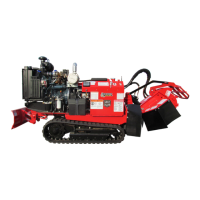
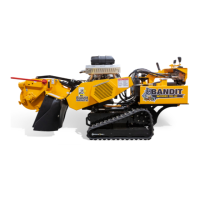
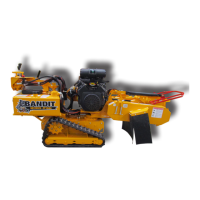
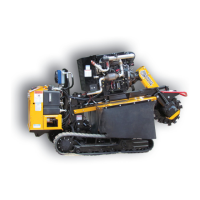
MODELS 2550/2550T
CONTROL OPERATING PROCEDURES
REMOTE
1. Power Display: Displays engine information: Temperature, RPMs, Tach / Hour Meter, etc.
2. Ignition Switch: Location varies with dierent engine options.
3. Link Light: If the transmitter is linked to the machine the link light will be on.
4. Tether Plug Jack: Plug the tether cord in here to control the machine if the batteries in the remote control
run out of power or the remote is not working.
5. Remote / Tether Switch: If the switch is in the remote position, the machine is controlled by the trans-
mitter. If the switch is in the tether position and the tether cord is plugged in to the jack, the machine is
controlled by the tether.
6. Emergency Stop: Stops the engine in emergency situations.
7. Cutter Wheel On / O Switch: Before engaging or disengaging the cutter wheel, make sure the
engine is at an idle. To turn the cutter wheel on, push the switch up. To turn the cutter wheel o, push
the switch down.
8. Swing Speed Control: The swing speed controls the rate the cutter wheel passes through the stump.
To decrease the swing speed, turn the control knob clockwise.
9. Travel Speed Control: The travel speed controls the rate the machine approaches the stump. To decrease
the travel speed, turn the control knob clockwise.
10. Battery Status Light: Kar-Tech remote will have a blinking red light when the battery is getting low.
11. Status Light: If the transmitter is working properly the status light will be green and ashing. See the
LOR manual for further information.
12. Swing Left / Right: To swing the cutter wheel to the left, push the switch, away from the operator. To
swing the cutter wheel to the right, pull the switch, towards the operator. The swing is stationary when
the switch is in the center location.
13. Power On / O Switch: To switch the remote transmitter to on, push the switch away from the operator.
To switch the remote transmitter to o, pull the switch towards the operator.
14. Cutter Bump Adjustment: Turn the knob clockwise to increase the distance the cutter wheel drops
when you hit the cutter wheel up and down or lift control switch and counter-clockwise to decrease the
cutter wheel drops.
15. Left Track Forward / Reverse: To move the left track forward, push the switch away from the operator.
To reverse the left track, pull the switch towards the operator. The left track is stationary when the switch
is in the center location.
16. Grading Blade Up / Down (Optional): If equipped, to lower the grading blade, push the switch away
from the operator. To lift the grading blade, pull the switch towards the operator. The grading blade is
stationary when the switch is in the center location.
17. Right Track Forward / Reverse: To move the right track forward, push the switch away from the operator.
To reverse the right track, pull the switch towards the operator. The right track is stationary when the
switch is in the center location.
18. Cutter Down / Up: To lower the cutter wheel, push the switch away from the operator. To lift the cutter
wheel, pull the switch towards the operator. The cutter wheel lift is stationary when the switch is in the
center location. When using a transmitter, if you hit and release the lift down switch, the cutter wheel will
drop a certain distance that is adjustable using the cutter bump adjustment.
CONTROLS