8. Installation menu
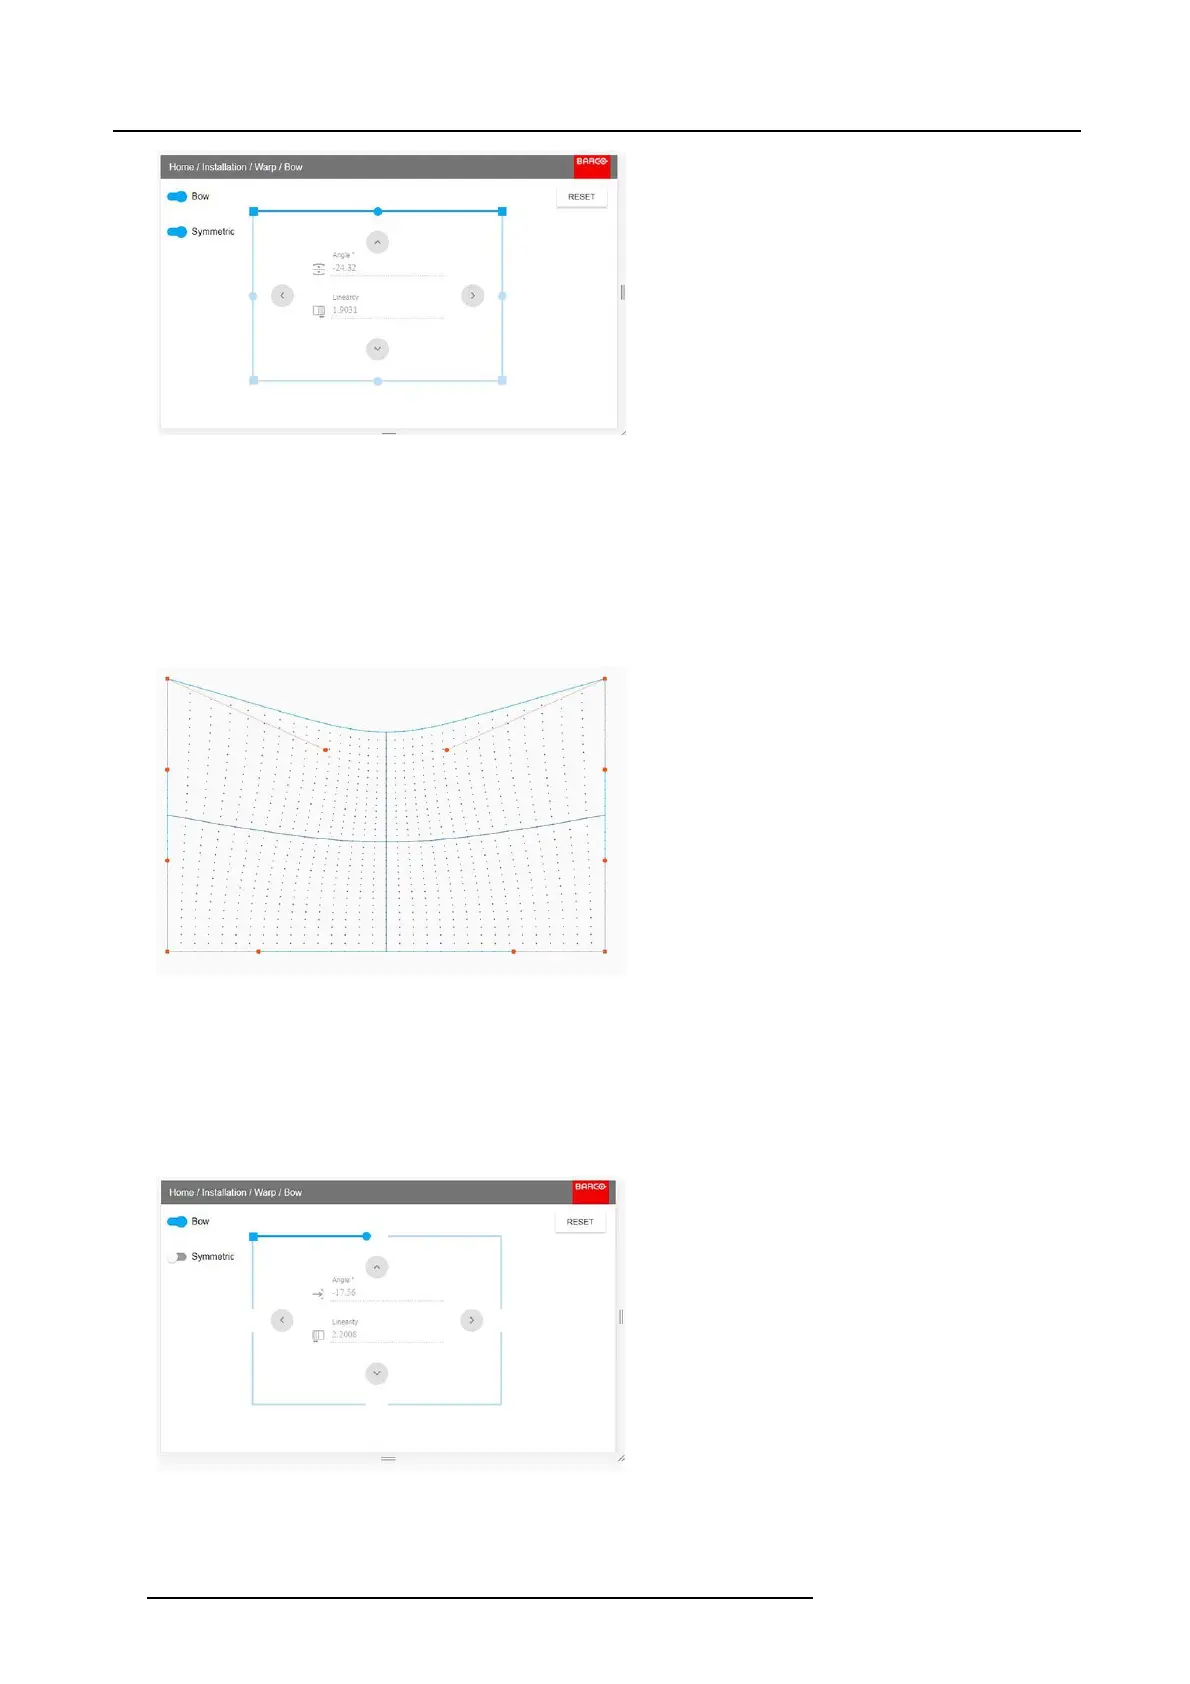
Image 8-24
Symmetric Bow correction.
4. To enable a symmetric adjustment, m ake sure the Symmetric slider is set t o On.
The slider is enabled when set to the right and when it is colored blue.
5. Select the side of the picture to be bow corrected, confirm by pres sing enter, and use the arrow keys to adjust the angle and
linearity (length) of the vectors.
The angle is ad justed by the up and down arrows on the remote control, and the linearity is adjusted by the left and right arrows.
The correction w ill occur s ymm etrically on each s ide of the center of the highlighted side.
When corrected with the values in the image abov e, the picture will oc cur as s hown below.
Repeat this step for all sides of the picture that has to be corrected.
Image 8-25
Symmetric bow corection
Non symmetric bow correction
1. Enter the Bow menu, and disable the symm etric slider.
2. There are now two vectors on each side of the picture that can be adjusted individually. Select each of them, and adjust angle
and linearity (length) individually to obtain the correct correction.
The angle is adjusted by the up and down arrows on the remo te control, and the linearity is adjusted by the left and right arrows
Image 8-26
Left vector of the upper side of the picture.
72 601–426 F70 SERIES 24/10/2017

 Loading...


