Do you have a question about the BD EnCor Enspire and is the answer not in the manual?
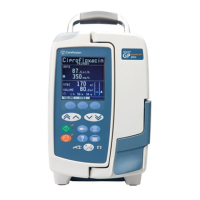
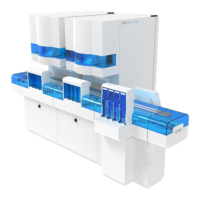
Steps to power on the EnCor Enspire Breast Biopsy System, including main and standby switches, and foot pedal connection.
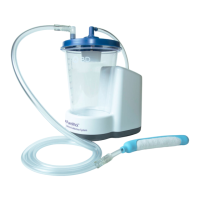
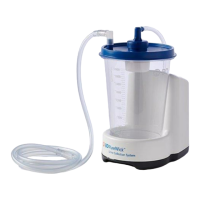
Instructions for setting up the vacuum system, including canister, lid, and tubing cassette connections for biopsy procedures.
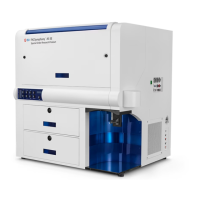
Guide on attaching the MRI probe to the MRI Driver and connecting extension tubing, ensuring proper seating and connection.
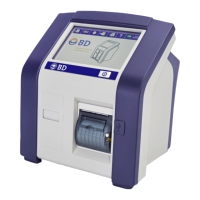
Procedure for initial touch screen setup and probe calibration by attaching the probe to the driver and initiating the sample sequence.
Steps for preparing the breast for biopsy, including targeting, sterilization, anesthetization, and making a skin nick.
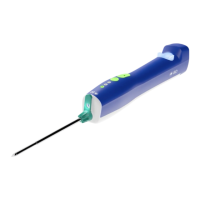
Instructions for preparing the trocar by inserting it through the cannula and setting the depth stop according to target depth.
Guide on placing and locking the biopsy grid block into the correct orientation and fenestration on the MRI grid.
Steps for securing the cannula into place by twisting the trocar and rotating the depth stop clockwise to lock it.
Procedure to confirm the VisiLoc position by replacing the trocar with an MRI-visible obturator and performing a scan sequence.
Detailed steps for performing tissue sampling, including choosing a pattern, inserting the probe, activating sampling, and post-sampling vacuum.
Guide for placing a biopsy marker, involving removing the probe, inserting the marker applicator, unlocking, and deploying the marker.
Instructions for cleaning up after the procedure, including disconnecting tubing, disposing of components, and managing biohazard materials.
Overview of probe sizes, depth beyond obturator tip, and sample notch lengths for different trocar types.
| Power Source | Electric |
|---|---|
| Manufacturer | BD (Becton Dickinson) |
| Needle Length | 10 cm, 15 cm, 20 cm |
| Guidance Method | Ultrasound, MRI, Stereotactic |
| Sample Retrieval | Automated |
| Imaging Compatibility | MRI, Ultrasound |