9
3. Turn the temperature control dial to the MAX setting to preheat.
4. While preheating, prepare wafe batter.
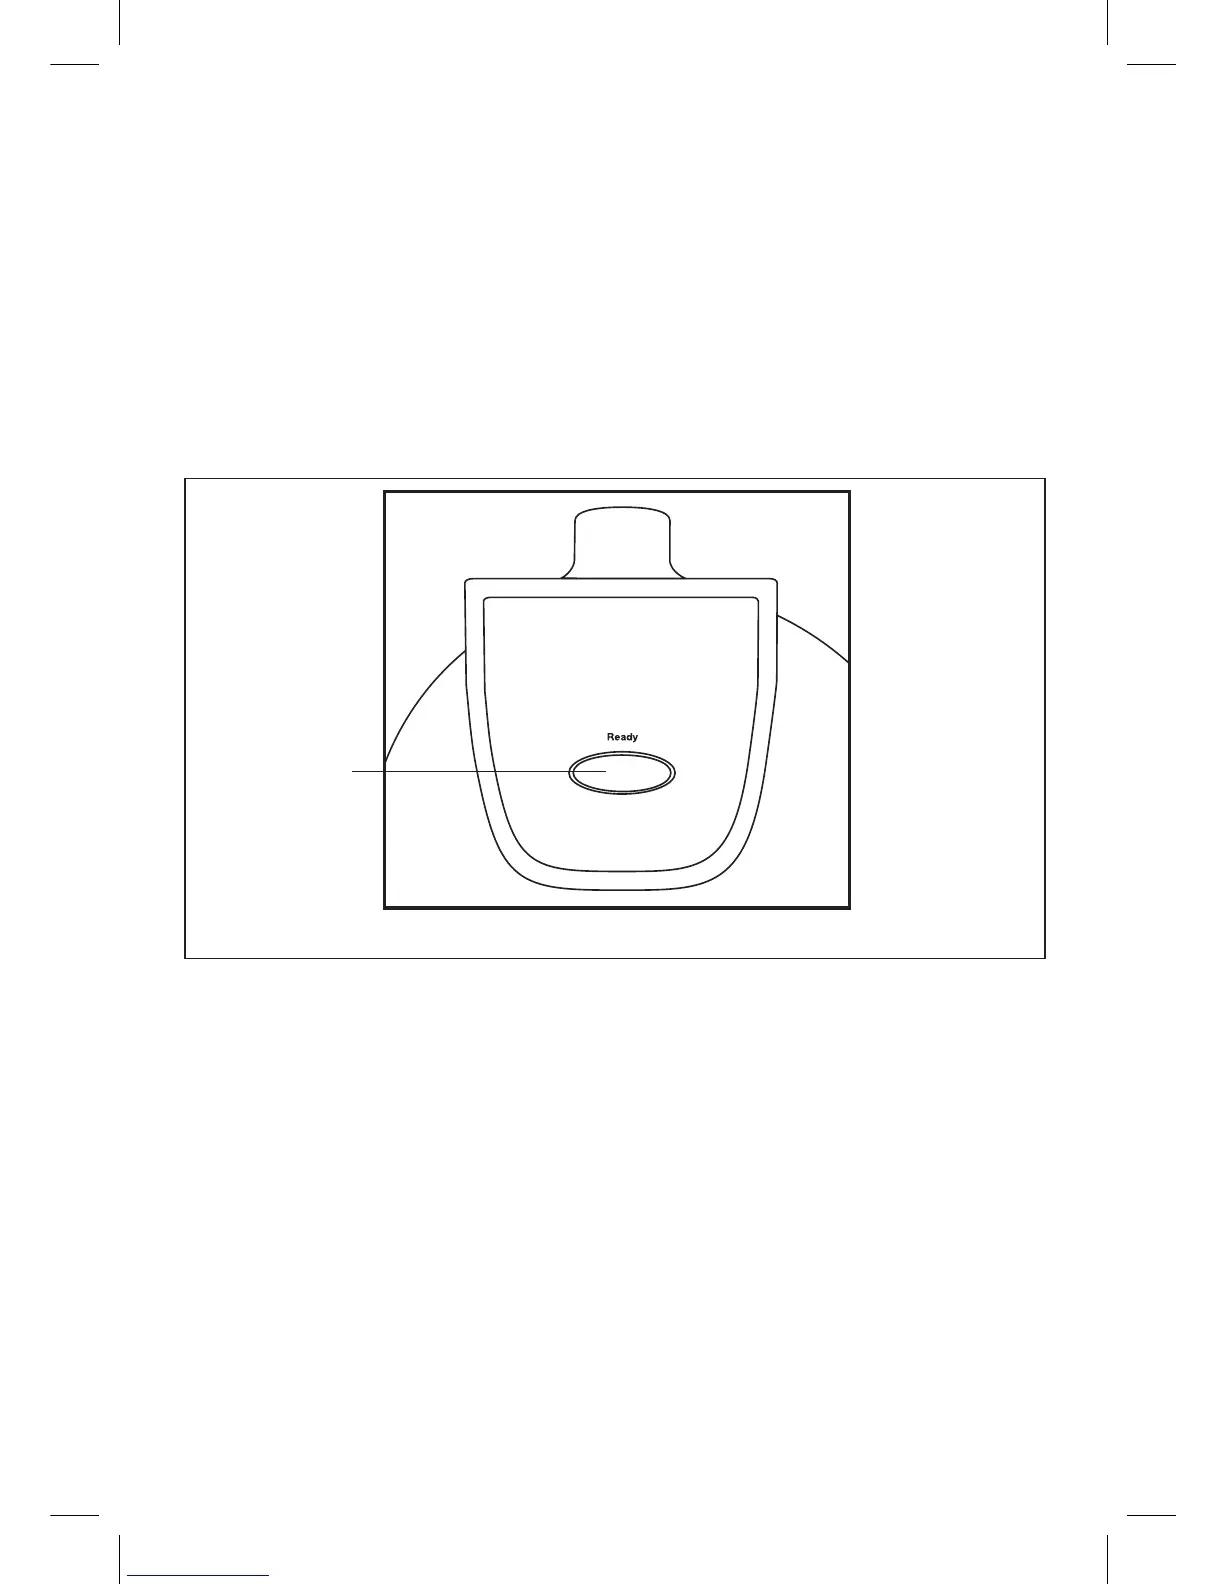
5. After approximately 5 minutes, the blue READY light will illuminate,
indicating the unit is preheated and is ready for use.
6. Set the wafe temperature control to the desired setting. A lower setting
produces a lighter browned wafe, while wafes made at a higher
setting are darker and crispier. When preparing a recipe for the rst
time, set the control to the middle; then adjust according to preference.
Recipes will vary in cook time and brownness; batters with more sugar
will brown quicker. Note the perfect setting for each batter recipe for
future use.
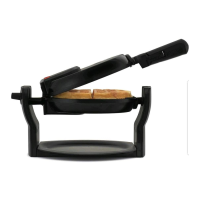
7. Pour or ladle 3/4 to 1 cup batter onto the bottom cooking plate. Add
just enough batter to ll lower grid so that the peak area is covered. If
necessary, use a spatula to spread the batter in to the corners of the
plate. Try not to overll, batter will expand when cooked.
The drip tray will catch any spilled-over batter.
8. The blue READY light will turn off as the baking cycle begins.
9. Lower the top cooking plate to close the Rotating Wafe Maker and
rotate unit 180° to the bottom side.
10. The Rotating Wafe Maker will cook until the blue READY light (on the
backside of the Wafe Maker) illuminates. Rotate Wafe Maker 180° to
the top side, until it is at and locked into a stable position.
11. Lift the top cooking plate gently; if it pulls, continue cooking for 1 minute
and test again. Wafes should be baked according to the temperature
control setting chosen. If the wafes need to bake to a darker nish,
close the lid and continue baking until the desired color is achieved.
Blue
READY
Light
Bottom View