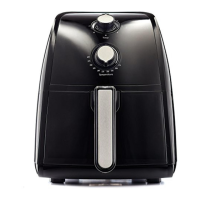
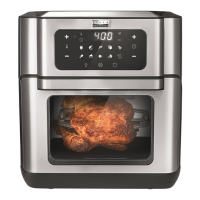
8
TRIZONE
®
MODE
Using both Zones and the Full Basket without Basket Divider
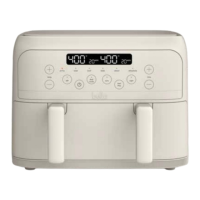
1. Plug cord in the wall outlet. An audible tone will sound and the digital display will light up.
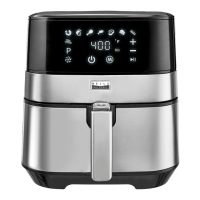
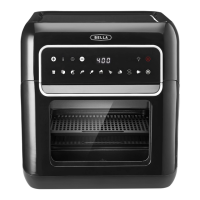
2. Press the POWER button. The light above the 6 presets (AIR FRY), (ROAST), (BROIL), (BAKE), (REHEAT),
(DEHYDRATE) and DUAL MODE will light up as default for TriZone
®
Mode (using both zones and entire basket
simultaneously).
3. Select one of the 6 presets buttons on top - the light above the other function buttons and DUAL MODE will
now turn off. If you wish to select another preset, you can go back by pressing POWER.
5. Place your food in the air fryer basket. Press START/STOP, the unit will begin working. The timer will begin
to count down. The left side of the display will indicate the temperature and the right side will display the
remaining time.
NOTE
buttons.
6. Pressing START/STOP will pause the cooking. Pressing it again will resume the cooking process.
7. Pressing the POWER button, will stop the unit and return to standby mode.
DUAL MODE
Using both Zones and the Full Basket with Basket Divider
1. Plug cord in the wall outlet. An audible tone will sound and the digital display will light up.
NOTE: Please insert the basket divider into the middle of the air fryer basket as well as the crisping trays (optional).
2. Press the POWER button. The light above the 6 presets (AIR FRY), (ROAST), (BROIL), (BAKE), (REHEAT),
(DEHYDRATE) and DUAL MODE will light up as default for TriZone® Mode (using both zones and entire basket
simultaneously).
3. Select DUAL MODE. The light above DUAL MODE will begin to blink, you can then press either LEFT or RIGHT
to program the left or right side.
4. You are now ready to program the left zone. Select one of the 6 presets on top – the light above the other
function buttons will turn off. The light above LEFT will flash for the left zone. SYNC TIME will also flash. Once
cooking cycle is started, SYNC TIME will stop flashing. If you wish to select another preset, you can go back by
pressing the POWER button.
TIP: You have the option of pressing on SYNC TIME to sync the finish time of the other basket if both your foods follow
different recipes.
6. Place your food in the left side of the air fryer basket. Press START/STOP.
7. Press RIGHT and follow the same steps as points 3 through 5: select a preset and adjust the time and
temperature for the right zone.
8. Press START/STOP to begin the cooking. Pressing it again will pause the cooking. NOTE: At any time during
to select the LEFT or RIGHT zone first.
9. Pressing the POWER button, will stop the unit and return to standby mode.
SINGLE ZONE MODE
Using One Zone with Basket Divider
1. Plug cord in the wall outlet. An audible tone will sound and the digital display will light up.
NOTE: Please insert the basket divider into the middle of the air fryer basket as well as the crisping trays (optional).
2. Press the POWER button. The light above the 6 presets (AIR FRY), (ROAST), (BROIL), (BAKE), (REHEAT),
(DEHYDRATE) and DUAL MODE will light up as default for TriZone
®
Mode (using both zones and entire basket
simultaneously).
3. Select DUAL MODE. The light above LEFT will flash as part of the default during Dual Mode.
4. You are now ready to program the left zone. Select one of the 6 presets on top - the other function buttons will
turn off. The light above LEFT will flash for the left zone. If you wish to select another preset, you can go back
by pressing the POWER button.
6. Press START/STOP to begin the cooking. Pressing it again will pause the cooking.
NOTE
buttons.
7. Pressing the POWER button, will stop the unit and return to standby mode.