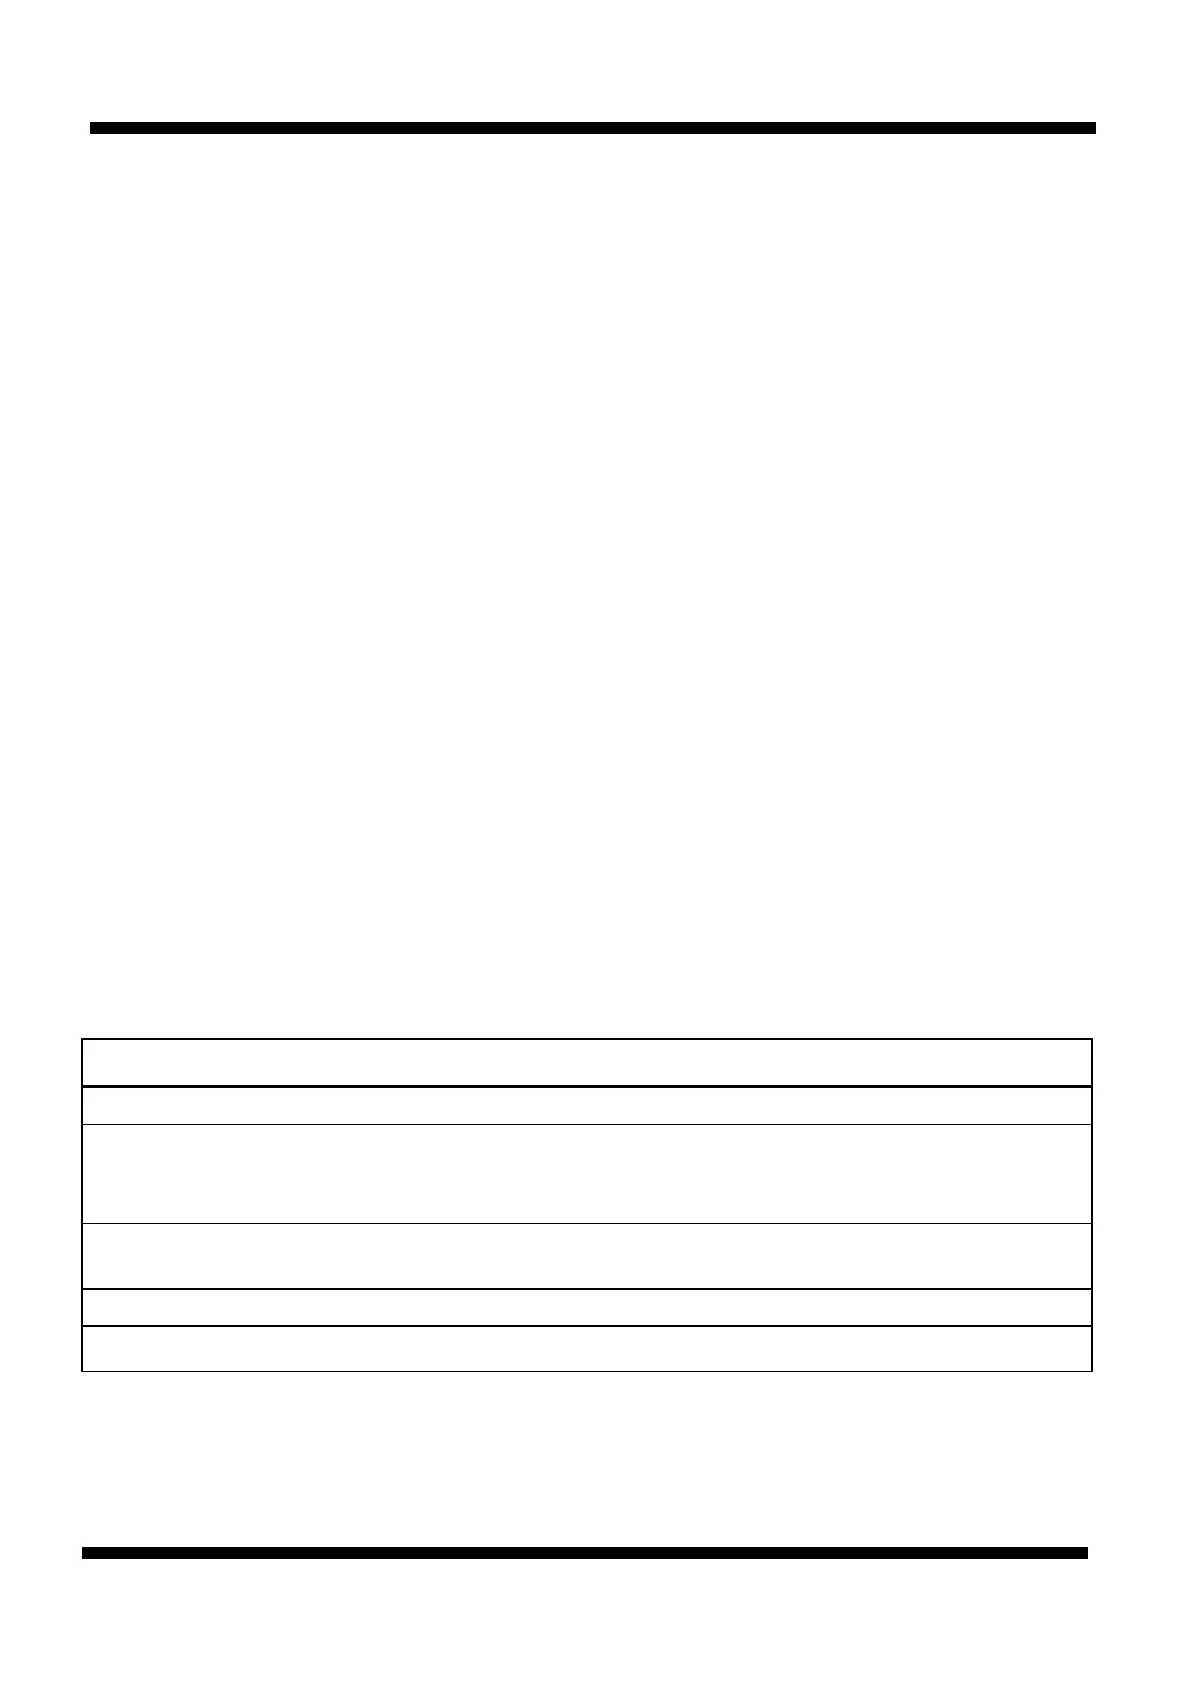
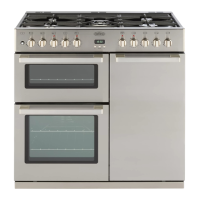
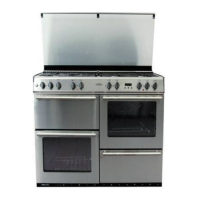
Main Multifunction Oven & Grill
Grill Pan & Grid The grill pan is positioned centrally on a shelf and pushed back to the shelf stop.
Always use oven gloves when pulling the pan forward to turn/serve.
The height of the grill pan is determined by the shelf position. The top position is
most suited for toasting or sealing food. To avoid burning, or excessive smoking
and spitting, make sure that the food is not too close to the element.
For thicker foods requiring longer cooking time, turn the thermostat to a lower
setting after sealing both sides on max setting.
The handle is detachable. To fit, gently squeeze the ends of the wire handle
and insert from below into the grill pan bracket. Do not use the grill pan handle to
tip the grill pan sideways, for example, to empty fat or crumbs from the pan, as the
handle may become detached from its fixing bracket.
CAUTION! WHEN REMOVING THE GRILL PAN HANDLE ALWAYS USE
OVEN GLOVES AS THE WIRE MAY BE HOT.
To obtain best results always use the wire grid. This will ensure that foods do not
cook in their own fats and will prevent any distortion of the grill pan. It can be used
either way up to position the food nearer to or further away from the grill element.
The heated area of the inner grill element is in the center of the grid, although
there is enough spread of heat around this area to cook items such as tomatoes
and mushrooms which require lower cooking temperatures.
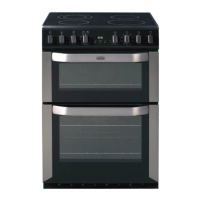
GRILL CHART
The following chart is a guide only.
Food Preheat Shelf Position (from bottom) Setting Approx. Cooking time
Toast 2 min 6 Up 6 2 mins
Small cuts- 2 min 5 Up 6 for 4 mins 15 – 20 mins
Sausages (reduce to 4)
Bacon
Chops etc 2 min 4 Up 4 30 – 40 mins
Gammon
Fish 2 min 5 Up (In base of pan) 6 8 – 10 mins
Pizzas 2 min 4 Up 4 12 – 15 mins