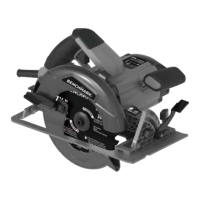
13
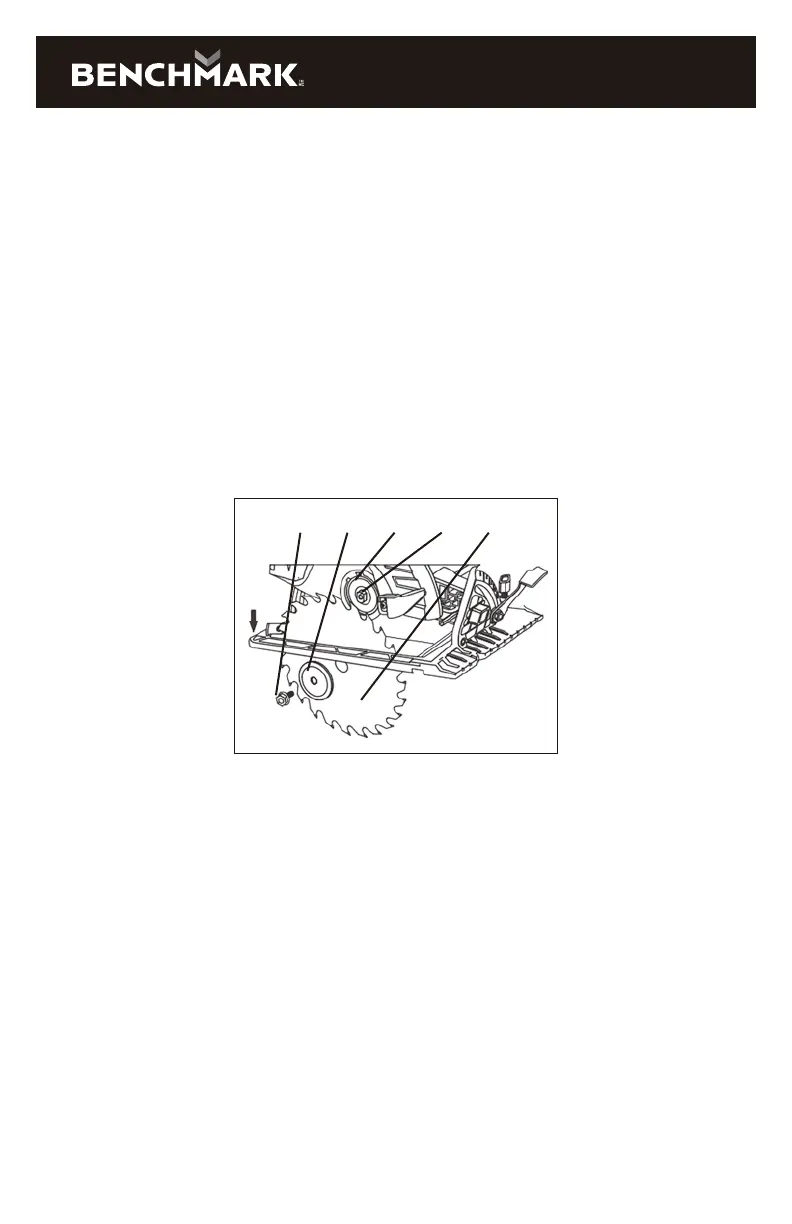
NOTE: Press on the blade locking lever (6 Fig. 2) and slowly rotate the blade screw
clockwise until the locking lever engages the spindle. Continue to turn the blade
screw clockwise until the blade is firmly tightened onto the spindle.
When installing a new blade, make sure you follow these precautions:
a) Make sure the teeth at the bottom of the blade are pointing toward the front of
the saw.
b) Check the inner flange washer to make sure the thicker boss is pointing toward
the motor.
c) Place the outer flange washer so the flat surface is against the blade and the
rectangular hole properly mated with the arbor.
d) Make sure the flanged blade screw is NOT cross threaded and is fully tightened
with the wrench provided.
e) Before turning the saw ON, carefully rotate the blade by hand to make sure it
does not wobble.
4 5 7 8 6
FIG. 3
SETTING THE CUTTING DEPTH
The cutting depth of the blade should be set to suit the thickness of the material
being cut. The cutting depth should be approximately 1/8" (3 mm) greater than the
thickness of the material being cut.
1. Lift the depth adjustment locking lever (1) upward (Fig. 4).
2. Pull the sole plate (2) downward until the correct amount of the blade is
protruding below the sole plate.
NOTE: The depth indicator (3) will identify the relative depth of cut on the scale (4).
3. Lock the sole plate at the correct depth by pushing the depth control locking
lever downward.
NOTE: Make a test cut on a scrap workpiece to verify the depth setting.