17
5. With both hands firmly gripping the saw, and with the blade NOT in contact with
the surface to be cut, start the saw by squeezing the trigger switch.
6. Once the saw has reached full speed, place the front edge of the sole plate on the
workpiece and gradually bring the moving blade into contact with the workpiece
at the appropriate location.
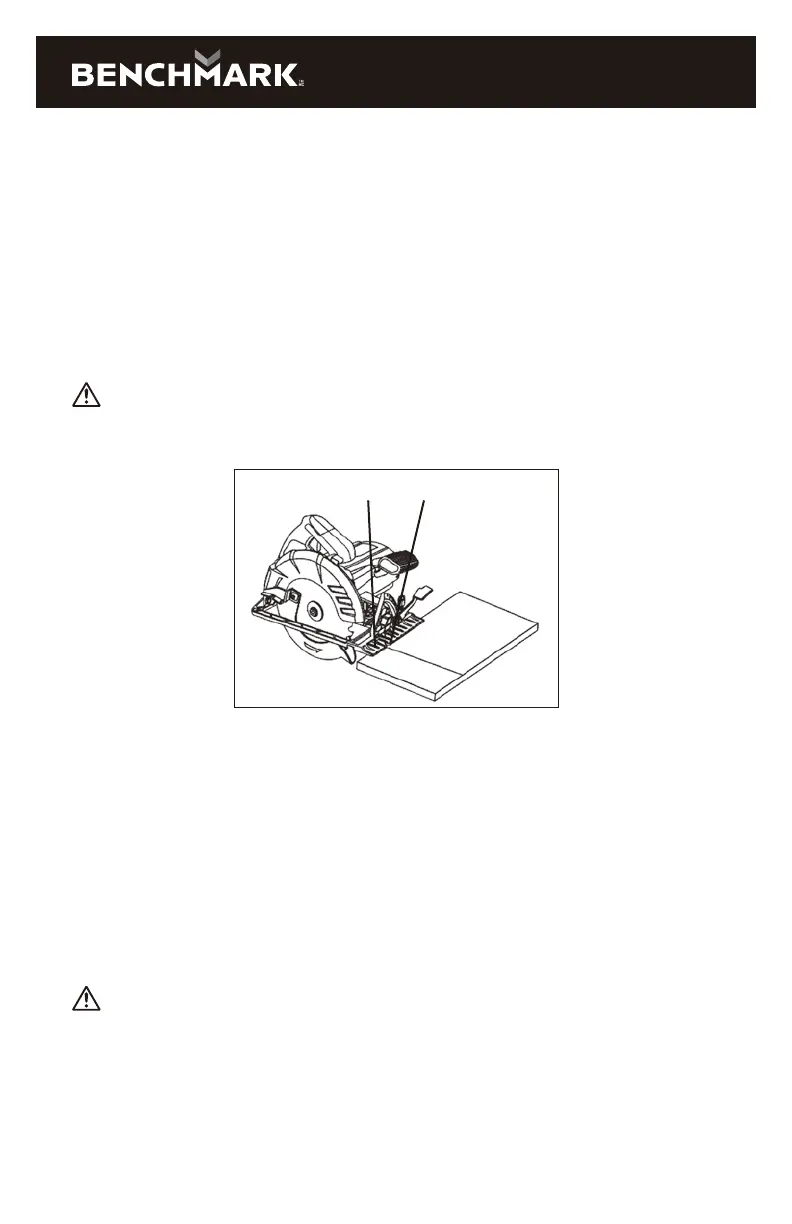
NOTE: To align the saw blade with the cutting mark, use the guide marks on the
front of the sole plate (Fig. 10). Use the 0° cutting mark (1) for right angle cuts.
Use only the 45° mark (2) for 45° cuts. The 45° mark will allow for the extra material
needed for the angle cut. Always make a test cut on a scrap workpiece before
cutting the new material.
WARNING: Do not force the circular saw. Use only enough force to keep the
blade cutting at full speed. Excessive pressure on the blade will cause it to slow
down and overheat, resulting in poor cut quality and damage to the motor.
1 2
FIG. 10
RIP GUIDE CUTTING
1. Set the rip guide foot at the required width (Fig. 7).
NOTE: When starting the cut, make sure the blade is parallel to the edge of the
workpiece and the rip guide foot is against the edge of the workpiece.
2. Proceed with the cut as outlined in “GENERAL CUTTING” above.
NOTE: As you move the saw through the workpiece, make sure the guide foot stays
in contact with the workpiece.
PLUNGE CUTTING
WARNING: To avoid loss of control, damage to the blade or damage to
the workpiece, always use extreme caution when making plunge cuts. It is not
recommended to plunge cut any material other than wood.
1. To plunge cut inside the edges of a workpiece, clearly mark the cutting line on
the workpiece.
2. Set the bevel angle to 0° (Fig. 5).