XPR-10 Series Two-Post Lifts 23 P/N 5900951 — Rev. D — May 2019
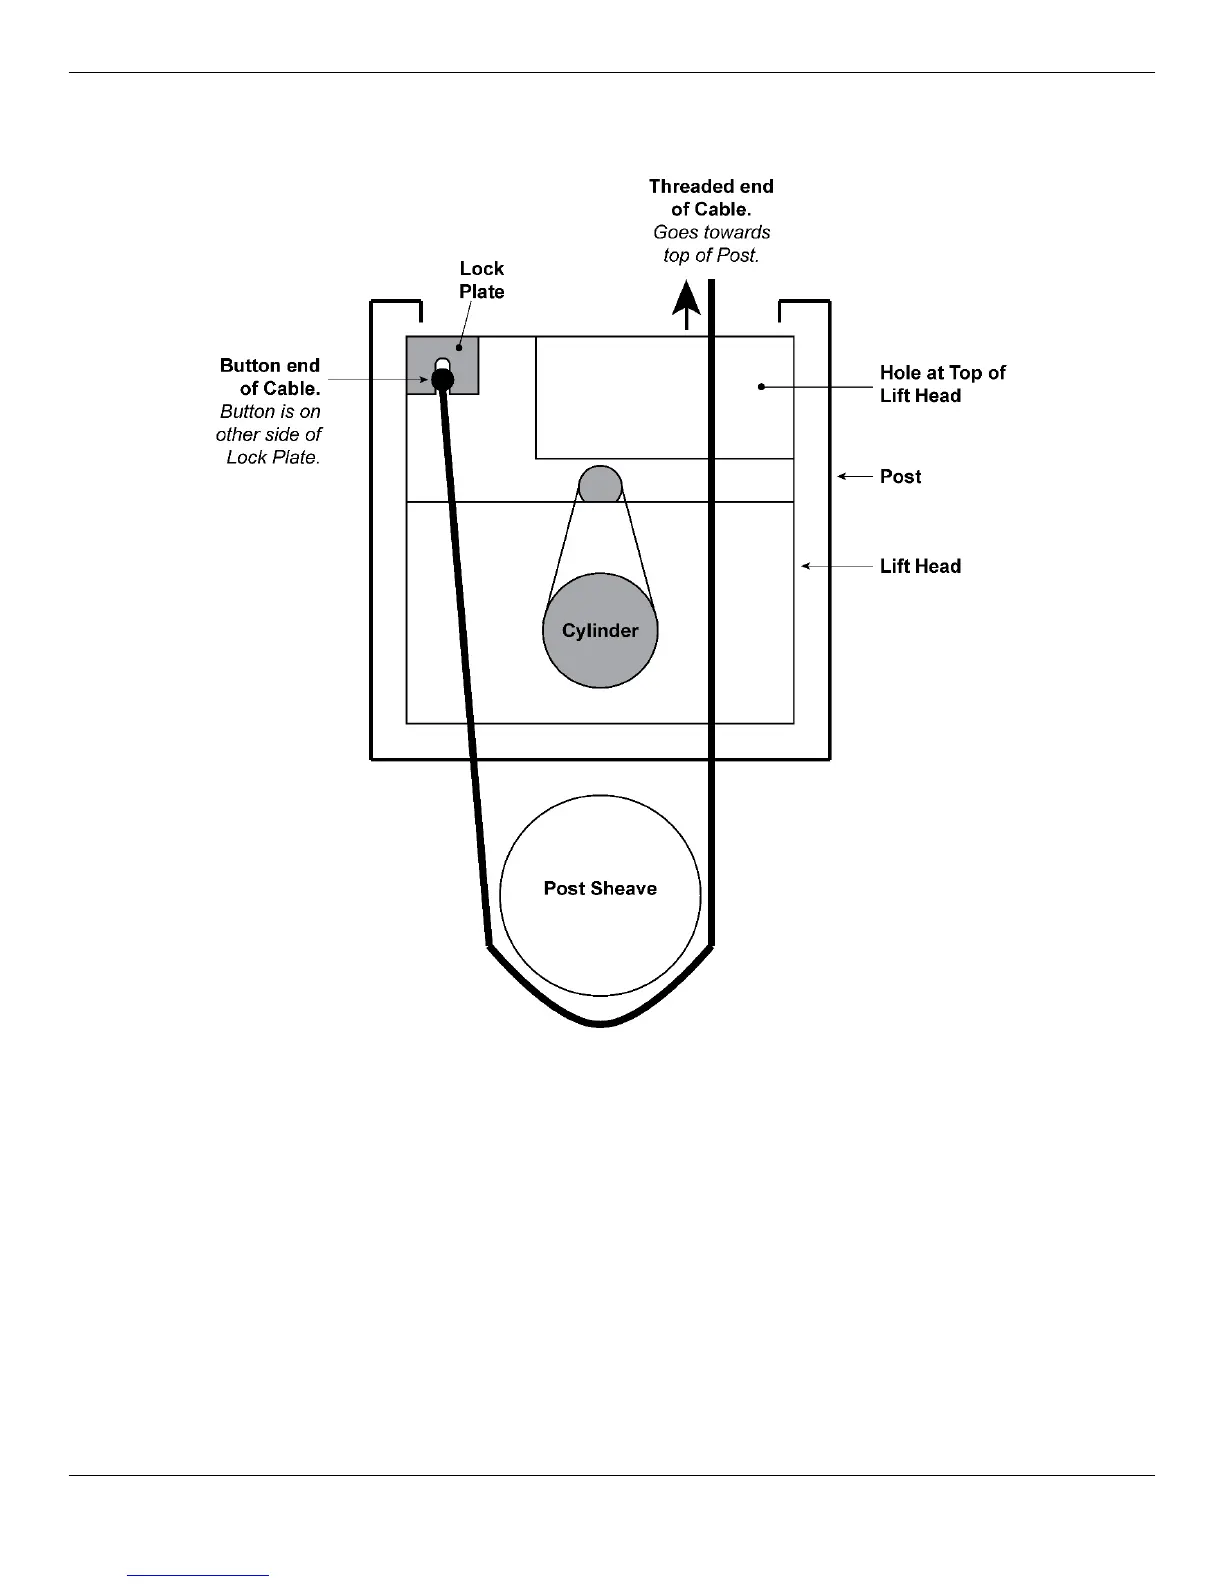
3. Look at the inside of the Lift Head you just moved, from the bottom looking towards the top — it
looks something like the following drawing.
Drawing is not to scale. Not all components shown. View is from under bottom of Lift Head looking
towards top of Lift Head. Both Posts look the same from this viewpoint.
4. Remove the Post Sheave from the bottom of the Post whose Lift Head you just moved up.
Keep the Post Sheave, the pin, and the bolt nearby; you will be re-installing them soon.
5. Find the two Equalizing Cables.
For Symmetric models, both Equalizing Cables are the same length, so it does not matter which
one you install first.
For Asymmetric models, the Equalizing Cables are different lengths. You must route the longer
Equalizing Cable over the Overhead Assembly Sheaves closer to the Approach side of the Lift.
Important: The lengths of each Equalizing Cable are shown on a tag attached to the cable. If the
tags have fallen off, lay the cables out to determine which is longer. The difference may
be only a few inches. However, if you mix them up, the Lift will not work correctly and
you will have to remove them and then re-install them correctly.