01/ 2019
BENNING PV 3
17
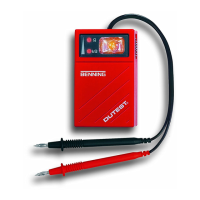
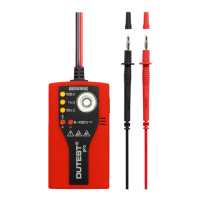
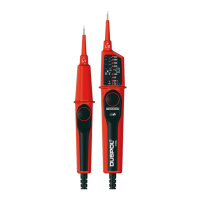
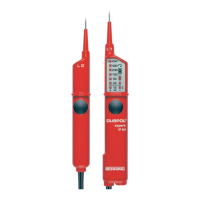
Before commissioning, always check the BENNING PV 3 and the measuring leads for
damages.
8.1.1 Charging the rechargeable batteries
Before the first use and before each use, fully charge the rechargeable 3.7 V 18650 lithium-ion batteries.
Use the included automatic charger (New i4, NITECORE
®
) to do this.
- Use the charger only to charge the rechargeable 3.7 V 18650 lithium-ion batteries (2600 mAh, pro-
tected version) included in the delivery.
- Connect the charger to a protected shock-proof socket (230 V, 50 Hz) using the included mains con-
nection cable and insert the three rechargeable batteries into the battery holders observing correct
polarity.
- Charging starts automatically when the batteries are inserted.
- Depending on the battery type and capacity, the charging current/voltage is automatically set for each
battery holder. For lithium-ion batteries, the charging voltage is preset to 4.2 V.
- The state of charge of the batteries is indicated by three green LEDs for each battery holder. Charging
is complete when the three LEDs (100 %) of each battery holder light permanently.
Note on manually setting the charging current/voltage:
After inserting the batteries, briefly press button C to select the battery holder used.
- As long as the green LED of the selected battery holder lights, the charging current can be
increased to 1.5 A (red LED lights up) by pressing and holding button C. If several battery holders
are selected for a charging current of 1.5 A, charging with increased current takes place subse-
quently from left to right.
- As long as the green LED of the selected battery holder lights, a charging voltage of 3.7 V, 4.2 V
and 4.35 V (green LED) can be set by pressing and holding button V.
c
Please note that the charging voltage for the included rechargeable batteries must be
set to 4.2 V!
8.1.2 Switching the BENNING PV 3 ON/ OFF
- Press and hold the keys
2
and
3
for approx. 2 seconds to switch the BENNING PV 3 on.
Acoustic signals confirm that the device is switched on. Press the keys again for approx. 2 seconds to
switch the device off.
- After approx. 1 minute, the BENNING PV 3 switches off automatically (APO, Auto Power-Off). It
switches on again when the keys
2
and
3
are pressed. An acoustic signal indicates that the
device has switched off automatically.
8.1.3 Setting the automatic switch-off time (APO, Auto-Power-Off)
- Switch the BENNING PV 3 off by simultaneously pressing the keys
2
and
3
.
- Press and hold the key
6
and simultaneously press the keys
2
and
3
. Keep the key
6
pressed.
- The LC display
1
shows “OFF” in the first line and the switch-off time (in minutes) in the second line.
- Each time pressing the key
2
increases the switch-off time by one minute up to a maximum time
of 10 minutes.
- Release the key
6
to store the setting.
8.1.4 Setting the date and the time
The BENNING PV 3 is equipped with an integrated real-time clock which automatically adds a date / time
stamp to each storage process or storage location (see chapter 8.3 “Measured value memory”).
To set the date and the time, carry out the following steps:
- Switch the BENNING PV 3 off by simultaneously pressing the keys
2
and
3
.
- Press and hold the key
4
and simultaneously press the keys
2
and
3
.
- The date / time format is displayed as follows:
MM.DD = month (1-12).day (1-31)
YYYY = year
HH.mm = hours (0-23).minutes (0-59)
SS = seconds (0-59)