01/ 2019
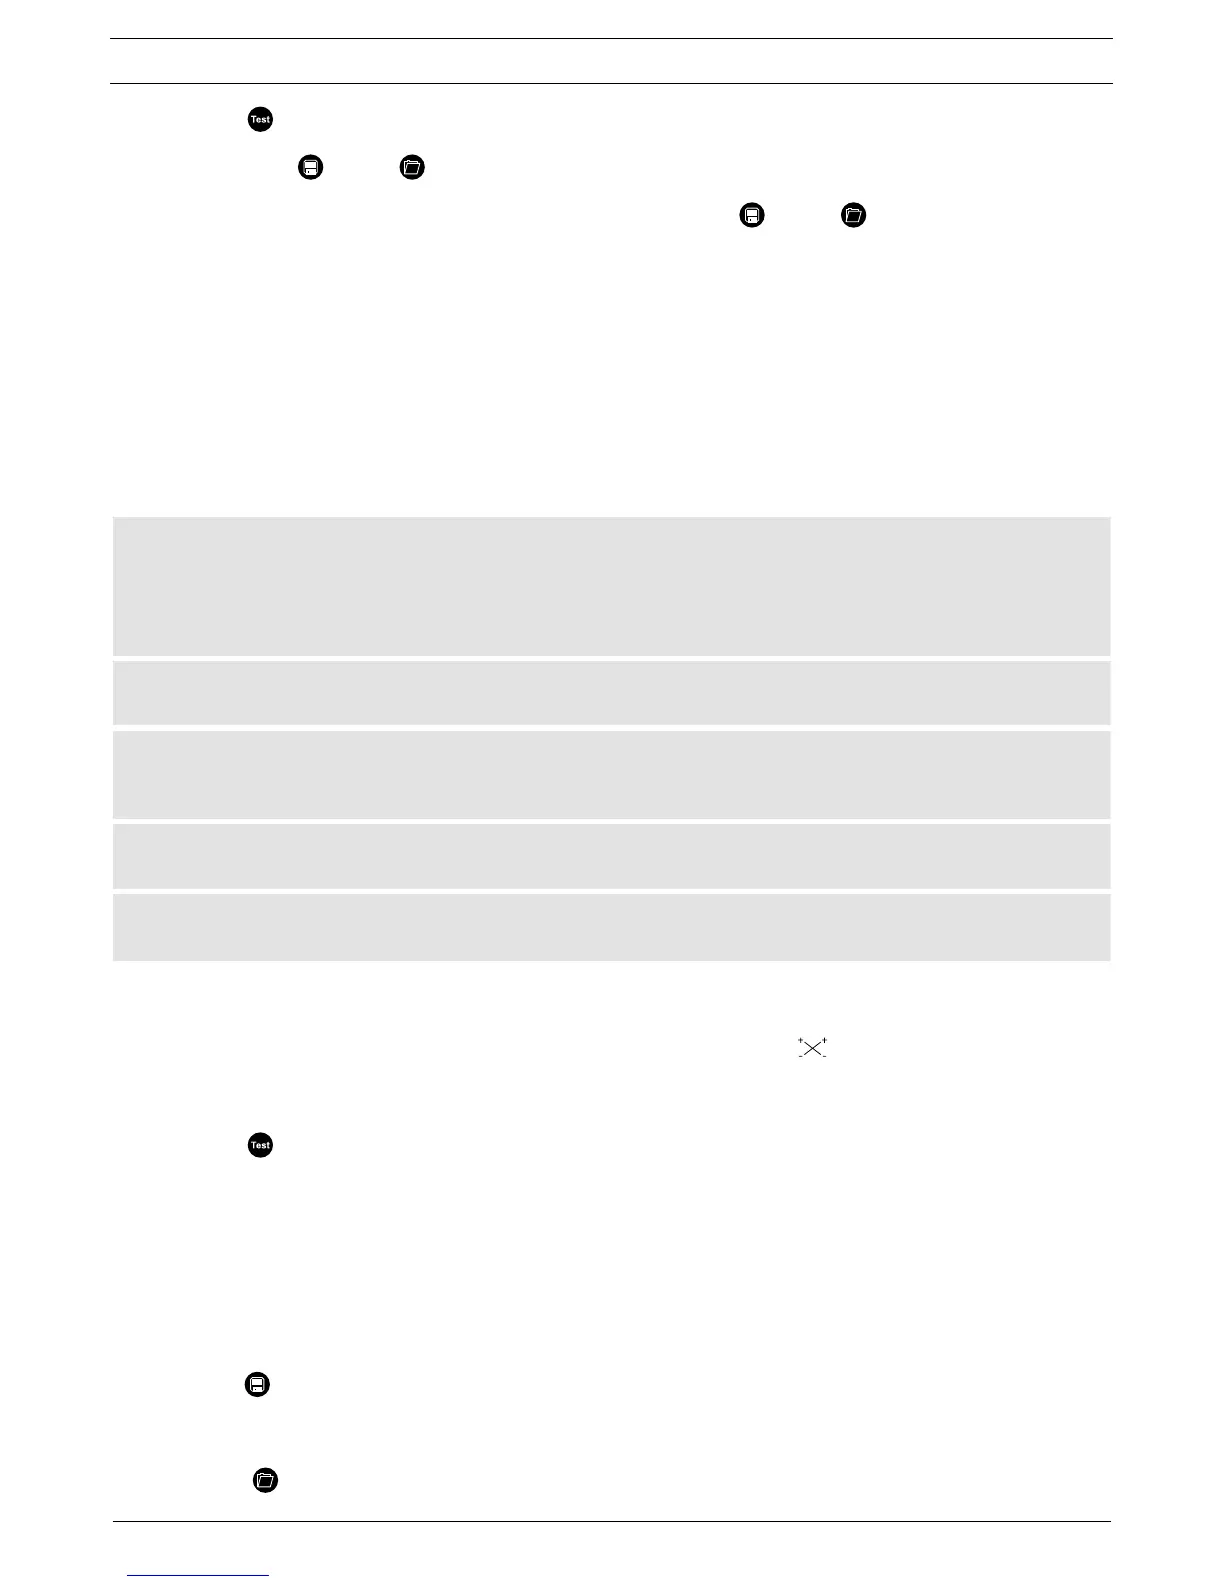
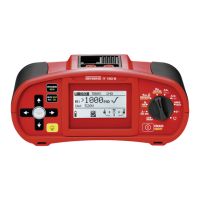
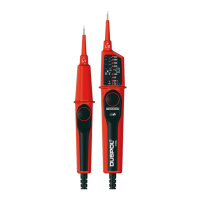
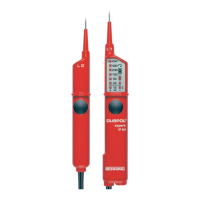
BENNING PV 3
18
- Press the key
6
to select a date / time field.
- As soon as the field is flashing, the value for that field can be set.
- Press the keys
2
and
3
to increase or decrease the value.
Every change resets the field for the seconds to zero.
- Switch the device off by simultaneously pressing the the keys
2
and
3
to store the setting.
Note:
If the BENNING PV 3 has established a radio connection to the BENNING SUN 2, the date/ time of the
BENNING PV 3 will be synchronized automatically after 10 seconds to the date/ time of the BENNING
SUN 2, if the device detects a deviation of more than 1 minute. BENNING SUN 2 (master) → BENNING
PV 3 (slave).
8.1.5 Testing the battery condition
During switch-on and operation, the BENNING PV 3 carries out an automatic battery test. Discharged bat-
teries are indicated by a battery symbol I on the LC display
1
. As soon as the battery symbol is flashing,
the batteries have to be recharged immediately. (see chapter 9.4, “Battery replacement”).
8.2 Measurement of open-circuit voltage and short-circuit current of the PV generator
c
The PV module/ PV string must not exceed the maximum opencircuit voltage of 1500 V
DC, the maximum short-circuit current of 40 A and the maximum DC power (P = U x I)
of 45 kW.
Measuring at PV strings connected in parallel might involve damages of the BENNING
PV 3!
c
The PV generator must be isolated from the electric power supply (PV inverter)! Neither
the positive nor the negative pole of the PV generator must be earthed!
c
Do not disconnect any measuring lines from the PV generator as long as the test is
being carried out. Failure to do so might result in a dangerous electric arc or damage
to the BENNING PV 3!
c
Only use the included PV measuring lines or the measuring lines with attached alligator
clips for safe contacting of the PV generator.
In case DC polarity is wrong or DC voltage is within the range of < 5 V or > 1500 V, it is
not possible to make an automatic PV measurement.
- Connect the BENNING PV 3 to the PV generator using the included PV measuring leads or the meas-
uring leads with attached alligator clips.
- Measurement of the PV open-circuit voltage is made automatically, if a DC voltage is applied.
- In case of reversed polarity of the DC voltage, the polarity indication „ “ B is flashing and the symbol
is displayed. Automatic measurement will be blocked until the polarity of the DC voltage is correct.
- As soon as a voltage of > 30 V is applied to the PV measuring leads, the
c
warning symbol C
(Attention, dangerous voltage) is flashing.
- Press the key
6
to start short-circuit current measurement.
- The measured values will be shown on the display
1
for approx. 20 seconds or until a key is pressed.
See figure 3: Measurement on the PV generator
8.3 Measured value memory
8.3.1 Storing measured values
The BENNING PV 3 can store up to 999 display indications. For each memory location, the open-circuit
voltage and the short-circuit current are stored with a date/time stamp. If there is a radio connection to the
BENNING SUN 2, the insolation and the PV module/ambient temperature are additionally stored for each
storage location.
- Press the key
2
to store the displayed measured values to the first free storage location. Successful
storage will be confirmed by the “STORE” symbol F on the LC display
1
.
8.3.2 Calling measured values
- Press the key
3
to recall the stored measured values with the corresponding storage location