MASTERING YOUR BERNINA
®
1/10/02
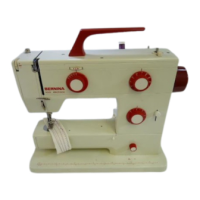
Electronic 1008/36
BERNINA
®
Electronic 1008
MASTERING
YOUR
BERNINA
®
MANUAL BUTTONHOLES
Owner’s manual pg.____
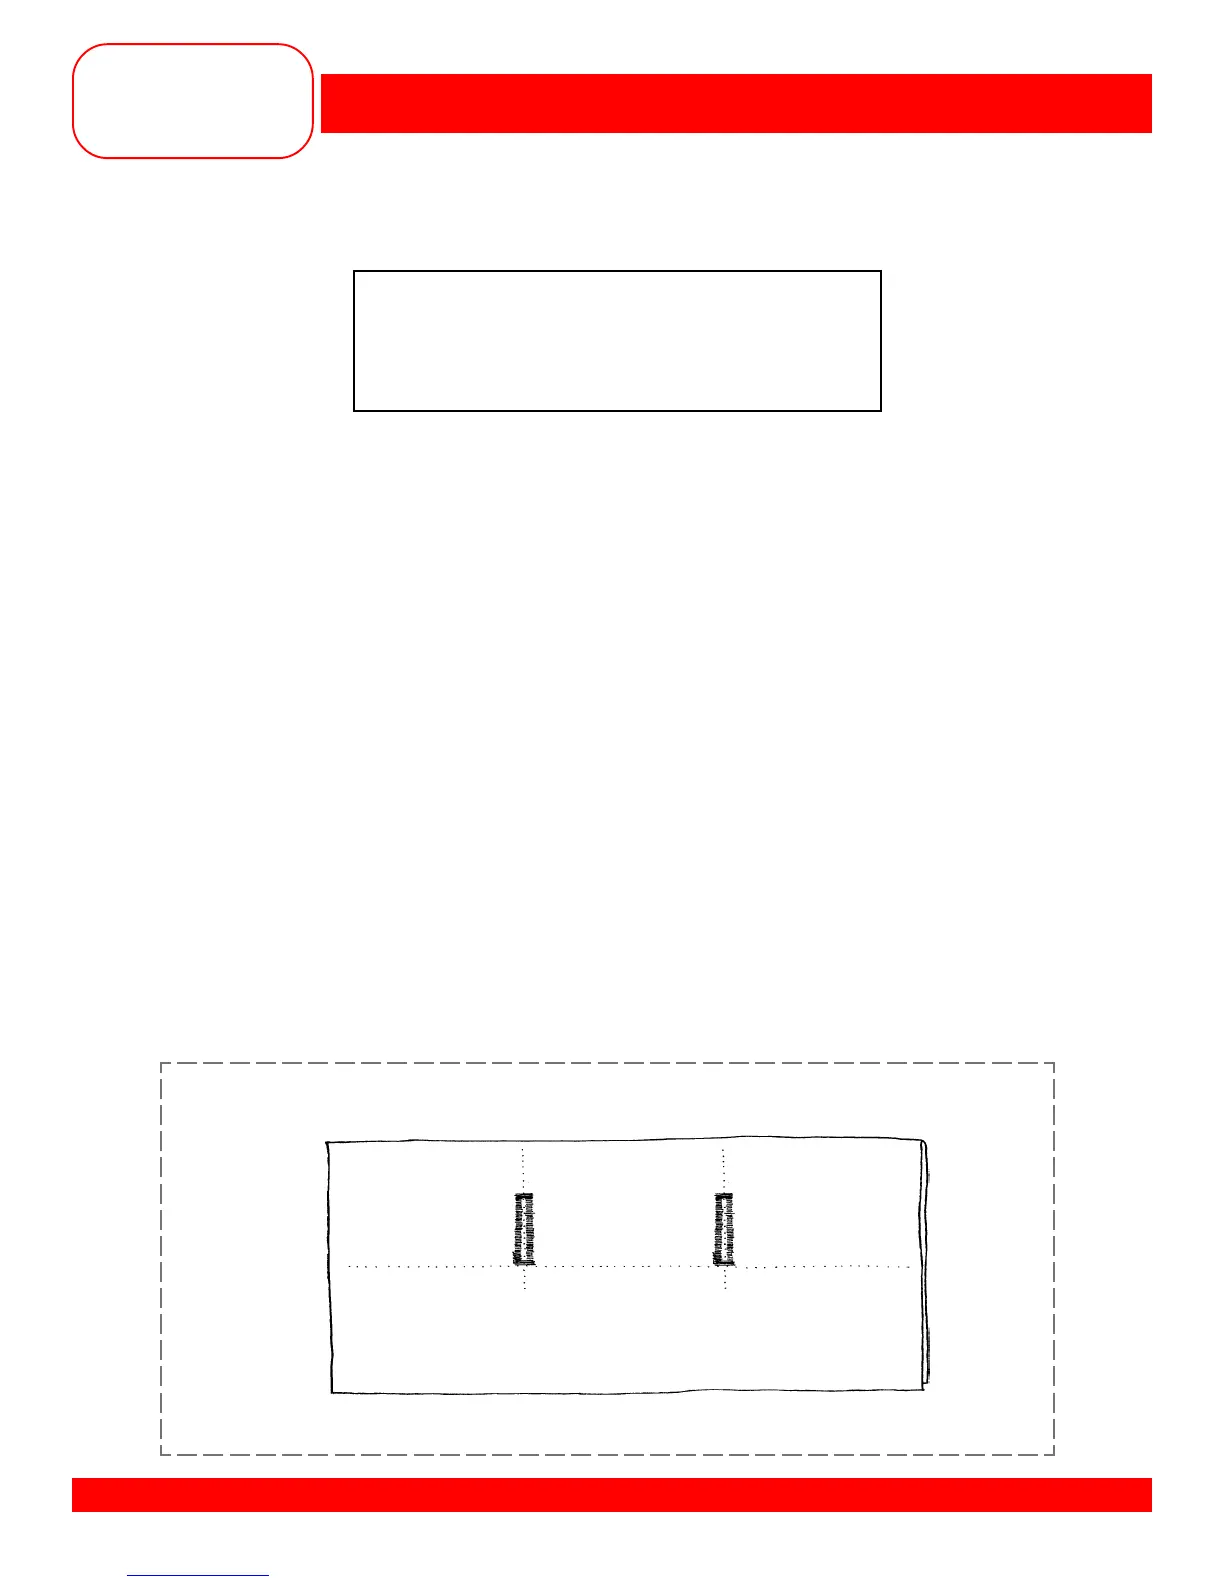
• Fold one piece of fabric in half to 3” x 6”. Press and insert the stabilizer.
• Draw a line 1½” from the fold along the 6” length.
• Mark two horizontal lines, running between the fold and the drawn line, spaced about 2” apart.
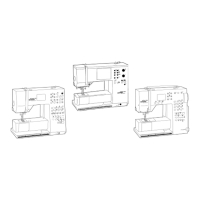
• Set the buttonhole knob at position #1.
• Adjust stitch length to satin (0.5).
• Position the foot over the first line and place the fold on the
5
/8” line behind the presser foot.
• Sew the first side of the buttonhole.
• Stop at the drawn line with the needle out of the fabric.
• Turn the buttonhole knob to position #2.
• Sew back to the beginning of the first bead and stop.
• Turn the buttonhole knob to position #3.
• Sew the bartack and the right bead; stop and touch quick reverse.
• Sew the top bar tack. The fourth position sews the second bead, the fifth position sews the bottom
bartack and the sixth position sews the securing stitches.
• Sew a second buttonhole on the second line.
• Cut one buttonhole open.
• Trim and mount the sample.
Fabric: Heavy flannel, 6” x 6”
Stabilizer: 1 piece, 3” x 6”
Needle: 90/14 Embroidery
Thread: 30 weight cotton embroidery
Presser Foot: Standard Buttonhole Foot #3