MASTERING YOUR BERNINA
®
1/10/02
Electronic 1008/38
BERNINA
®
Electronic 1008
MASTERING
YOUR
BERNINA
®
BUTTON SEW-ON STITCH
Fabric: Heavy flannel, 6” x 6”
Stabilizer: 1 piece, 3” x 6”
Needle: 90/14 Embroidery
Thread: 30 weight cotton embroidery
Presser Foot: Button Sew-On Foot #18 (optional accessory)
Owner’s manual pg.____
• Select Universal Stitch #4/green; adjust width as needed.
• Lower the feed dogs.
• Fold the fabric in half to 2” x 6”; press. Insert the stabilizer.
Notes: - You can sew buttons on to stay!
- A low shank can be made for dresses and blouses or a high shank
can be made for heavier fabrics such as coats and blazers.
- Use the Button Sew-On Foot #18 to sew on waistband closures,
hook-and-eye fasteners, snaps, curtain rings, and charms.
Technique #1
• Select Universal Stitch #4/green set up as above.
• Use a glue stick to position a button in place.
• Adjust the pin on Foot #18 to the highest position for a long shank.
• Check the distance between the holes of the button by turning the hand wheel.
• Adjust the stitch width if necessary.
• Hold the thread tails as you begin to sew.
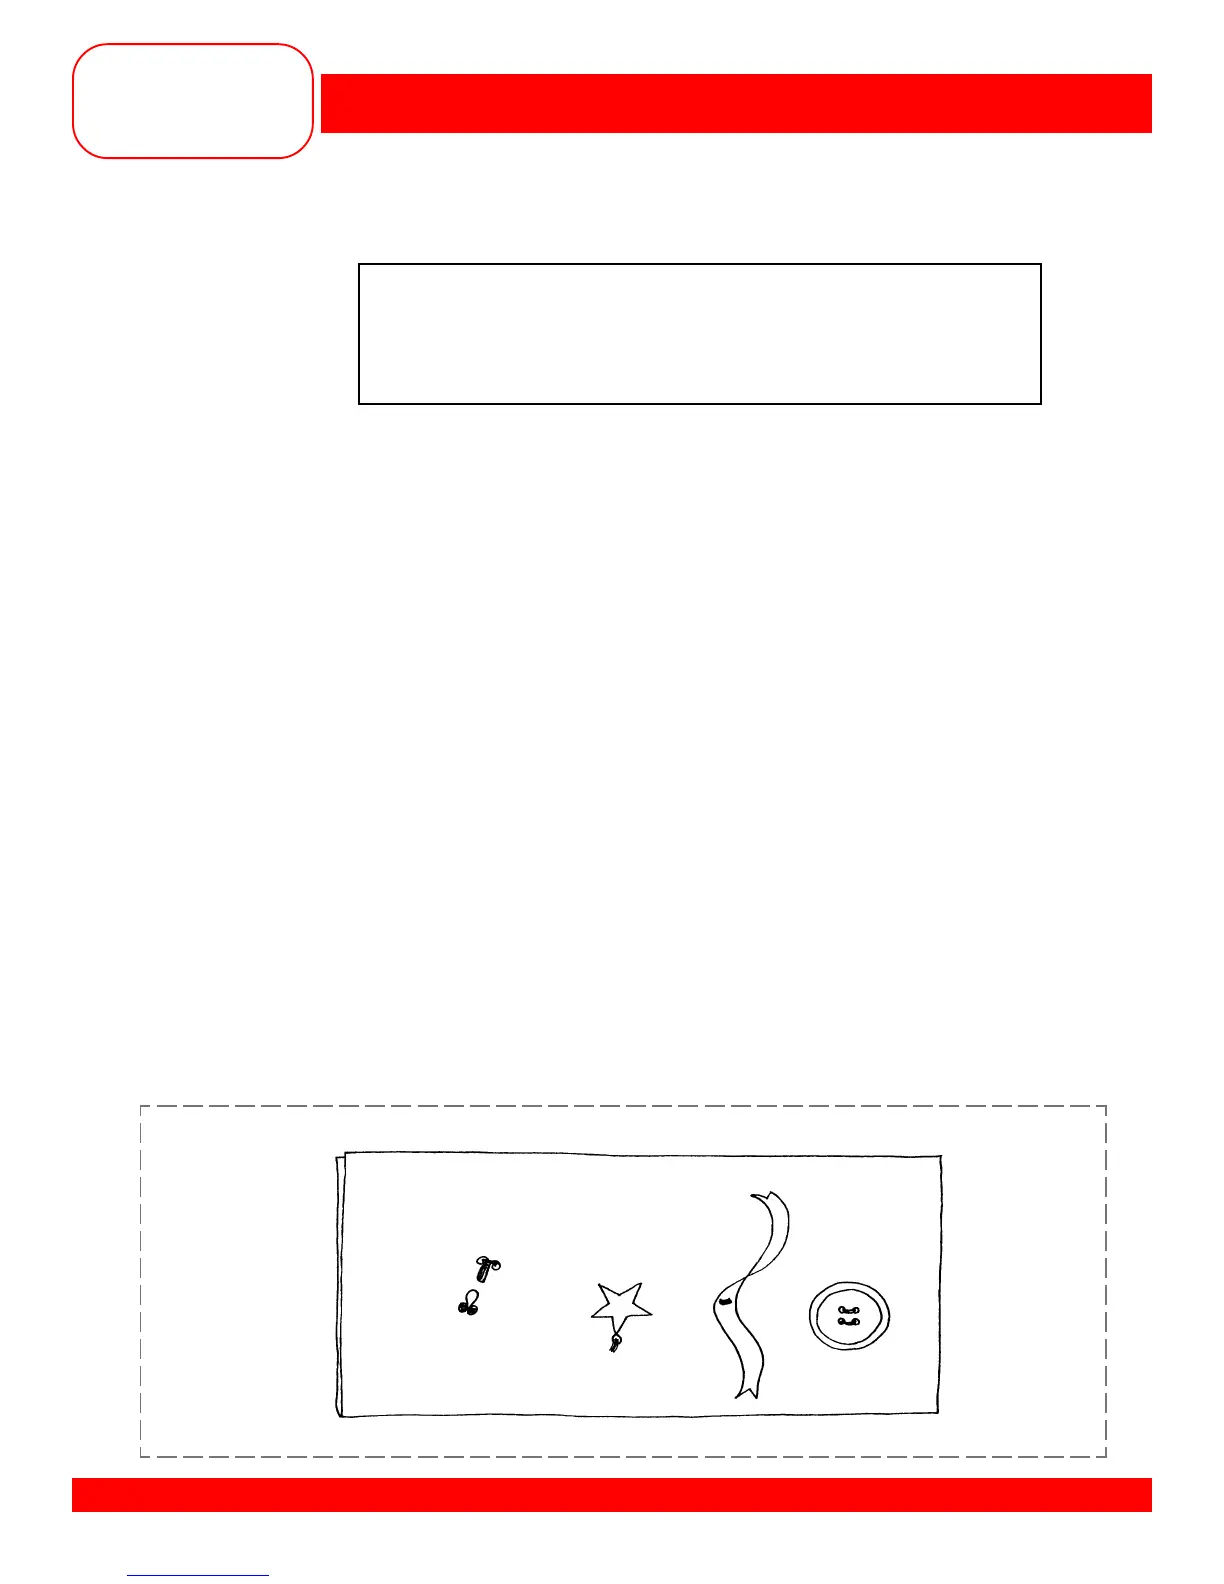
Technique #2
• Using the lowest shank setting, attach a charm, a length of ribbon, and a hook-and-eye to the same
fabric.
• Trim threads close and mount the sample.