Section 3 Connect “A” and “B Harness; Drill Hole for Power Switch
Page 5
P5 - 54857 - Rev. A 0415
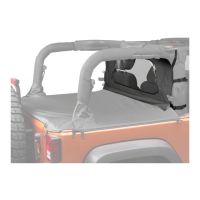
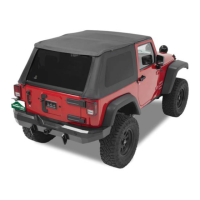
Installation Instructions - Trektop PRO Defrost Harness
© 2015 Bestop, Inc.
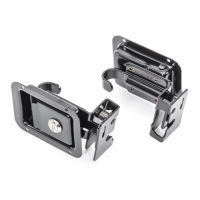
HardwareStep 1 Step 2
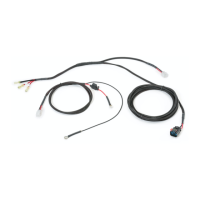
Pull the power connector end of Harness “A”
through the firewall and plug it in to the
mating connector on Harness “B”.
Zip tie Harness “A” to the existing vehicle
wiring harness under the dashboard.
Step 1
Drill a 1” (24.5mm) hole for the power
switch in the dashboard trim panel below
and left of the steering wheel, near the driver
door opening. Be sure to inspect and select
a location that will not interfere with any
components behind the panel.
Step 2
Wiring Harness “A”
Wiring Harness “B”
POWER LOAD GROUND
Drill-Driver
with 1” Holesaw
Zip Ties
Qty. 2