User Manual for USB Phone with LCD
- 8 - Version 2.0.0.2 2006-07-11
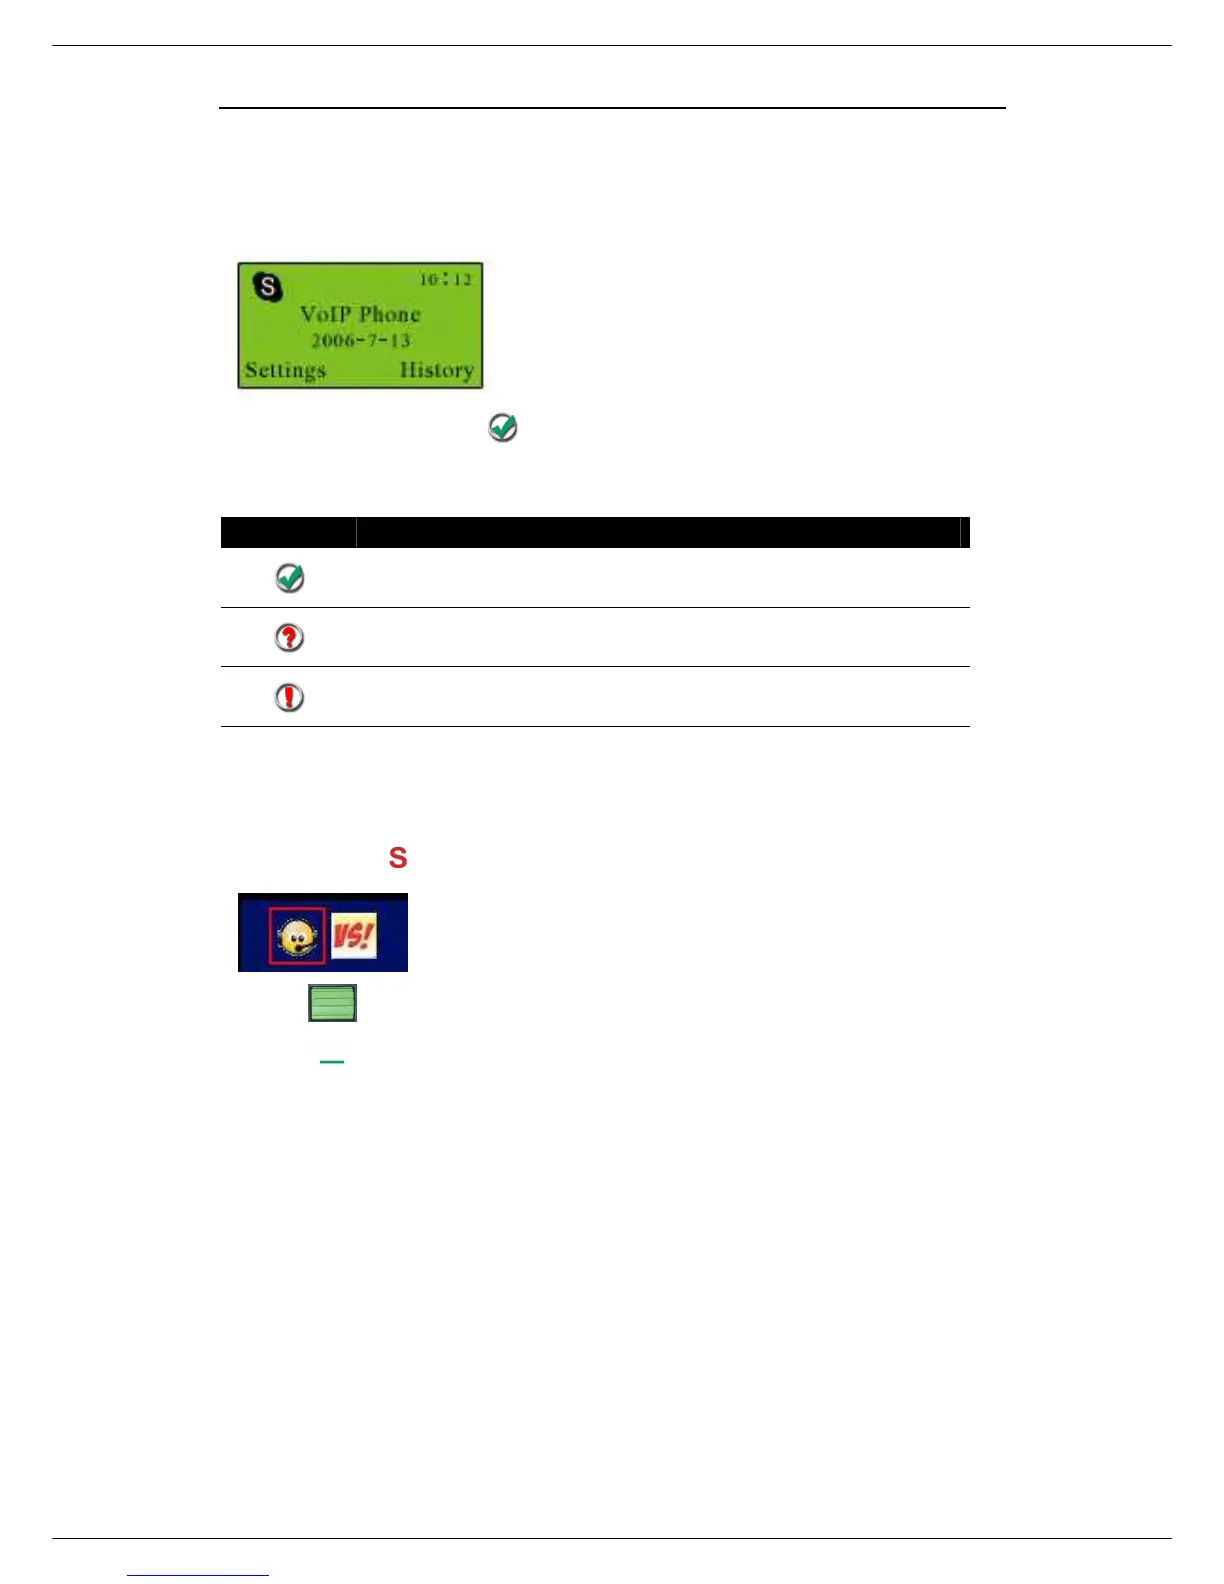
Step 3: Connect the USB Phone to PC
The hardware installation is very simple. All you need to do is to connect the USB
phone to the USB port on your PC. The LCD screen will show as below:
Now can see a green icon in the task bar which indicates you are ready to
make/receive calls with the USB phone.
Driver Icons
Indications
The USB Phone works normally.
The USB phone fails to communicate with Skype. (Please
refer to “FAQ” Q1 in this manual)
The USB phone fails to communicate with your computer.
(Please refer to “FAQ” Q2 in this manual.)
Step 4: Switch to different VoIP application
① Press the
key and you can see the below screen:
② Press to choose the needed VoIP application
③ Press (OK)
Note: There is another two ways to activate the needed VoIP applications
Right click the driver icon and “Active VoIP”, and choose the application
that you want to use.