22
STEP 2. Set the analyzer
Brief overview of the analyzer settings
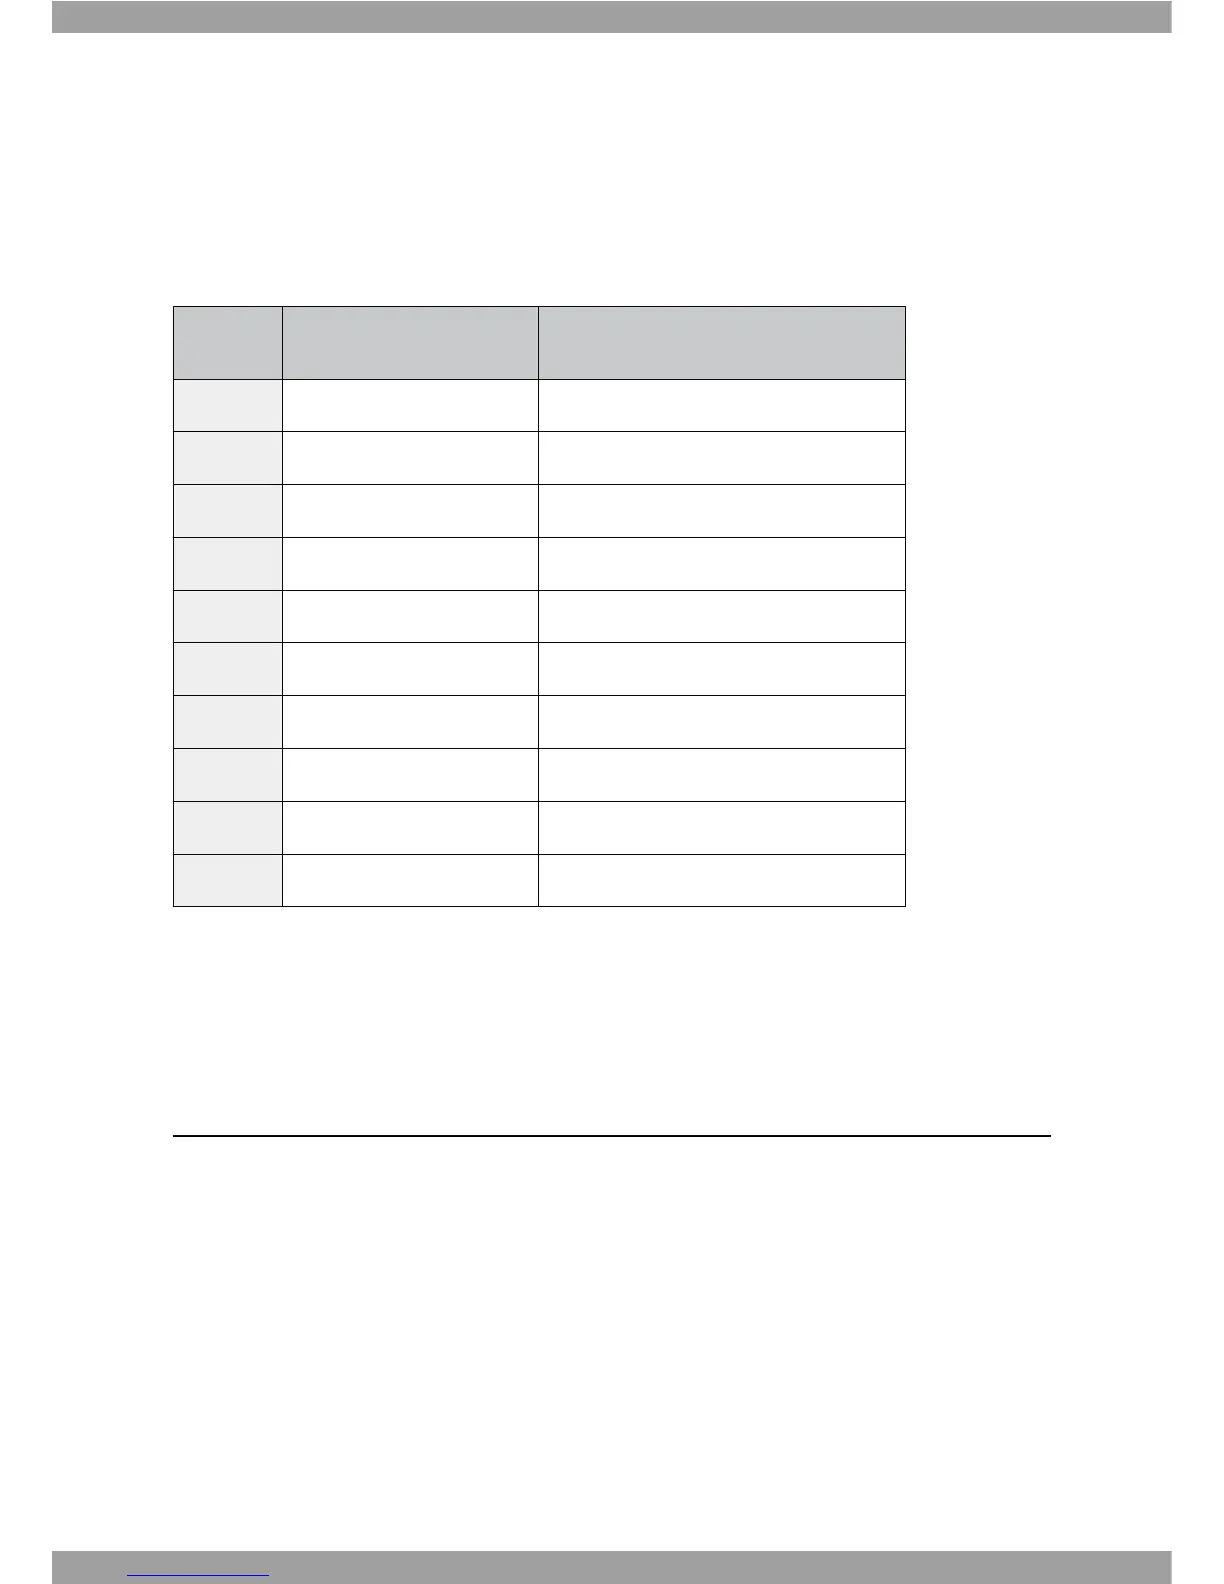
The following table provides an overview of the available settings.
Stage Setting 03HA10
1 Beep On, o
2 Year YYYY
3 Date Format m-d, d-m
4 Month-Day mm-dd
5 Time Format 12h, 24h
6 Time hh:mm
7 Auto Printing On, o
8 Printing Page P-1, P-2
9 HbA1c Calibration NGSP, IFCC, mono-S, JDS
10 eAG unit NHE-NNPM-
Stage 0) Entering set mode
1. Press the SET/PRT button (on the top side of the analyzer) during 3 seconds to enter
set mode after turn on and standby state. If you want to leave the set mode instead
(this is only possible if a date and time setting is made) of any set mode, press the
SET/PRT button.
2. If the displayed setting is done, you can continue directly to the next setting by
pressing the Enter button.



 To Next Page