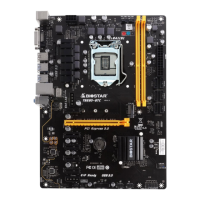
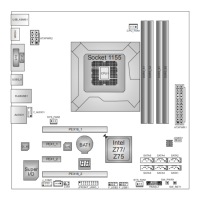
EasyManuals Logo

Biostar TB250-BTC+ User Manual

Biostar TB250-BTC+
64 pages
To Next Page IconTo Next Page
To Previous Page IconTo Previous Page
Page #10 background imageLoading...
Page #10 background image
10 | Chapter 2: Hardware Installaon
2.2 Install a Heatsink
Step 1: Place the CPU fan assembly on top of the installed CPU and make sure that the four
fasteners match the motherboard holes. Orient the assembly and make the fan cable is closest
to the CPU fan connector.
Step 2: Press down two fasteners at one me in a diagonal sequence to secure the CPU fan
assembly in place. As each fastener locks into posion a click should be heard.
Note
»
  ApplythethermalinterfacematerialontheCPUbeforeheatsinkinstallaon,ifnecessary.
»
  DonotforgettoconnecttheCPUfanconnector.
»
  Forproperinstallaon,pleasekindlyrefertotheinstallaonmanualofyourCPUheatsink.

Questions and Answers:

Question and Answer IconNeed help?

Do you have a question about the Biostar TB250-BTC+ and is the answer not in the manual?

Biostar TB250-BTC+ Specifications

General IconGeneral
ChipsetIntel B250
CPU SocketLGA 1151
Form FactorATX
Memory TypeDDR4
Maximum Memory32GB
Memory Slots2
SATA 6Gb/s Ports6
USB 2.0 Ports6
NetworkRealtek RTL8111H - 10/100/1000 Mb/s
RAID SupportRAID 0, 1, 5, 10
PCIe Slots1 x PCIe 3.0 x16, 5 x PCIe 3.0 x1
AudioRealtek ALC887 8-Channel HD
M.2 Slots1
USB 3.0 Ports6 (4 rear, 2 via header)

Related product manuals