EasyManuals Logo

Biostar TB250-BTC+ User Manual

Biostar TB250-BTC+
64 pages
To Next Page IconTo Next Page
To Previous Page IconTo Previous Page
Page #8 background imageLoading...
Page #8 background image
8 | Chapter 2: Hardware Installaon
Chapter 2: Hardware Installaon
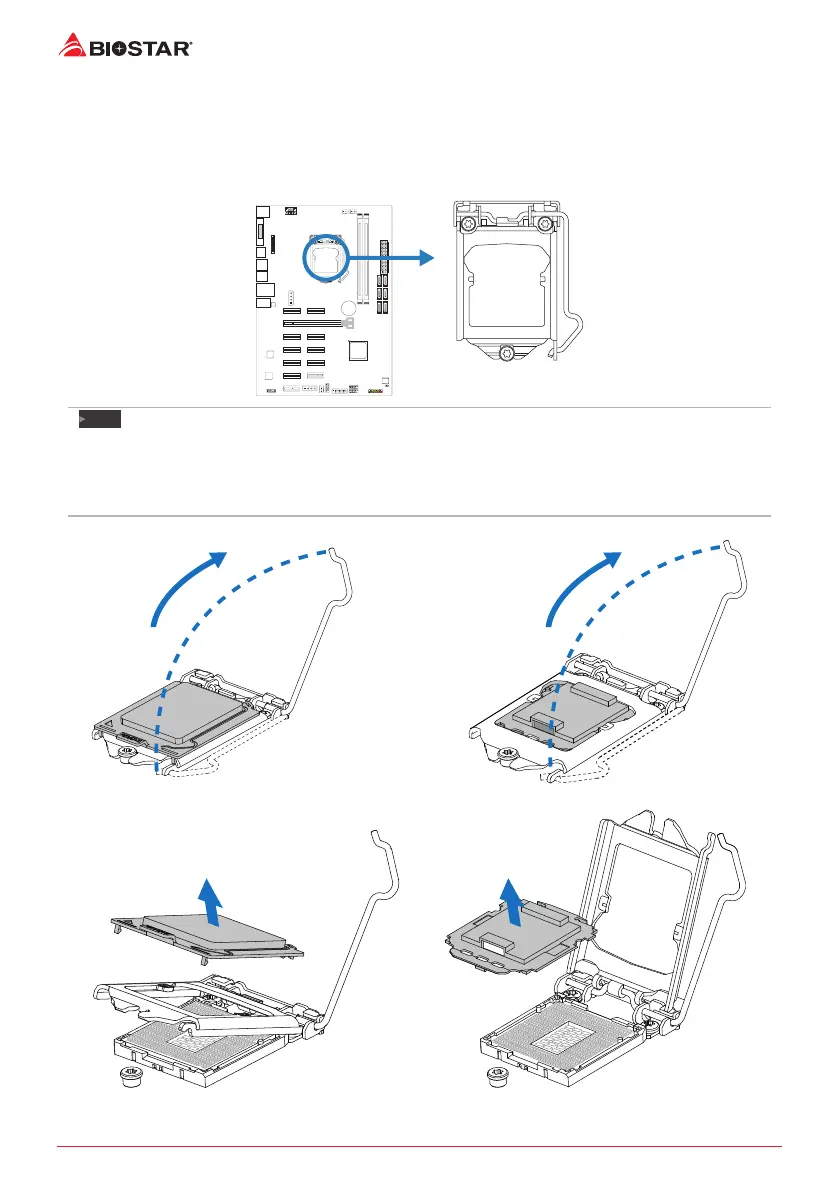
2.1 Install Central Processing Unit (CPU)
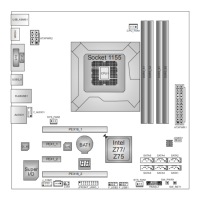
Step 1: Locate the CPU socket on the motherboard
Note
»
  Removepincapbeforeinstallaon,andmakegoodpreservaonforfutureuse.WhentheCPUis
removed,coverthepincapontheemptysockettoensurepinlegswon’tbedamaged.
»
  Themotherboardmightequipwithtwodierenttypesofpincap.Pleasereferbelowinstruconto
removethepincap.
Step 2: Pull the socket locking lever out from the socket and then raise the lever up.
Step 3: Remove the Pin Cap.

Questions and Answers:

Question and Answer IconNeed help?

Do you have a question about the Biostar TB250-BTC+ and is the answer not in the manual?

Biostar TB250-BTC+ Specifications

General IconGeneral
ChipsetIntel B250
CPU SocketLGA 1151
Form FactorATX
Memory TypeDDR4
Maximum Memory32GB
Memory Slots2
SATA 6Gb/s Ports6
USB 2.0 Ports6
NetworkRealtek RTL8111H - 10/100/1000 Mb/s
RAID SupportRAID 0, 1, 5, 10
PCIe Slots1 x PCIe 3.0 x16, 5 x PCIe 3.0 x1
AudioRealtek ALC887 8-Channel HD
M.2 Slots1
USB 3.0 Ports6 (4 rear, 2 via header)

Related product manuals