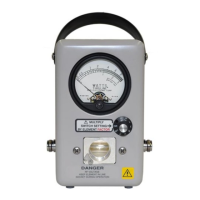
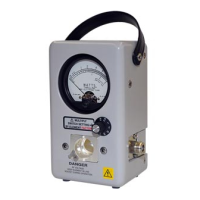
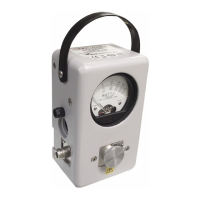
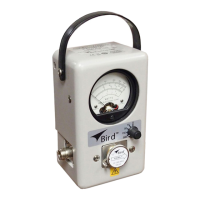
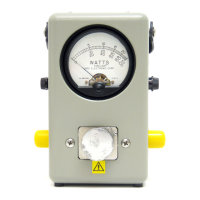
Maintenance
16
Meter Replacement
1. Remove back cover.
2. Loosen the two #8-32 nuts on the back of the meter that secure the meter
leads.
3. Remove the leads.
4. Remove the two #10-32 oval head phillips screws that secure the meter
shock ring.
Note: These screws are located on each side of the meter housing
just opposite the meter.
5. Pull the meter out of the back of the housing.
6. Remove the meter retaining ring and shock mount.
7. Replace the meter by reversing the procedure above.
Note: Be sure to observe polarity when replacing the leads to the
meter, black to negative, etc.
Instrumentation Module Replacement
Note: The instrumentation module contains the line section and
circuit board chassis as an integral part.
1. Loosen the set screw in the range switch knob by turning in a
counterclockwise direction with a .050 allen wrench.
2. Pull the knob straight off.
3. Unsolder the leads from the connections on the top of the circuit board
chassis.
Note: Take note of the color coding when unsoldering so the
leads can be reconnected to their original positions.
4. Remove the two oval head phillips screws located on the front face of the
unit on either side of the line section element port.
5. Pull the instrumentation module out of the back of the unit.
6. Replace the instrumentation module by reversal of the above procedure.
Note: Be sure to reconnect the wires to their original positions.