4.2 CHIMNEY INSTALLATION INSTRUCTIONS
1. Cut and frame the holes in the ceiling, floor and roof where the chimney will pass (see
figure 25). Use a plumb bob to line up the centre of the holes. The sizes are indicated
in table 1 for the floor and ceiling holes and table 2 (page 28) for the roof holes.
Table 1
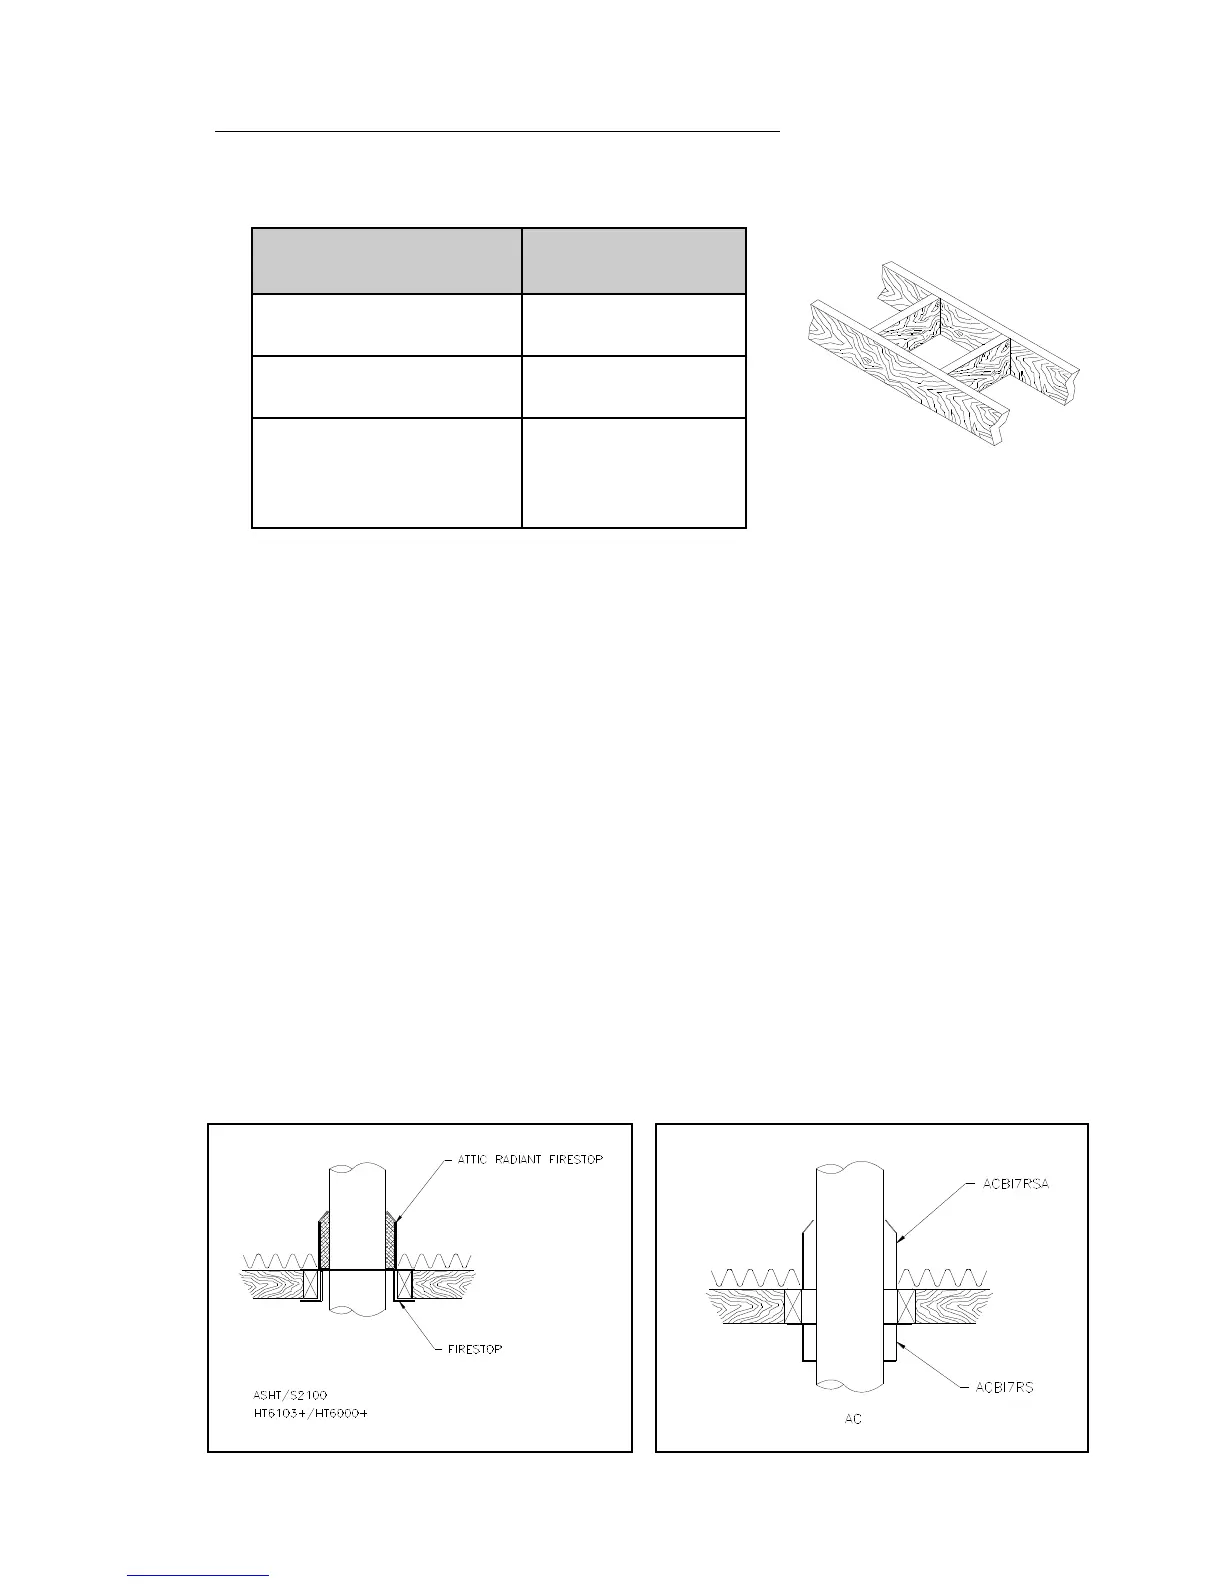
2. From below, install a firestop in each ceiling/floor separation through which the
chimney will pass. At the attic level, install an attic radiation shield from above.
(Figures 26 & 27).
3. For Secure Temp
ASHT+
/ Nova Temp
HT6103+
and Secure Temp
S2100+
/ Nova
Temp
HT6000+
chimneys, place the first chimney length on the fireplace. To lock it in
place, turn _ of a turn clockwise. With the ACBI chimney, you must use a starter
section before installing the first chimney length (figure 28). Continue installing
chimney lengths making sure to lock each length in place.
4. Every time the chimney passes through a ceiling or a wall, install the appropriate
firestop. When you reach the desired height, install the roof support. (Refer to
instructions included with the support). For the ACBI use a universal support.
5. Then, put the roof flashing in place and seal the joint between the roof and the
flashing with roofing pitch. (See figures 29 & 30). For sloping roofs, place the
flashing under the upper shingles and on top of the lower shingles. Nail the flashing
to the roof, using roofing nails.
6. Place the storm collar over the flashing, and tighten it with the bolt supplied. Finally,
seal the joint between the storm collar and the chimney, using silicone caulking.
7. Install the chimney cap.