BLACKSTONEPRODUCTS.COM
ENGLISH
| OWNER’S MANUALASSEMBLY GUIDE
⚠ CAUTION
Heavy pieces. Two people should assemble this appliance.
Assembly time: 1~2 hoursAssembly time: 1~2 hours
NOTICE
Place appliance on a heat-resistant and flame-resistant
surface while in use.
⚠ CAUTION
Hot appliance. The cover/lid/hood MUST be open when the
appliance is in use.
NOTICE
• DO NOT mix old and new batteries.
• DO NOT mix alkaline, standard (carbon-zinc) or rechargeable
(ni-cad, ni-mh, etc.) batteries.
NOTICE
DO NOT place items on stabilizing shelf during use.
NOTICE
The paper towel holder arm must be in the open position
while the appliance is in use.
⚠ CAUTION
Heavy pieces. Two people should assemble this appliance.
Assembly time: 1~2 hoursAssembly time: 1~2 hours
NOTICE
Place appliance on a heat-resistant and flame-resistant
surface while in use.
⚠ CAUTION
Hot appliance. The cover/lid/hood MUST be open when the
appliance is in use.
NOTICE
• DO NOT mix old and new batteries.
• DO NOT mix alkaline, standard (carbon-zinc) or rechargeable
(ni-cad, ni-mh, etc.) batteries.
NOTICE
DO NOT place items on stabilizing shelf during use.
NOTICE
The paper towel holder arm must be in the open position
while the appliance is in use.
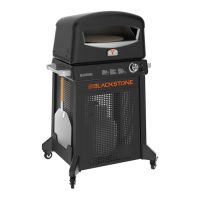
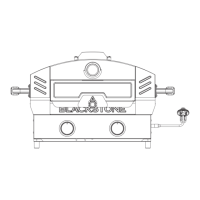
MODEL: 2379
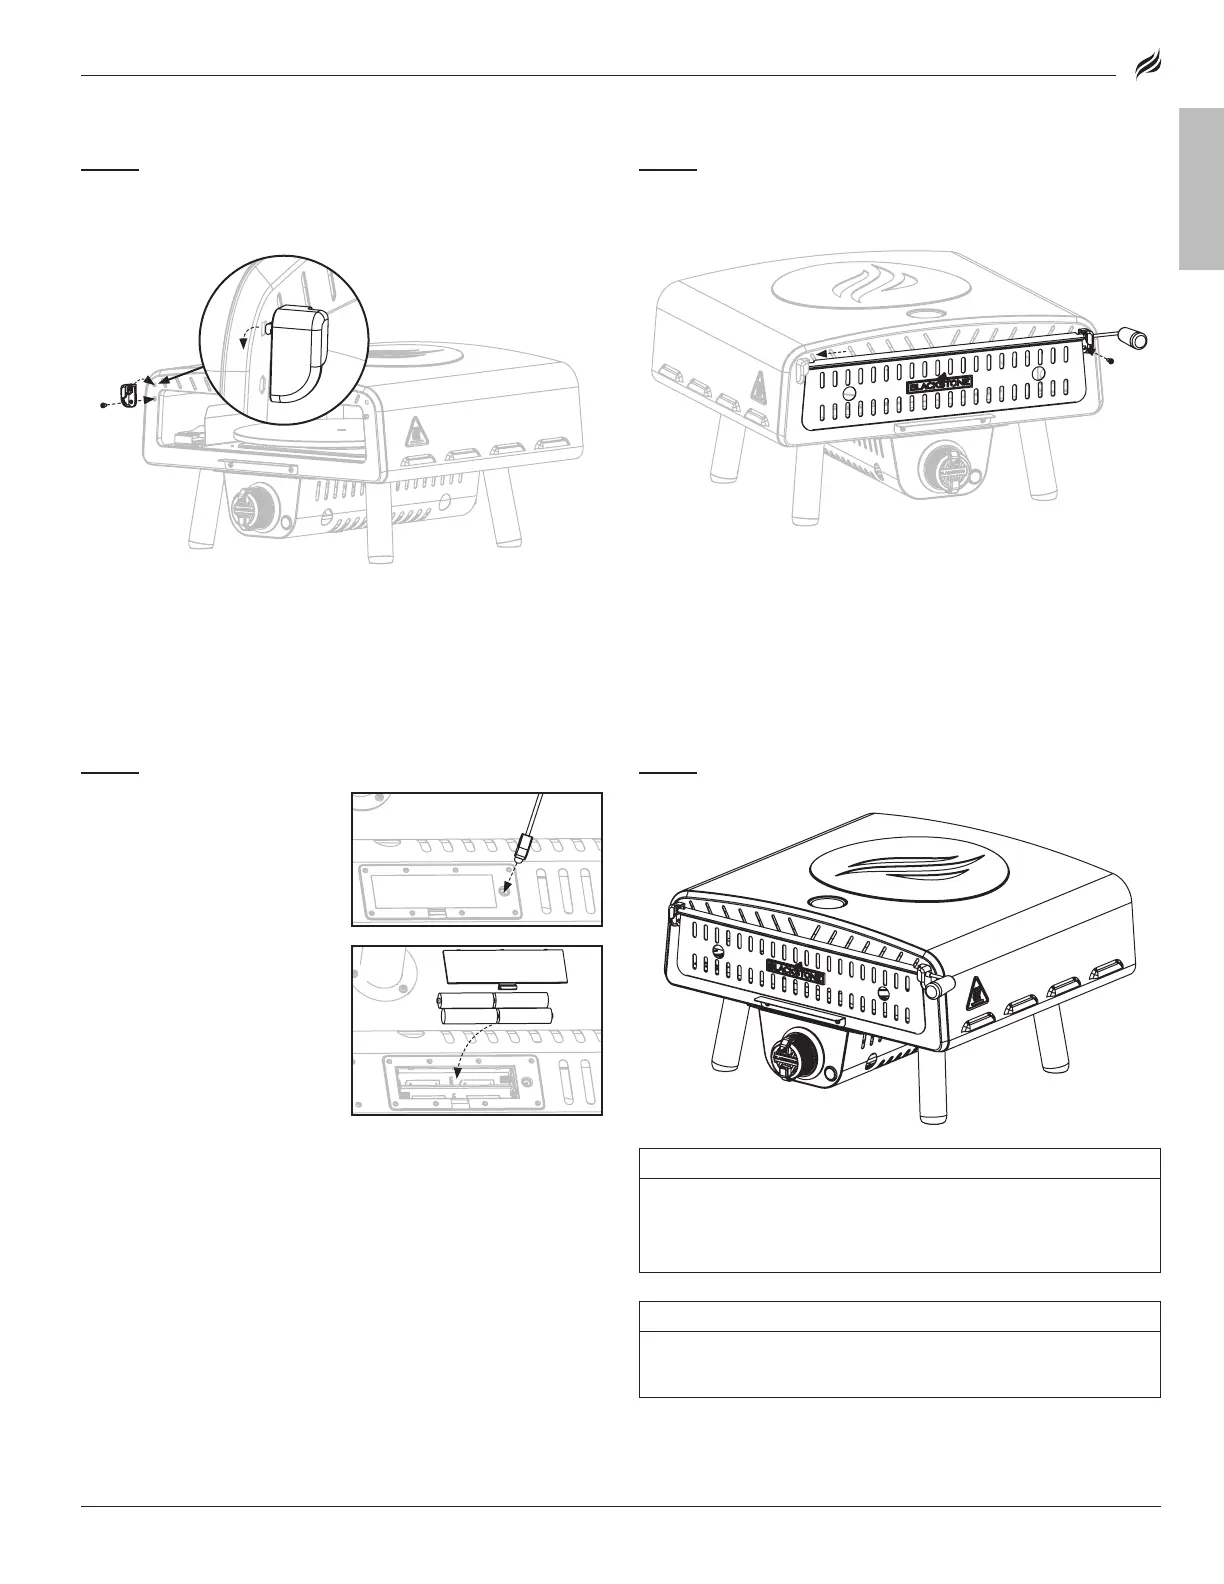
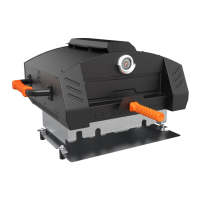
STEP 06
Slide the door shaft seat (L) into the upper square hole.
Use one (1) M4x12 screw [e.] to attach the door shaft seat to the front
of the oven.
STEP 09
Proceed to USING YOUR BLACKSTONE.
STEP 07
Slide the door shaft into the (L) seat.
Use one (1) M4x12 screw [e.] to attach the door shaft seat to the front
of the oven.
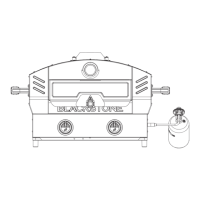
OPTION A: Plug the power cord
into the motor.
OPTION B: Insert four (4) AA
batteries into the motor.
(DO NOT use the batteries and
the AC power supply at the
same time.)
STEP 08
To power the motor: