ENGLISH
8
OPERATION
WARNING: To reduce the risk of
serious personal injury, turn unit off and remove
the battery pack before making any adjustments
or removing/installing attachments or
accessories. An accidental start-up can causeinjury.
WARNING: Always use proper eye
protection that conforms to ANSI Z87.1 (CAN/CSA
Z94.3) while operating this appliance.
Figure E
21
7
22
8
Figure F
23
24
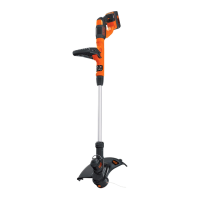
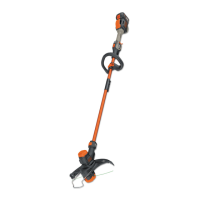
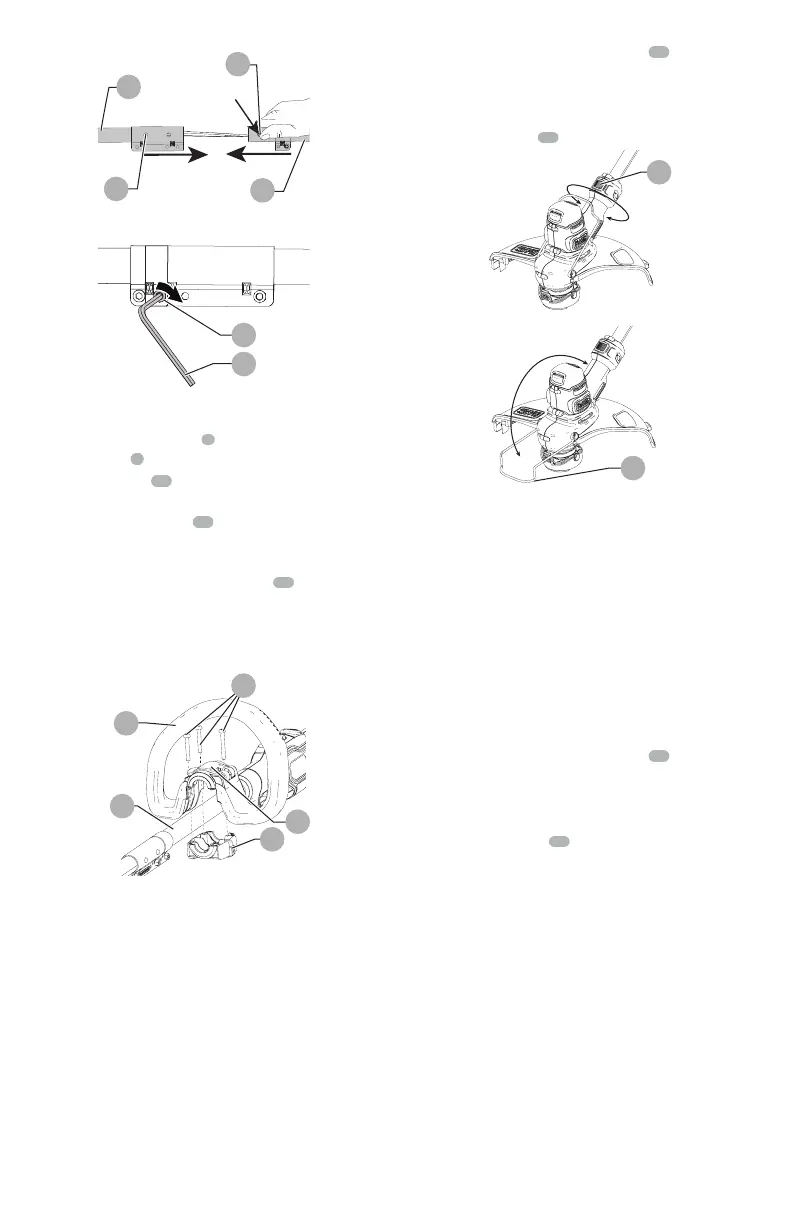
Attaching the Auxiliary Handle
1. Place the auxiliary handle
6
onto the top of the upper
trimmer pole
7
as shown in figure G.
2. Slide the bracket
25
of the auxiliary handle onto the
bottom of the handle.
3. Thread the handle bolts
26
through the handle and
into the bracket from above.
4. Tighten the handle bolts. Ensure the handle is securely
attached by closing the handle clamp
27
.
5. To adjust the position of the auxiliary handle, open the
handle clamp and slide the handle up and down the
pole until it is in the desired location. Close the clamp to
lock the handle in place.
fig. G
26
6
7
25
27
Releasing the cutting line
For shipping purposes, the cutting line is taped to the spool housing.
• Remove the tape holding the cutting line to the spool
housing. See "Replacing the Spool" for instructions for
removing the spool.
Setting trimming or edging mode
• The trimmer can be used in trimming mode as shown
in figure I or in edging mode to trim overhanging grass
along lawn edges and flower beds as shown in figure M.
Trimming mode (FIG. H, I)
For trimming, the trimmer head should be in the position
shown in figure K. If it is not:
1. Remove the battery from the trimmer.
2. Press and hold the head rotate button
10
.
3. While holding the auxillary handle, rotate the head
clockwise.
4. Release the head release button.
5. Lift the edge guide
12
into the closed position.
Figure H
10
Figure I
12
Edging mode (FIG. H, I)
WARNING: When being used as an
Edger, stones, pieces of metal and other objects can be
thrown out at high speed by the line. The trimmer and
guard are designed to reduce the danger. However,
MAKE SURE that other persons and pets are at least
100 feet (30m) away.
For edging, the trimmer head should be in the position shown
in figure M. If it is not:
1. Remove the battery from the trimmer.
2. Press and hold the head rotate button
10
.
3. While holding the auxillary handle, rotate the head
counterclockwise.
4. Release the head release button.
5. Drop the edge guide
12
to the open position. Ensure
that the edging guide is all the way down, an audible
click will be heard.
NOTE:
The head will only rotate in one direction.