ENGLISH
9
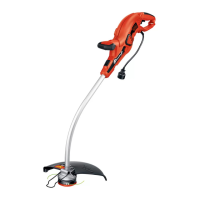
CAUTION: Before you begin trimming,
only use the appropriate type of cutting line - 080 inch
(2.032 mm) diameter, ROUND nylon line.
CAUTION: Inspect area to be trimmed and
remove any wire, cord, or string-like objects which
could become entangled in the rotating line or spool.
Be particularly careful to avoid any wire which might
be bent outwardly into the path of the appliance, such
as barbs at the base of a chain link fence.
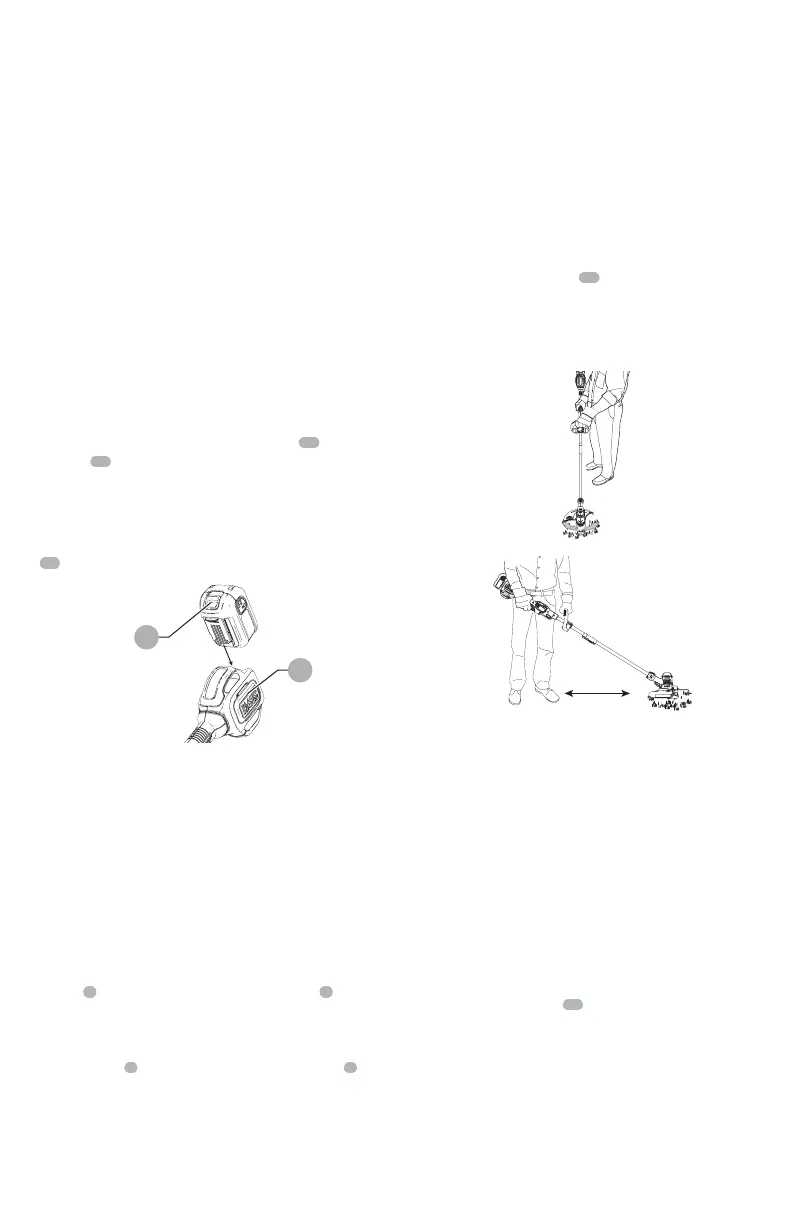
Installing and Removing the Battery Pack
WARNING: Make certain the lock-off
button is engaged to prevent switch actuation before
removing or installing battery.
NOTE: For best results, make sure your battery pack is
fullycharged.
To install battery pack: Insert battery pack
15
into battery
housing
28
as shown in figure J until fully seated and an
audible click is heard.
Make sure battery pack is fully seated and fully latched into
position.
To remove battery pack: Depress the battery release button
29
on the battery and pull battery pack out of appliance.
Figure J
29
28
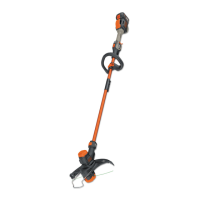
Proper Hand Position
WARNING: To reduce the risk of serious
personal injury, ALWAYS use proper hand position
as shown.
WARNING: To reduce the risk of serious
personal injury, ALWAYS hold securely in anticipation
of a sudden reaction.
Proper hand position requires one hand on the main
handle
3
and one hand on the auxiliary handle
6
.
Switching on and off
• To switch the trimmer on, press in and hold the lock
off button
3
, depress the variable speed trigger
1
.
The trimmer’s speed, power, and runtime depend on
how far you press the switch. Lightly depressing the
trigger will result in lower speed and power, but longer
runtime. Fully depressing the trigger will result in
maximum speed and power, but shorter runtime.
• To switch the trimmer off, release both the trigger and
the lock off button.
WARNING: Never attempt to lock the on/
off button in the on position.
Operating the trimmer
• With the unit on, angle unit and slowly swing the
trimmer side to side as shown in figure I.
• Maintain a cutting angle of 5° to 10°. Do not exceed 10°.
Cut with the tip of the line. To keep distance from hard
surfaces use edge guide
13
. Pull the guide out until it
snaps securely into place
• Maintain a minimum distance of 24 inches (609.6 mm)
between the guard and your feet as shown in figure L.
Figure K
MINIMUM
24INCHES
(610mm)
Figure L
Edging
WARNING: When being used as an
Edger, stones, pieces of metal and other objects can be
thrown out at high speed by the line. The trimmer and
guard are designed to reduce the danger. However,
MAKE SURE that other persons and pets are at least
100 feet (30m) away. Optimum cutting results are
achieved on edges deeper than 2 inches (50 mm).
• Do not use this trimmer to create trenches.
• Using the edge guide
10
, guide the trimmer as shown
in figure M.
• Position the edge guide on the edge of the sidewalk or
abrasive surface so the cutting line is over the grass or
dirt area to be edged.
• To make a closer cut, slightly tilt the trimmer.