6
AUX OPERATION
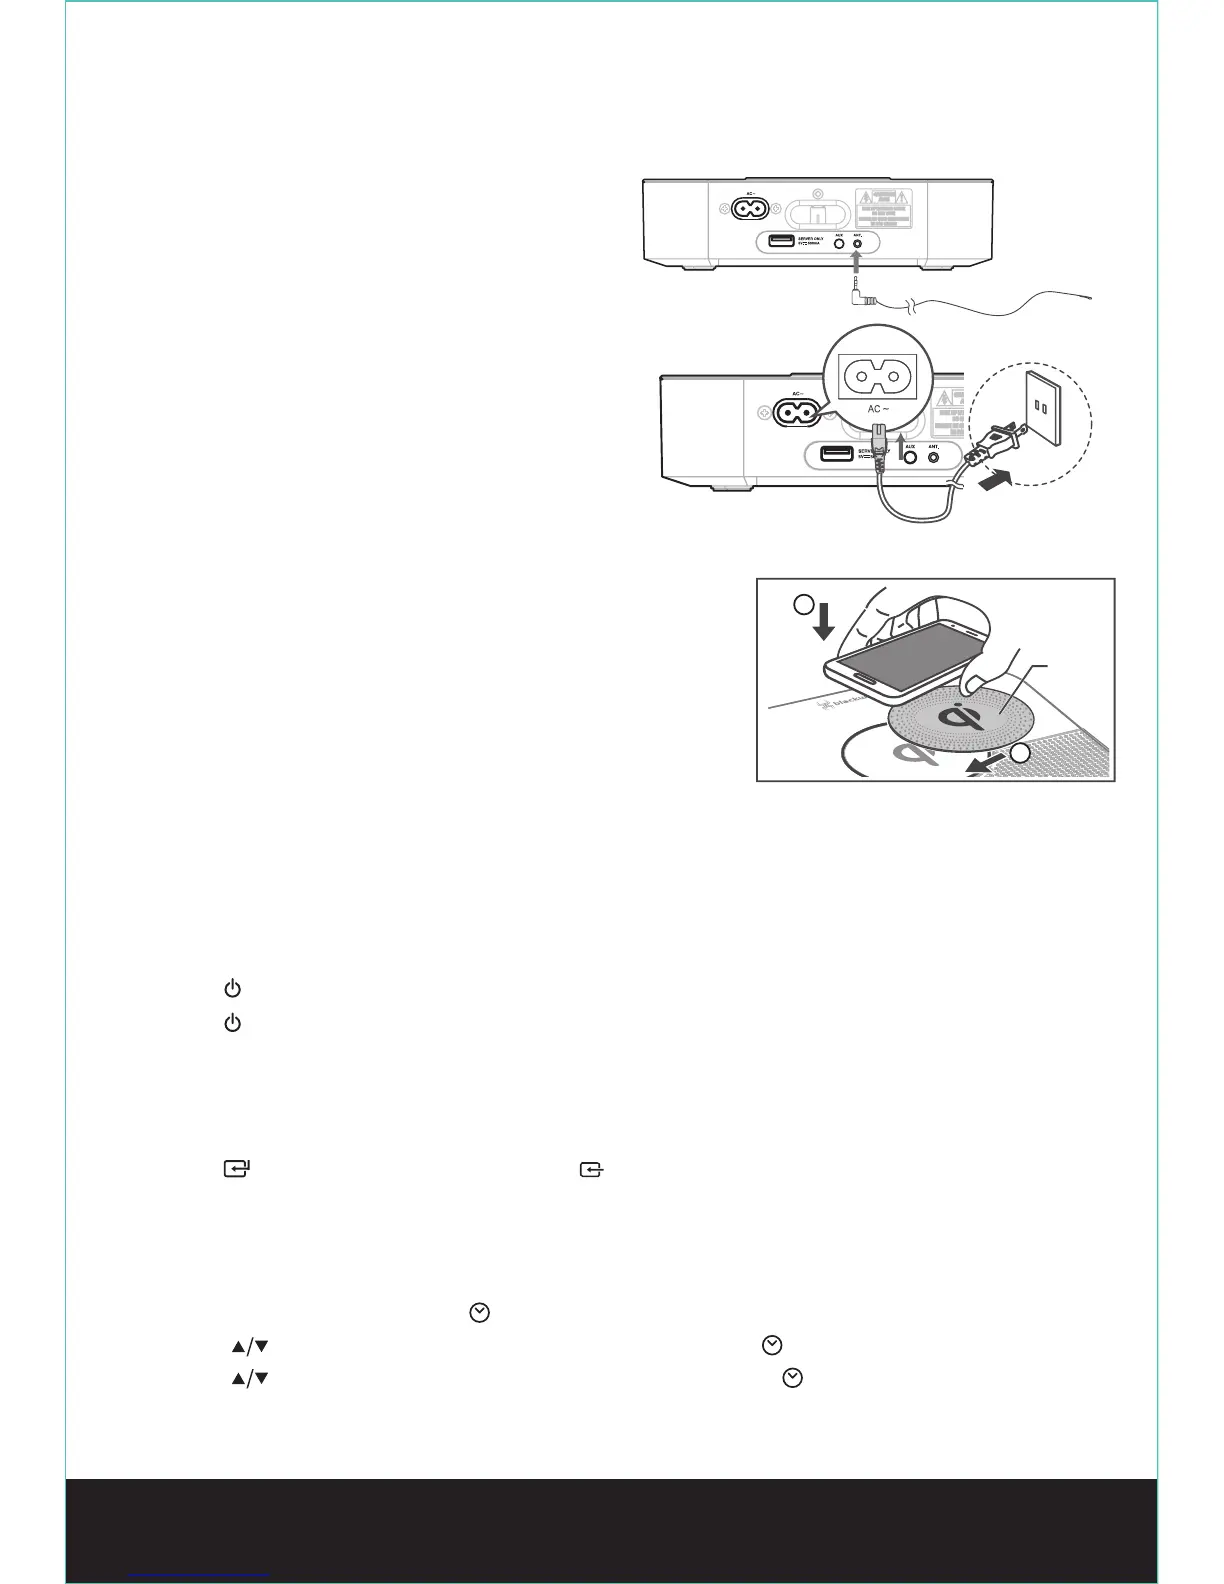
Connect to FM Antenna
- Connect the supplied FM wire antenna to the FM
Antenna socket on the unit.
Connect to Power
- Risk of product damage! Ensure that the power supply
voltage corresponds to the voltage printed on the rating
label on the back or the underside of the unit.
- Be sure to unplug the power cord from the outlet when
the system is not in use for an extended period of time.
• Connect the AC power cord to the wall socket.
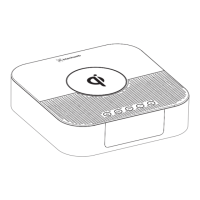
• Uses of Qi (wireless charging)
- This function only works with mobile devices that support Qi technology.
1. To prevent the displacement of mobile devices, please put
anti-slip mat rst.
2. Make sure your mobile devices are aligned to unit’s QI charging area.
- When mobile devices play music while charging QI, mobile devices may
appear mobile phenomenon, please reduce uint’s volume.
- When mobile devices can not charge, please check whether mobile
devices are shifted.
GENERAL OPERATION
Power ON/OFF
- When you rst connect the unit to the main socket, the unit will be in STANDBY mode.
• Press the button on the remote control or on main unit to switch the main unit ON.
• Press the button on the remote control or on main unit to switch the main unit back to Standby mode.
- Disconnect the main plug from the main socket if you want to switch the unit off completely.
- If there is no signal under the BT and AUX mode, the unit will automatically be switched off within 1 minutes.
Select Modes
• Press the button on the main unit or the BT / FM / on the remote control to switch BT (Bluetooth), FM
and AUX mode.
Set the Time
The built-in clock shows the correct time in the display.
1. In STANDBY mode, press and hold the button on the remote control, the hour indicator blinks.
2. Press the buttons on the remote control to set the hour. Then press the button to conrm the hour.
3. Press the buttons on the remote control to set the minute. Then press the button to conrm the minute.
This will nish the clock setting.
Anti-slip
mat
1
2