20
F
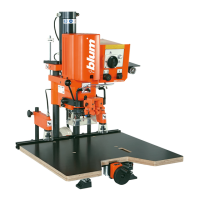
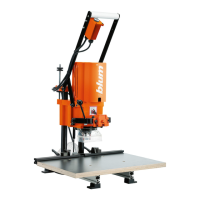
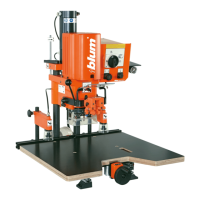
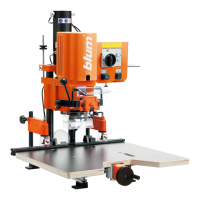
Drilling of hinge pattern
!
Auto off
F10
F9
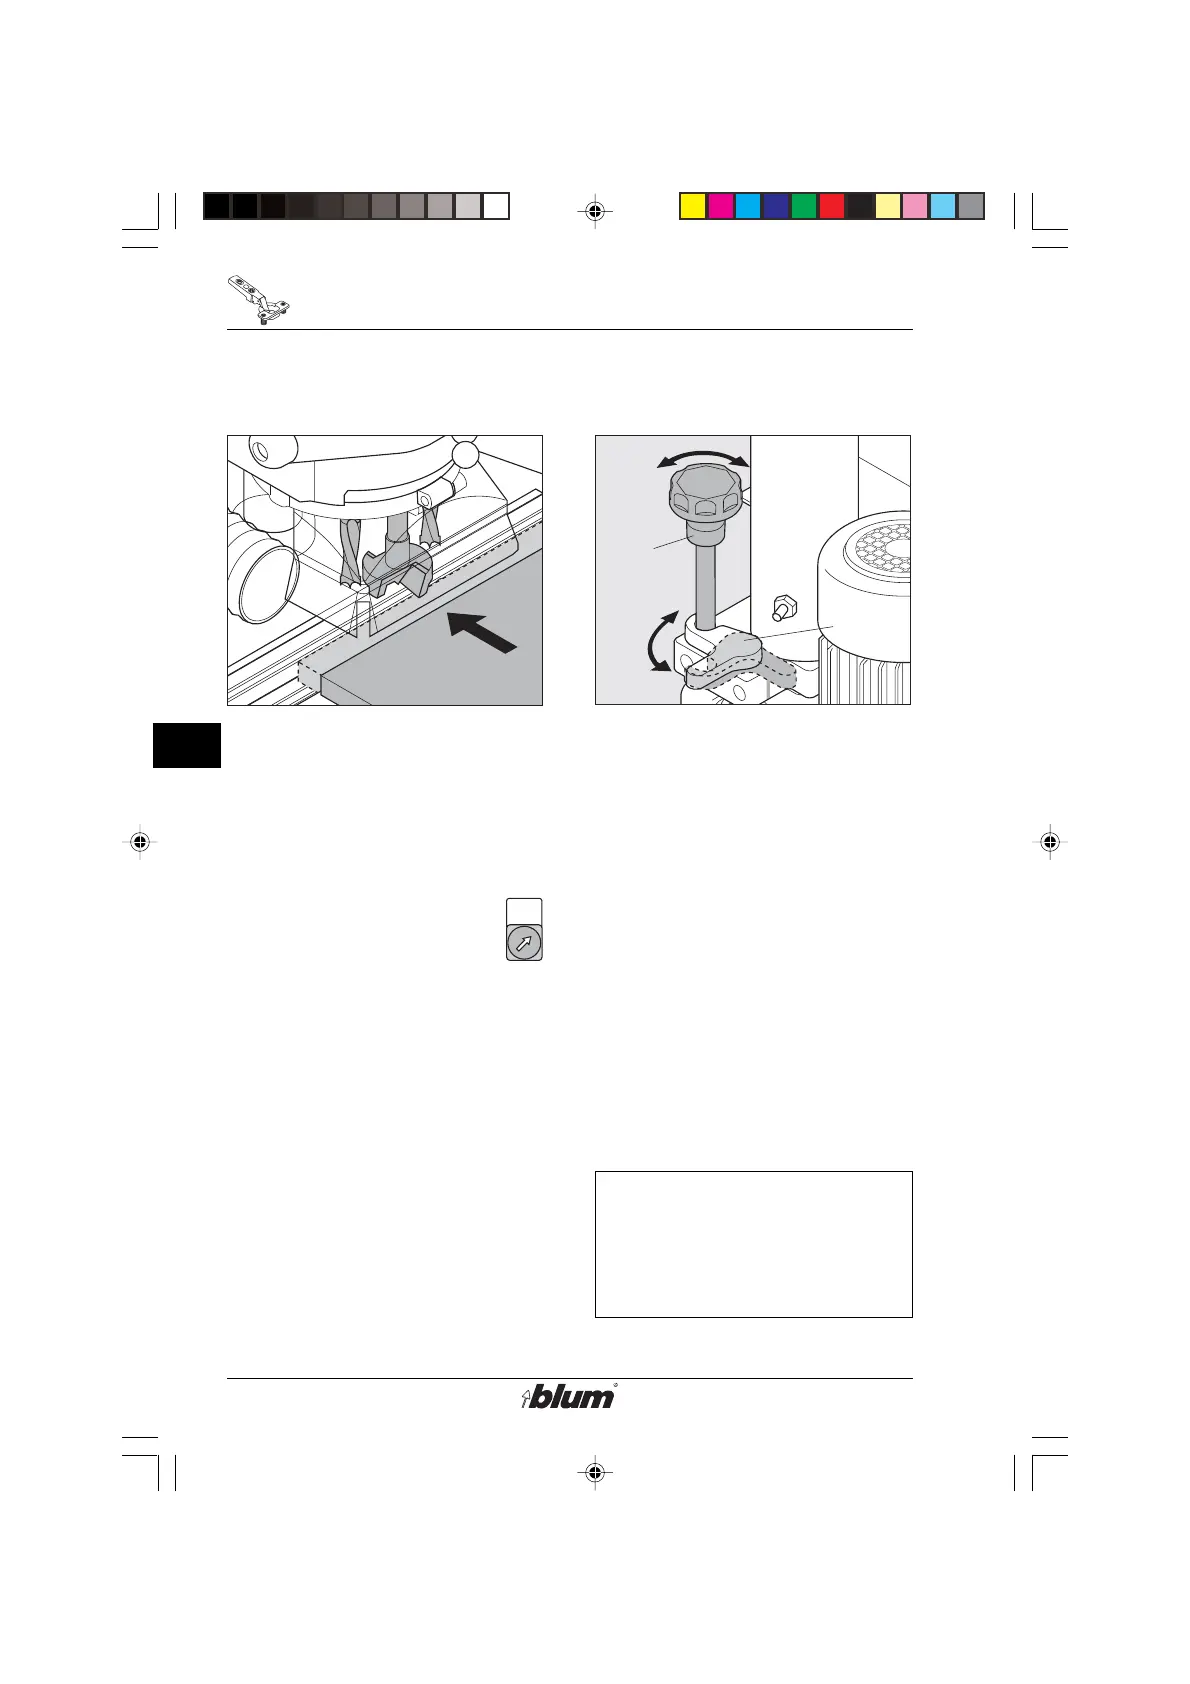
5. Check drilling depth adjustment
• Always place operation mode switch
to set up position and disconnect the
machine from it’s electrical source
(unplugged) before performing any
work on the drill heads, fences or
stops.
• Hold-down switch (E3) to pos. off
• Move swing arm (F8) into upper
position.
• Place door on the worktable clear
of drill-head path.
• Move drilling depth gauge (F9)
against adjustment screw (see
drawing 6).
• Press and hold the drill / press stroke
button (E2) to move head down.
• Slide door towards drill bits, and
check if the cutting edges of the bits
are even with top surface of the door
panel.
• Release drill / press stroke button
6. Correcting drilling depth
adjustment
• If the Cutting edges do not touch the
door panel top, correct adjustment.
• Correct adjustment
lower drilling depth :
turn bolt (F10) clockwise
deeper drilling depth :
turn bolt (F10) counter-cklockwise
(One turn on the depth adjustment
bolt [E10] equals 1/16“ (2 mm)
adjustment.)
• Cycle drill / press stroke again, and
check adjustment.
Important:
Swivelling out the drilling
depth gauge (F9) results
in a drilling depth of
1/2“ (12.7 mm).
%$0,1,35(66)$,G1US $0
 Loading...