569217 | REV. D | 09.08.2016
Installation and Operating Instructions
|
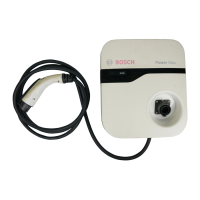
Power Max Level 2 Charging Station | 9
|
en
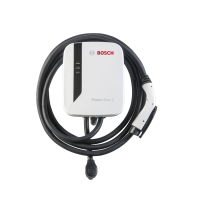
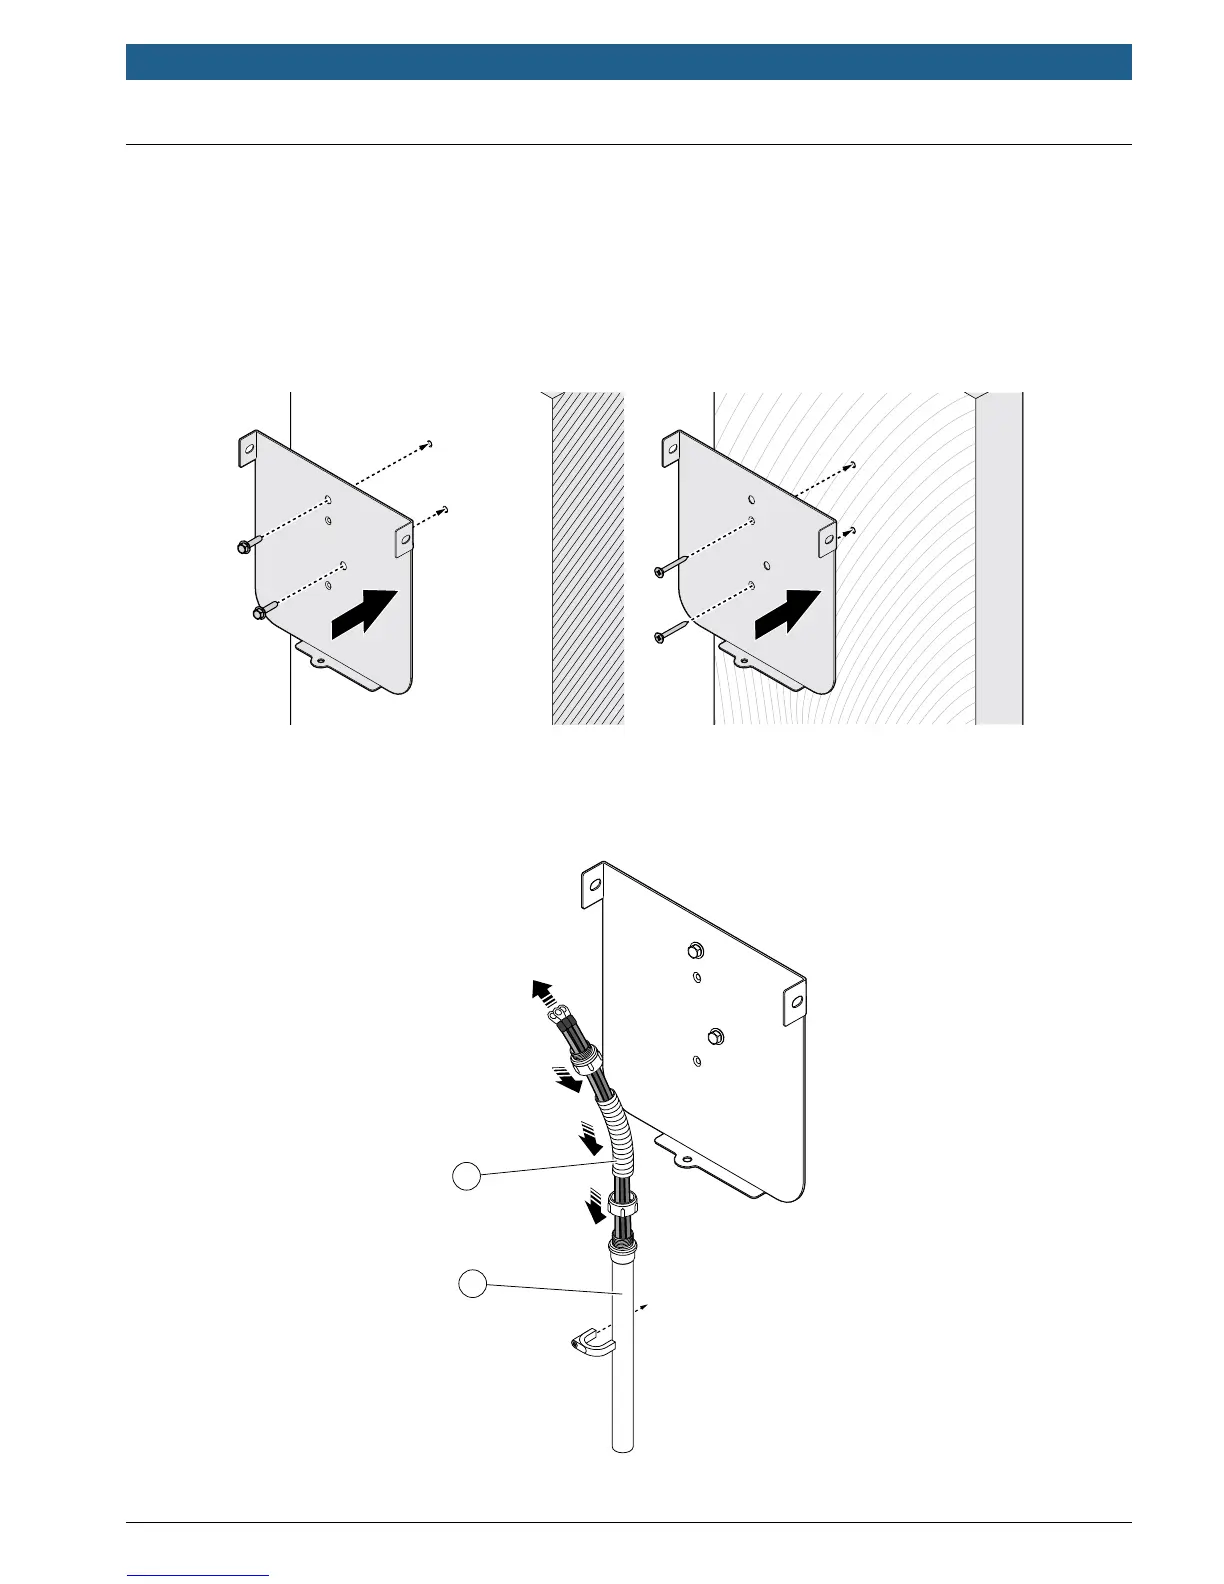
4.4 Installing the Power Max Level 2 Charging Station
1. See Figure 4-1. Secure the Level 2 Charging Station mounting bracket to the wall using appropriate screws and
bracket holes, as shown in Figure 4-1. Thread 1/4-in. expansion bolts through bracket offset holes into masonry
walls as shown and torque to 78 lb·in (8.8 N·m). Thread 2-in., or longer, No. 8 wood screws through bracket
inline holes into nished walls supported by wood studs and torque to 26 lb·in (3 N·m).
Note:
The Level 2 Charging Station must be mounted at a sufcient height from grade such that the height of the plug
dock is located between 24–48 in. (0.6–1.2 m) from grade per NEC Article 625.
Figure 4-1. Mounting bracket use on masonry wall (left) and nished wall (right)
2. See Figure 4-2. Choose appropriate conduit in accordance with all applicable state, local, and national electrical
codes and standards. Use exible conduit when connecting to the rear of the Level 2 Charging station to
faciliate rotation and installation on mounting bracket (Figure 4-4).
1
2
1. Flexibleconduit
2. Rigid conduit
Figure 4-2. Conduit use