= I\lever connect the cube speakers direct/y to a receiver output. Always connect
e powered AcouslirnassO module, then connect the module to the receiver.
Never use broken or frayed wiring, which can result in electrical shock or damage
to your system. The supplied cables are not intended for in-wall installafion. Check local
building codes or enlist a qualified insfaIler.
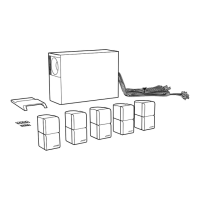
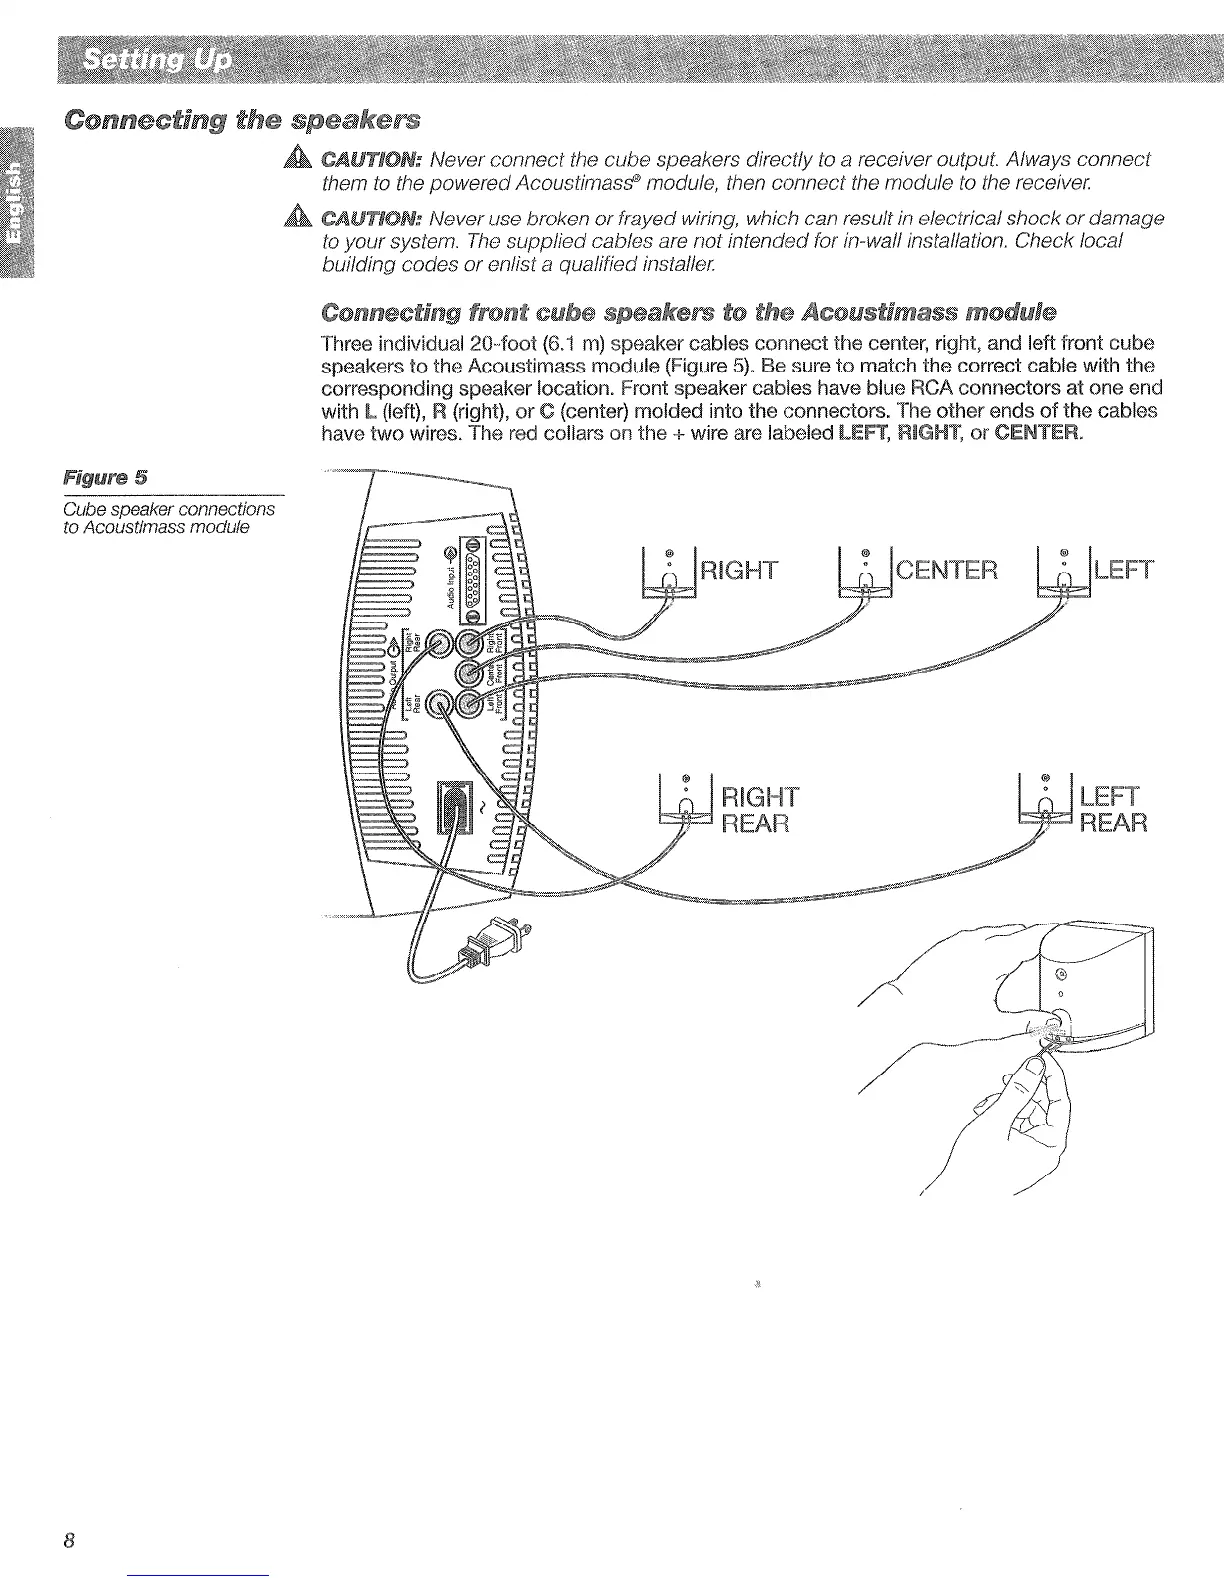
Cube speaker connections
to Rcousfimass module
8
Connecting
the
speakers
A CAUTION: Never connect the cube speakers directly
to
a receiver output. Always connect
them
to
the powered
AcoustimasEf&
module, then connect the module
to
the receiver.
A
CAUTiON:
Never use broken or frayed wiring, which can result
in
electrical shock or damage
to
your system.
The
supplied cables are not intended for in-wall installation. Check local
building codes or enlist a qualified installer.
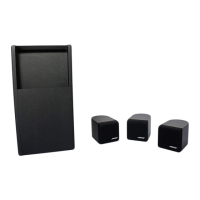
Connecting
front
speakers
to
the
Acoustimass
module
Three individual 20-foot
(6.1
m)
speaker cables connect the center, right, and left front cube
speakers
to
the Acoustimass module (Figure
5).
Be sure
to
match the correct cable with the
corresponding speaker location. Front speaker cables have blue RCA connectors at one end
with
l (left), R (right), or C (center) molded into the connectors. The other ends
of
the cables
have
two
wires. The red collars on the + wire are labeled lEFT, RIGHT, or CENTER.
Cube
speaker connections
to
Acoustimass module
8
RIGHT
REAR
LEFT
LEFT
REAR
 Loading...